If you’re searching for a fun and practical sewing project, check out one of the best patterns to make tote bags—a perfect way to showcase your creativity while crafting a stylish and useful bag.

After making my cross body bag with zipper and pocket, here I am with a new tote bag sewing pattern that includes a zipper and pockets.


This pattern for a tote bag is both fun and easy to sew, making it the perfect project for beginners and seasoned sewers alike. From selecting your fabrics to attaching the pockets, the step-by-step sewing tutorial ensures the whole process is a breeze.


You can experiment with a variety of fabrics such as cotton, corduroy, denim, or canvas, all of which provide a great canvas to test your skills. The possibilities are endless, giving you the freedom to personalize your sewing patterns for tote bags.


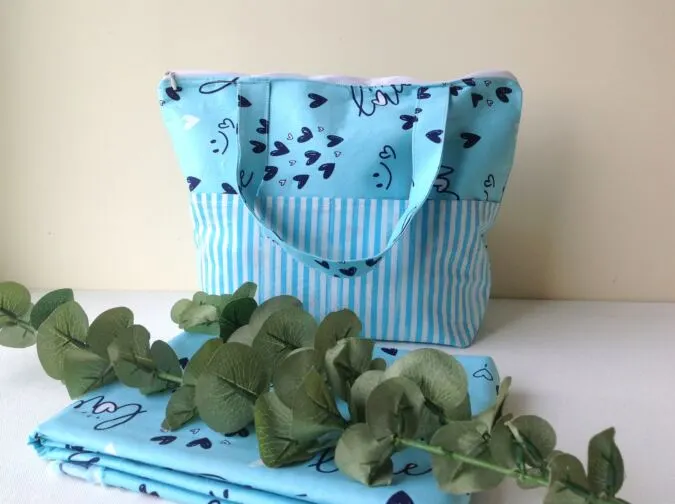
The inside of this tote bag is spacious with a utility pocket, perfect for organizing your essentials. There are also functional pockets on the outside, adding both style and practicality to your finished piece. Whether you’re looking to make a sturdy everyday tote or a stylish carry-all, this tote bag sew pattern is an ideal choice for your next project!
If you woud like to have a look at my crossbody bag with zippers and pocket, click on the picture below:


Simple and Stunning: One of the Best Patterns to Make Tote Bags
Supplies Needed:
Medium-weight cotton fabric in a desired print and color for the bag outer, straps and pocket- 1/2 yard
Medium- weight fabric in a coordinating color for the bag lining- 1/2 yard.
Heavy- weight fusible interfacing- 1/2 yard.
15- inch zipper in a matching color.
Sewing Notions.


Gather your supplies.
For the bag, you will need to cut fabric pieces in the following dimensions:
Main Fabric
Bag outer- 15”W x 13”L (cut 2).
Bag Outer Pocket- 15”W x 7.25L (cut 2).
Bag strap- 3”W x 18”L (cut 2).
Lining Fabric:
Bag lining- 15”W x 13”L (cut2).
Bag Inside Pocket- 12”W x 8.5”L
Interfacing:
Interfacing for the bag outer pieces- 14.25W x 12.25”L (cut 2).
Interfacing for the strap- 2.25W x 17.25”L (cut 2).


You will get your main pieces like this.


Lining pieces like this.


And interfacing pieces like this


To box the bottom of the bag. We cut off 2” squares from the lower edge, on both sides of both the bag outer pieces.


Repeat the same with the lining and bag outer interfacing pieces.


Fuse the interfacing to the wrong side of the bag outer pieces, following the manufacturer’s instructions. Make sure leave equal space all around the interfacing while fusing.
Next, we prepare the outer pocket.


1) Layer the two outer pocket pieces, with the right sides together and lining up the edges. Pin and sew along both the long edges. 2) Turn over to the right side and press. 3) Press and topstitch along the long edges to make it clean and crisp. 4) Fold it in half and press to make a crease along the center.


Similarly, fold one of the bag outer pieces in half and press to make a crease along the center (picture for illustration purposes).


Place the pocket on the bag outer piece, 3.5- inches from the upper edge and matching the center crease with the center crease of the bag outer piece. Pin and sew all around, leaving the top edge of the pocket open.
Let’s sew the inside pocket.


1) Fold the inside pocket piece in half and sew around the open edges, leaving about 2-inches open to turn the right side out.
2) Bring the right side out through the opening.
3) Tuck the raw edges in and press to make it clean and crisp. Sew the oepning shut.


Fold the inside pocket and one of the lining pieces in half and press to make a crease along the center.


Place the pocket on the lining piece, 3- inches from the top and matching the center crease. Sew around the edges, leaving the top edge open.
Next, we prepare the straps.


1) Take the strap piece and fuse the interfacing on the wrong side, leaving equal space all around and following the manufacturer’s instructions.
2) Fold the two long edges and one short edge towards the wrong side by 3/8- inch and press.
3) Fold it in half again lengthwise and press once more.
3) Sew the strap shut along the edge of the folds. Repeat to get the other strap ready.


Take the one of the bag outer pieces, place the short edges of the strap 3.25-inches from both the edges and pin. Sew the strap to the piece. Repeat with the other strap on the the other outer bag piece
Let’s attach the zipper.


Lay the bag lining with pocket, the right side facing up. Lay your zipper with the right side up, lining up the edge with the upper edge of the lining and place clips to hold.


Place one of the bag outer pieces, right side facing down, on top of the above lining piece. Align the top edge of the zipper with the raw edge of the bag outer (the zipper is now sandwiched between the outer and lining pieces). Pin the three pieces along the aligned edges.


Using a straight stitch, sew the zipper/pieces in place.
Next, we join the remaining bag outer and lining to the free edge of the zipper.


1) Lay the remaining lining piece flat.
2) Lay the pieces with zipper attached, above it lining up the free edge of the zipper with the upper edge of the lining.
3) Place the remaining bag outer place above the layer, again lining up with the free edge of the zipper.
4) Sew the pieces together to join.


Open and flip the fabric so the right side of the pieces and the zipper are facing up (zipper should be in the middle). Line up the edges and press. *Here you may trim any uneven edges, if there is any.


Topstitch just under the zipper to make it clean and crisp. ***Before the next step, it is important to keep the zipper opened inorder to pull the right side of the fabrics out later.


Next flip the bag outer and lining so that the edges of the two bag outer pieces are lined up together and the edges of the two lining pieces are lined up together.
Pin and sew around the lower and side edges, leaving a 4 to 5- inch opening in the lining to turn the right side out. **The corners are left open to be boxed later.


**Please note that you should keep the zipper ends turned towards the lining while pinning.


Next, open the corner at the bottom of the bag, align the side seam with the bottom seam and put clips to hold them together. Sew a line ½ – inch from the edge as shown above. Make sure to reinforce the stitches at the start and finish. Now you have boxed the corner.


Repeat on the other three corners.


Pull the right side out through the opening.


Tuck in the raw edges of the lining and pin.


Sew the opening shut.


Push the lining to the inside of the bag.


It would look like this once the zipper is closed.
Find the webstory for the post here; Make Your Best Tote Yet: The Simple, Stunning Pattern
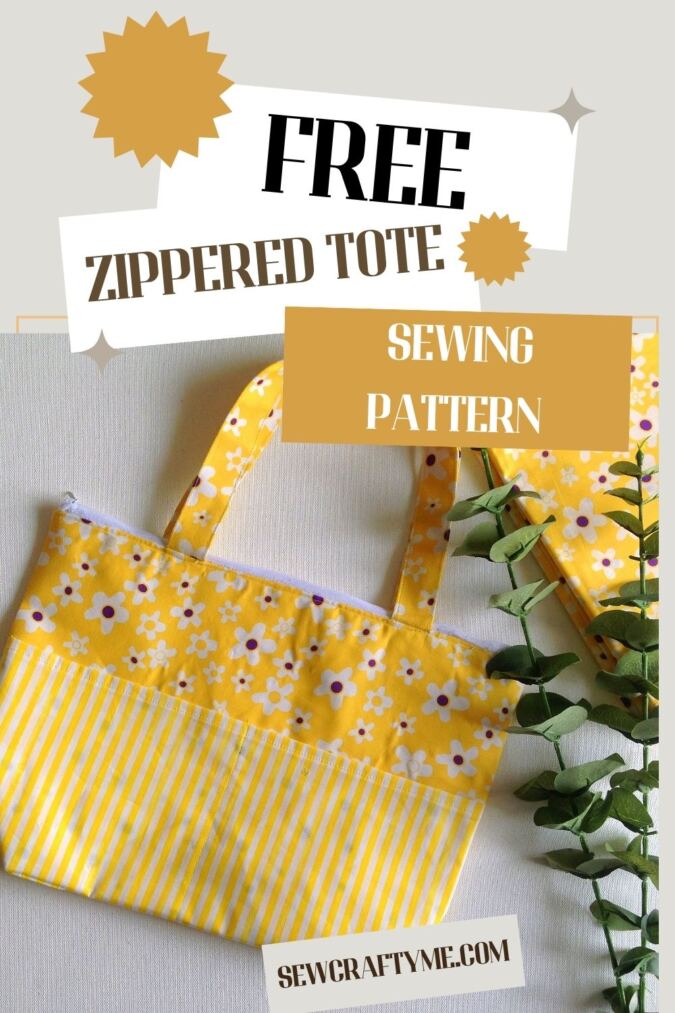
Pin it for later here,
No matter your skill level, this pattern to make tote bags is a great way to have fun with your sewing while creating something both stylish and practical. Enjoy the process, and remember to add your own personal touch to make it uniquely yours!
Gerry
Tuesday 9th of September 2025
Love it - will make one