Unleash your inner fashionista with the Knot Bow Headband Sewing Pattern! This versatile pattern caters to all ages, from adorable newborns to stylish adults. Now you can craft sweet bow headbands for little princesses, trendy headbands for teens, and sophisticated accessories for yourself.

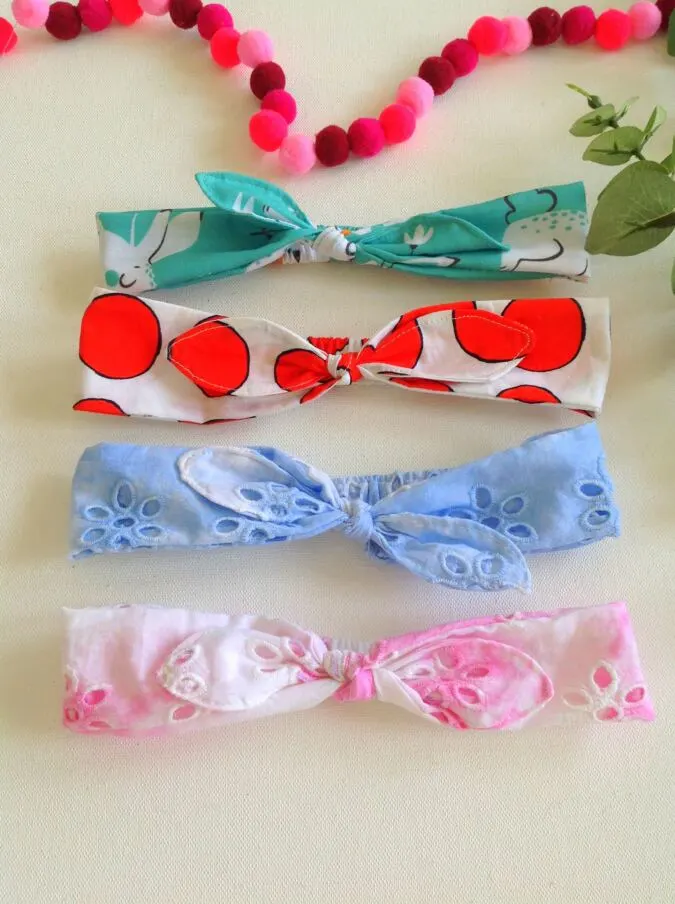
With clear instructions and multiple size options, along with a free template for the knot bow, even beginners can whip up beautiful headbands in no time. Choose fabric in nude colors and pastel shades for classic styles, or opt for bright shades and vibrant prints for playful variations.


This pattern is your ticket to endless customization and gifting possibilities! So grab your fabric, thread your needle, and get ready to tie up some cuteness!
Sizing:
Table-1


Supplies Needed:
1) Fabric scraps for the headband main and elastic casing pieces (you may use the leftover scraps from the dresses you sew)- requirement specified in the table-2 below.
2) ½- inch elastic for newborn to 3 years and ¾- inch elastic for the higher ages- requirement specified in the table-2 below.
3) Sewing Notions.
4) Knot Bow template. **Enter your email address and click subscribe to download the template:


Gather your supplies.
Measurements:
Table-2


Cut 2 main headband pieces and one piece for the elastic casing, referring to the table-2 above. Also cut the bow pieces using the template given in the attached PDF.
Let’s first prepare the elastic casing.


Fold the casing piece in half lengthwise, with the right sides touching and edges aligning. Pin and sew the casing shut along the long edges.


Bring the right side out through the opening along the ends.


Take the required length of the elastic referring to the table-2 above and insert it through the casing using a safety pin.


You can see that the casing gets scrunched up. Secure the ends by sewing back and forth along the two edges.
Let’s prepare the main headband.


Take the two main headband pieces and layer them with the right sides together, lining up the edges. Sew it shut along the two long edges and bring the right side out.
Let’s attach the casing to the main headband.


Mark the centers of the short edges of the headband and the casing. Place the raw edges of the two pieces lined up, matching the center marks.


Fold the headband edge over the casing on one side. Repeat on the other side to completely enclose the edge of the casing in the headband. Pin and sew to join. Repeat on the other set of raw edges.


Your headband now looks like this and it is almost ready.
Let’s do the bow.


Take the two bow pieces, layer them with the right sides together, lining up the edges. Sew around the edge, leaving a small gap of about one inch to turn the right side out. Clip the corners and trim the edges.


Bring the right side out through the opening. Tuck in the raw edges and press taut.


Topstitch around the edge, shutting the opening.


Next slide the bow through the inside of the headband ring and tie in a knot to secure.


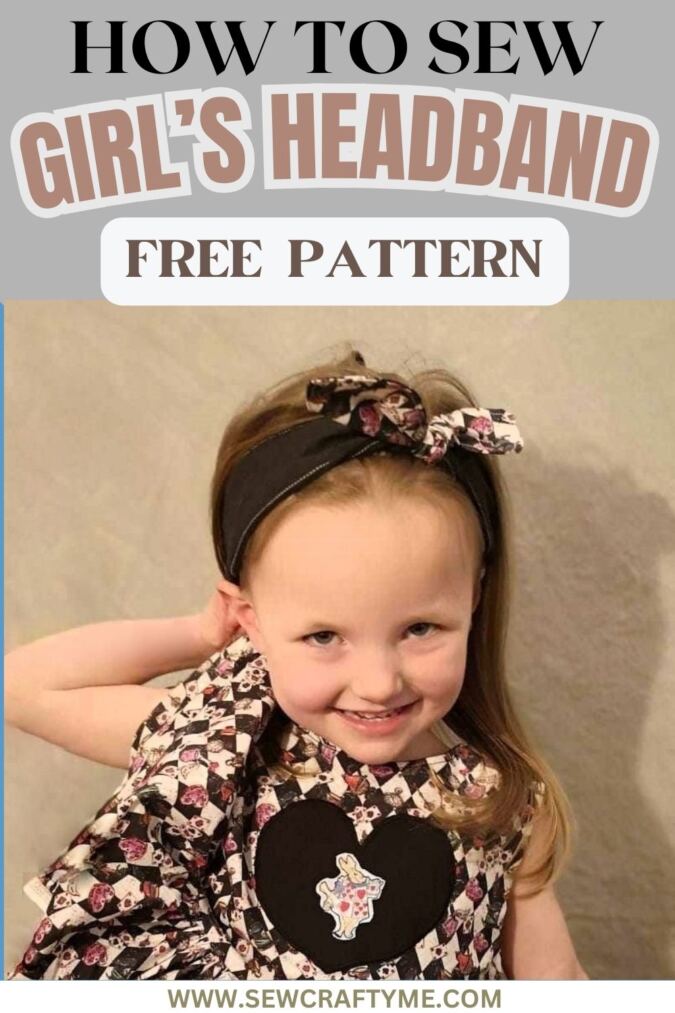
Your knot-bow headband is ready for use!
Find the web story for the post here; Get the Free Pattern: Knot-Bow Headband for All Sizes
Pin it for later here,
Patti A.
Wednesday 20th of March 2024
Maybe I missed it but wish I could have gotten a PDF for it. I love all your patterns