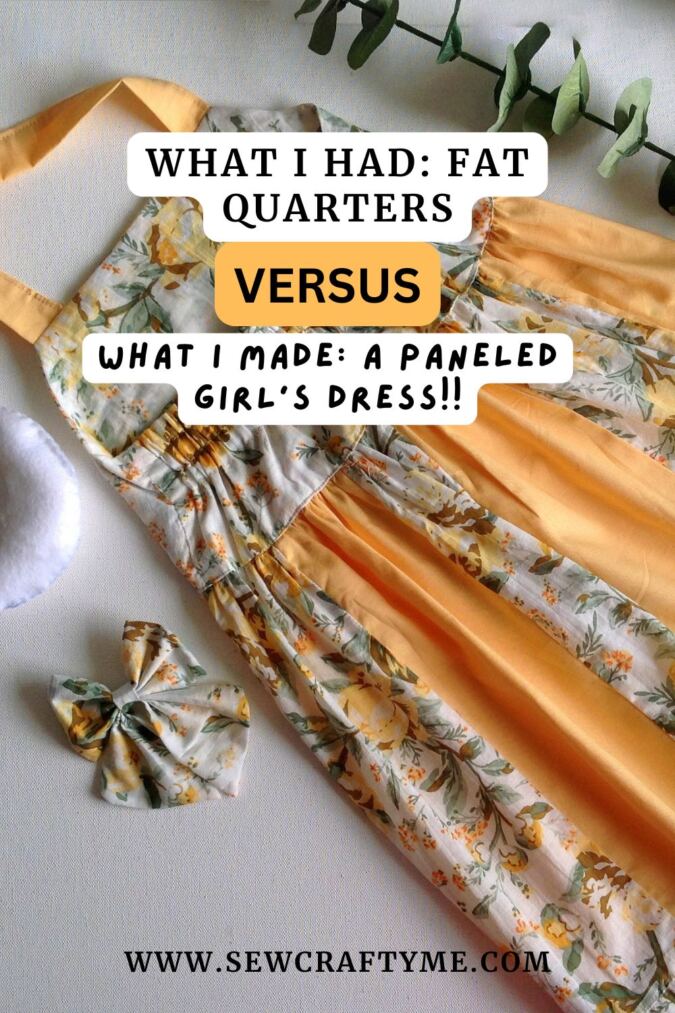
Looking for a fun way to turn your fabric scraps into something beautiful? The Hazel Dress is just the project! This charming dress is perfect for putting your leftover fabrics to good use, making it both budget-friendly and eco-friendly.

Don’t let the patchwork design intimidate you—it’s much easier to sew than it looks. If you’ve already made my Girl’s Sundress Pattern, you’ll find this dress just as approachable. The only extra step is joining the fabric panels, which takes a little more time but is well worth the effort.
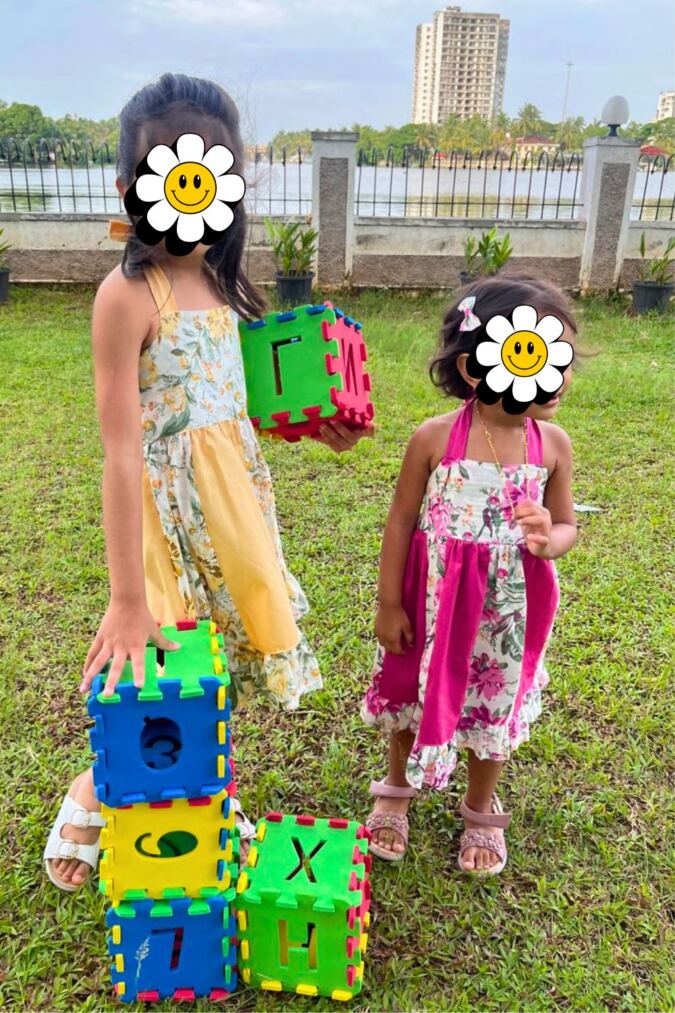
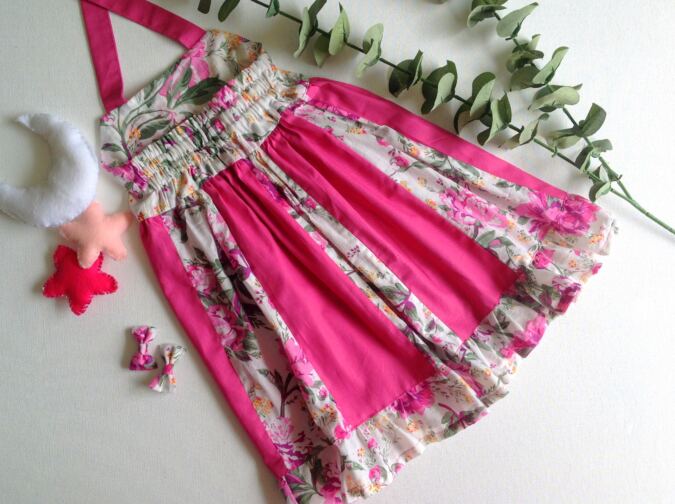
The Hazel Dress also gives you endless opportunities to mix and match coordinating prints and colors. Get creative with your scraps and design a one-of-a-kind dress that’s as unique as your style!
Free Paneled Dress Sewing Pattern for Girls-The Hazel Dress
Materials Required
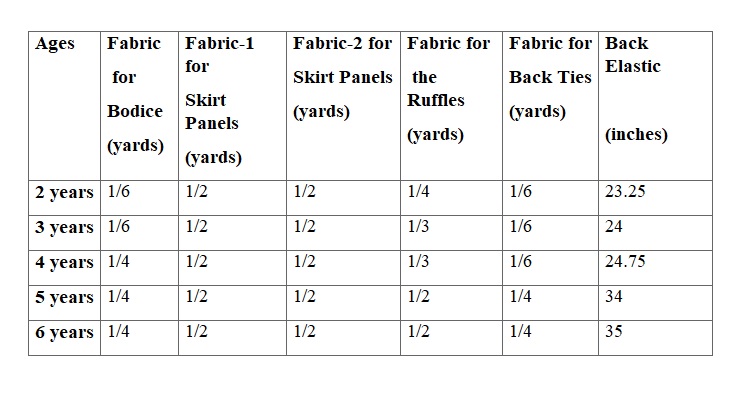
- Medium- weight cotton fabric in a desired print and color for the dress bodice- requirements specified in the table-3 below.
- Medium-weight cotton fabric for the skirt panels- requirement specified in the table-3 below. *You will need two different fabrics for the skirt panels.
- 3/8- inch elastic- requirements specified in the table-3 below.
- Sewing Notions.
- Pattern Template. **Enter your email address and click the subscribe button to download the template. Please wait for 2 to 3 minutes for the download window to appear.
All the fabrics used here are of 44/ 45 inches width.
The seam allowance is 3/8-inch unless otherwise specified.
I suggest you read the entire pattern once before starting to get a general idea.
All seams are to be finished by zigzag or serger.
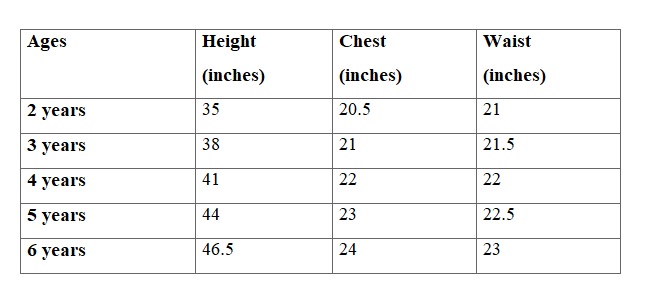
Size Chart
Table-1
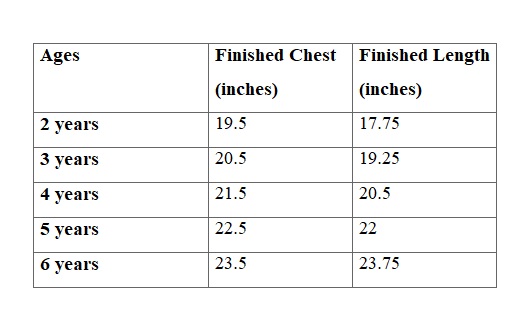
Approximate Finished Measurements.
*The length of the dress is measured from the top center of the bodice to the hemline (strap excluded).
* The dress is supposed to hit just below the knee.
Table-2
Material Requirements.
Table-3
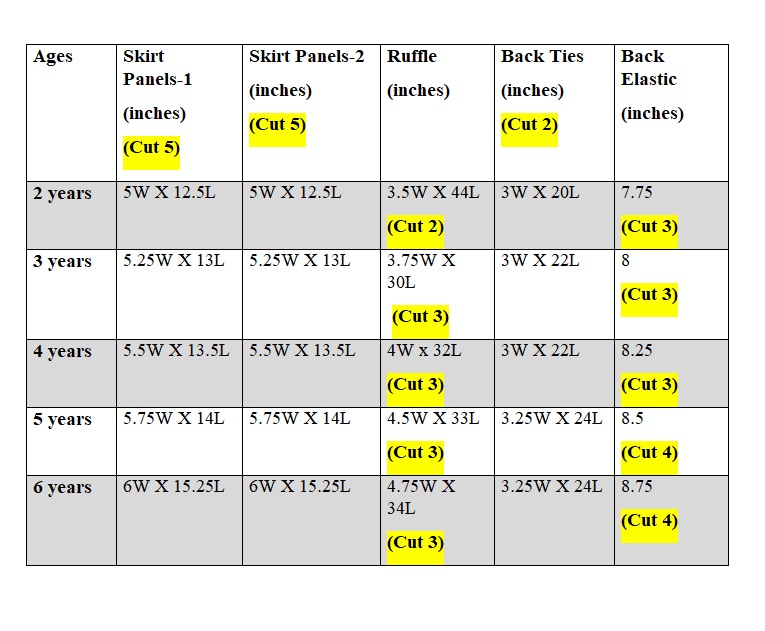
Measurements
In the table below, “L” stands for the length and “W” stands for the width of the fabric piece to be cut.
Table-4
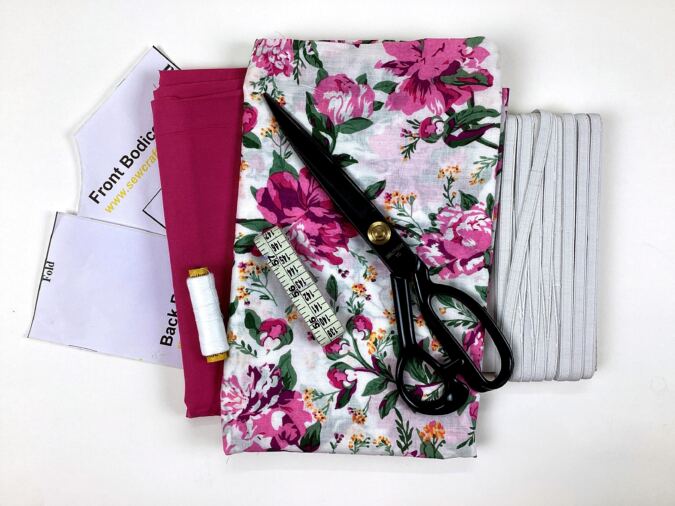
Gather your supplies.
Sewing
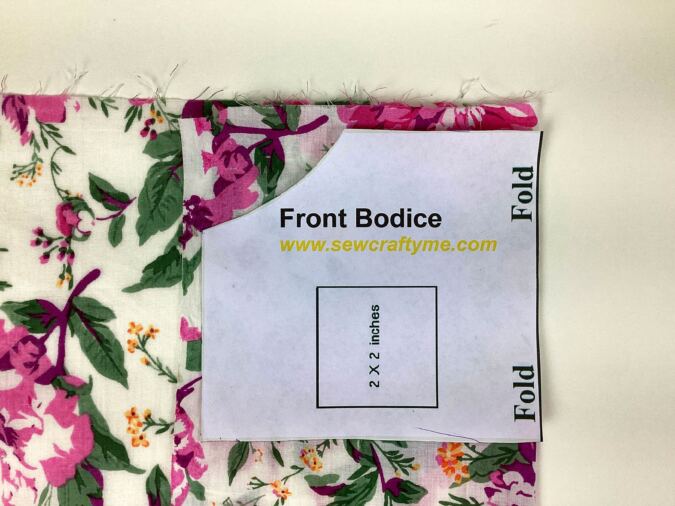
Cut the pattern template for the front bodice from the pdf. Fold the fabric and keep the template on the fold. Mark and cut to get the front bodice piece. Repeat the steps to get one more of the same piece for the front lining.
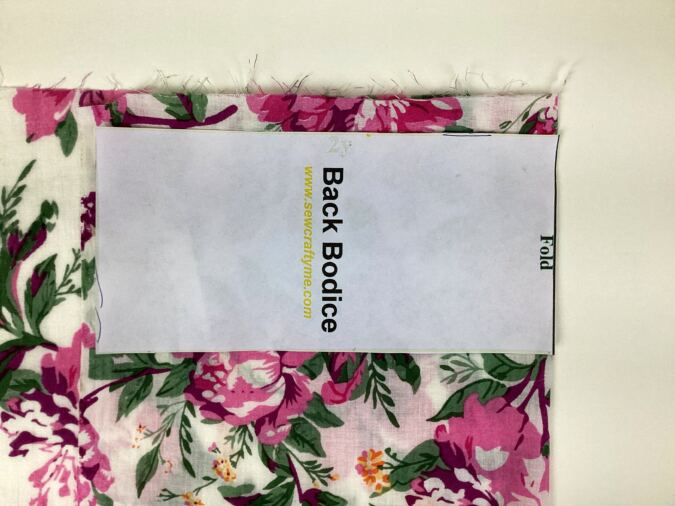
Next, cut the template for the back bodice from the pdf, fold the fabric and keep the template on the fold. Mark and cut to get the back bodice piece. Repeat the steps to get one more of the same piece for the lining.
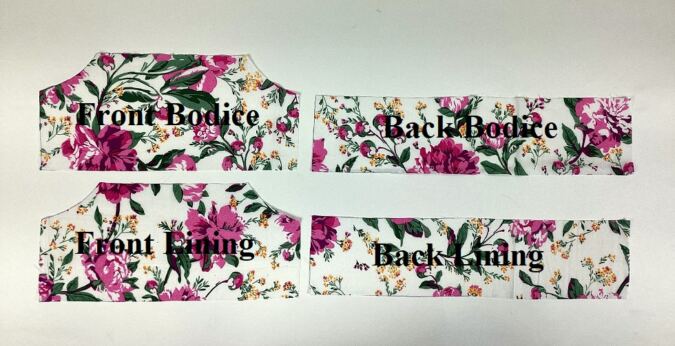
You will get your front bodice, back bodice and lining pieces like this.
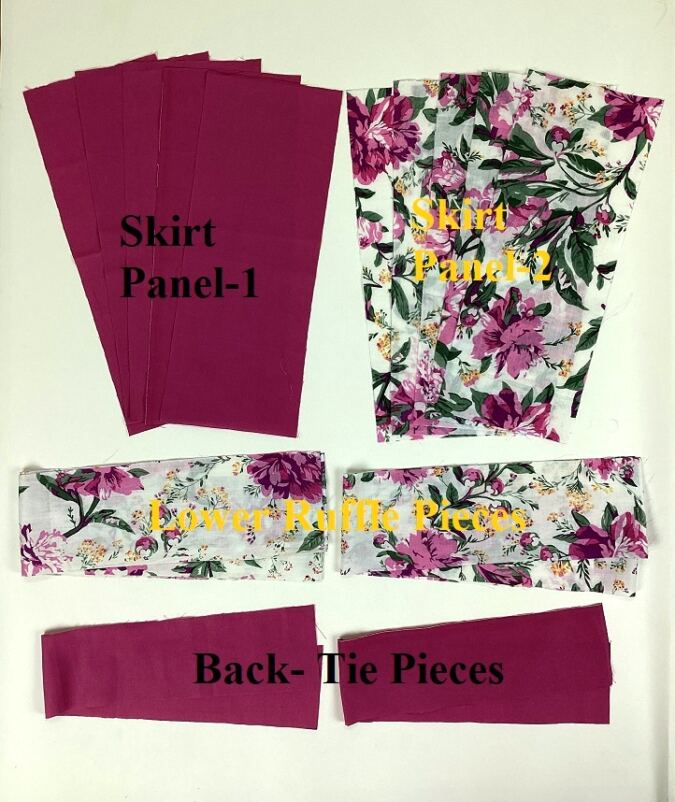
Cut your skirt panels, lower ruffle and tie pieces like this, referring to the table-4 above.
Let’s prepare the ties. **The few pictures below are for illustrative purposes and such may vary from the original.

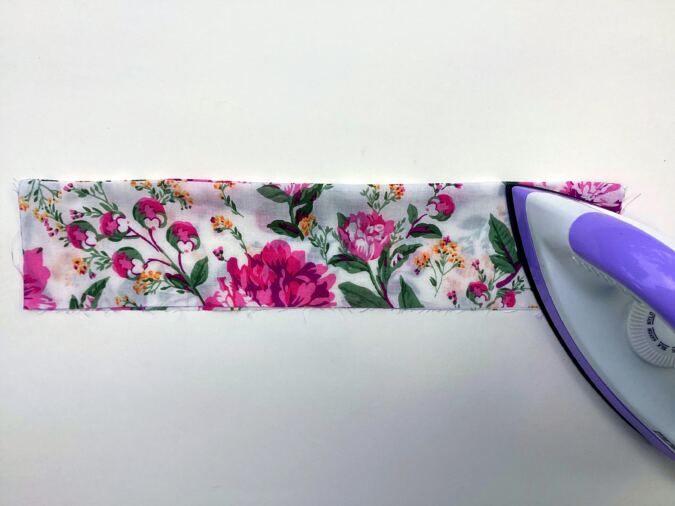
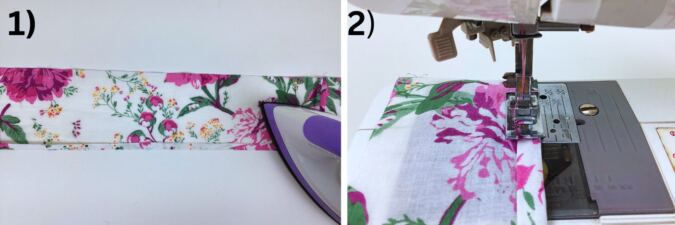
1) Take one of the fabric pieces required for the ties. Fold the two longer edges towards the wrong side by 3/8-inch and press.
2) Fold it again in half lengthwise, with the wrong sides together and press.
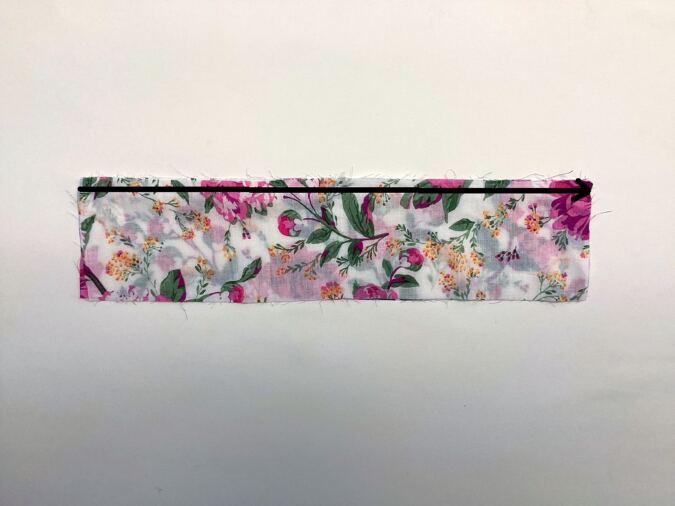
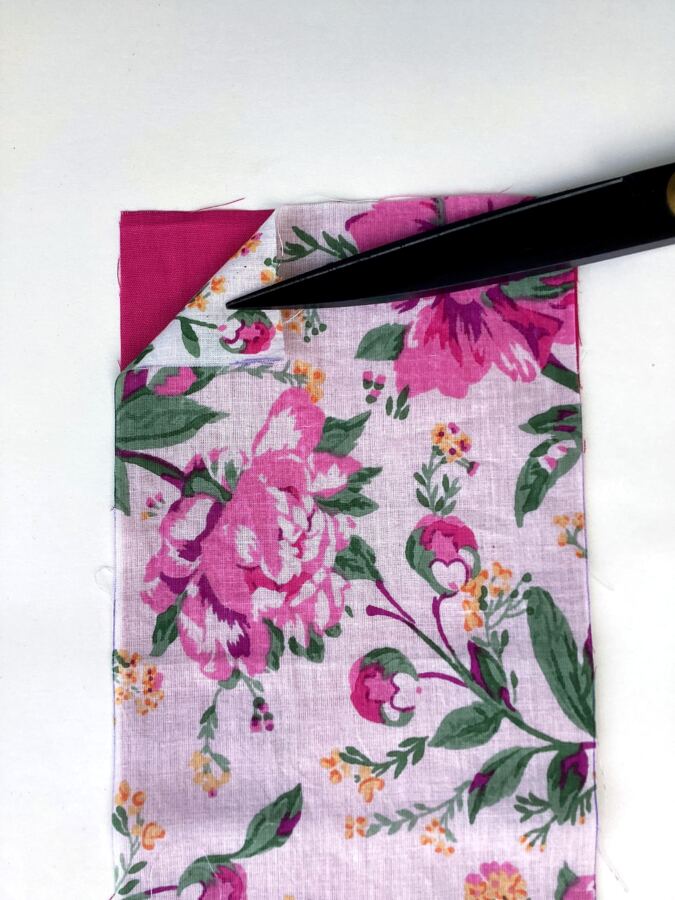
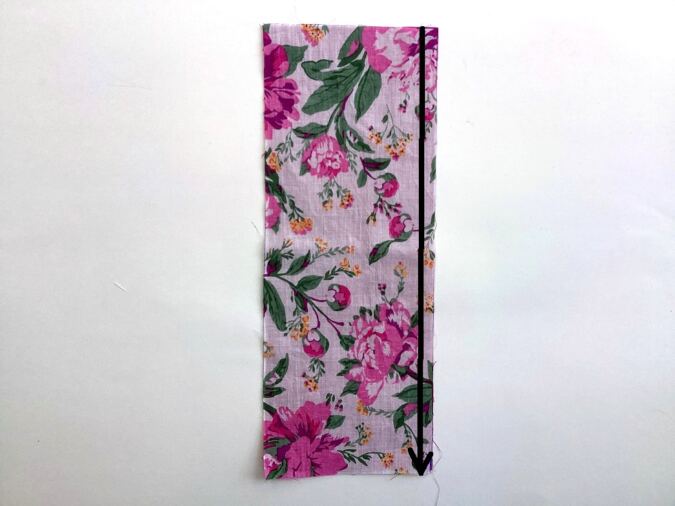
3) Flip the tie over to the wrong side and sew a straight line, one inch from the end of the open edge to the opposite corner to make the ends of the tie slanting.
4) Clip the corners with the help of your scissors.
5) Flip the tie over to the right side, topstitch along the slanting edge and sew the open edge shut. Repeat the steps to get the other tie ready.
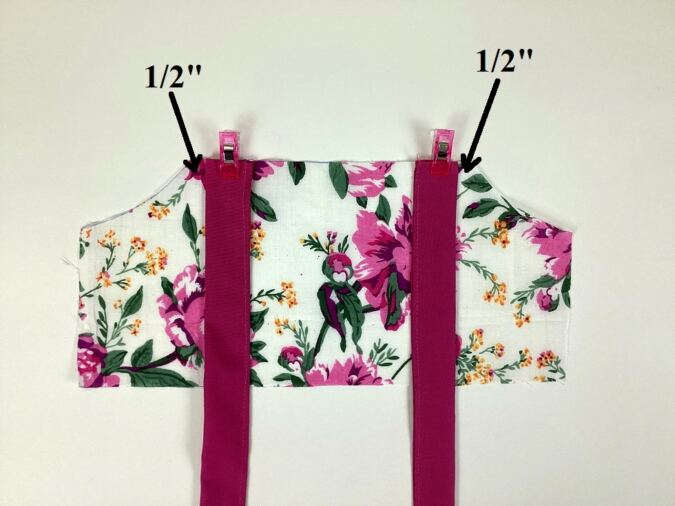
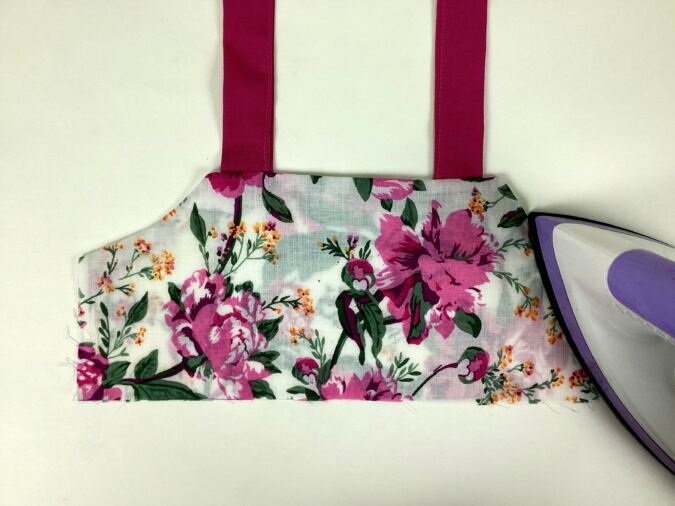
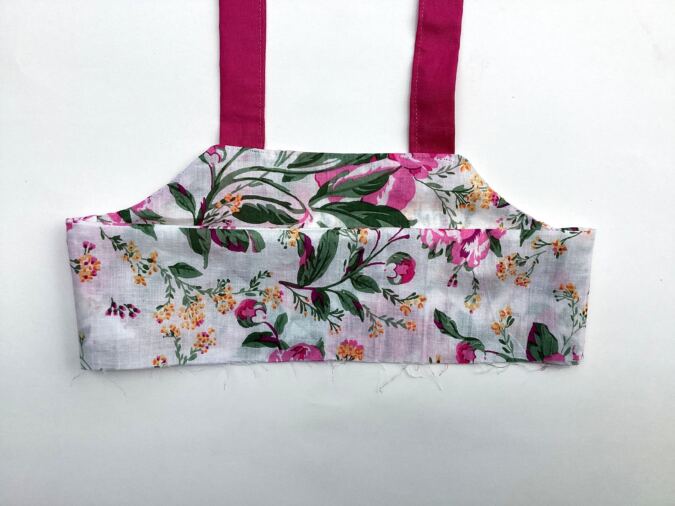
Take the front bodice piece and keep the two ties along the upper edge, leaving ½- inch from the armhole as shown above and pin. Sew the ties to join.
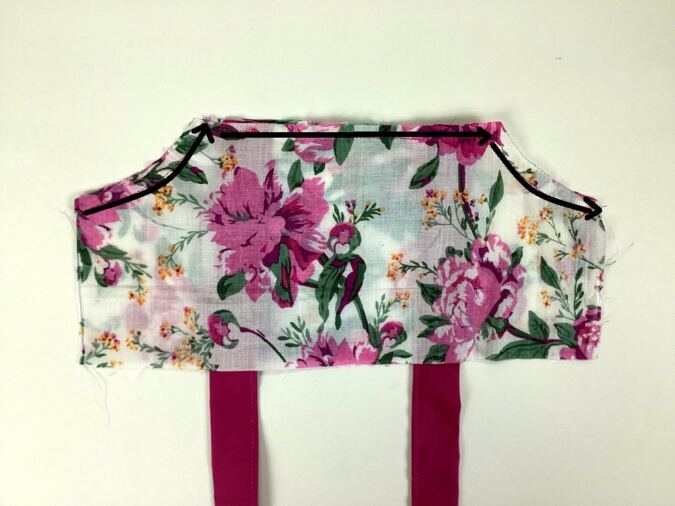
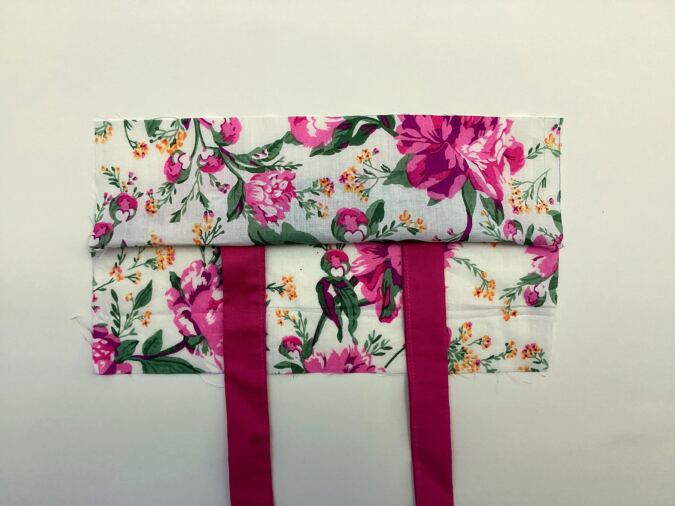
Keep the front lining over it with the right sides together and aligning the edges. Pin along the top edge and armholes. Sew along the pinned edges.
Clip the corners and trim the edges.
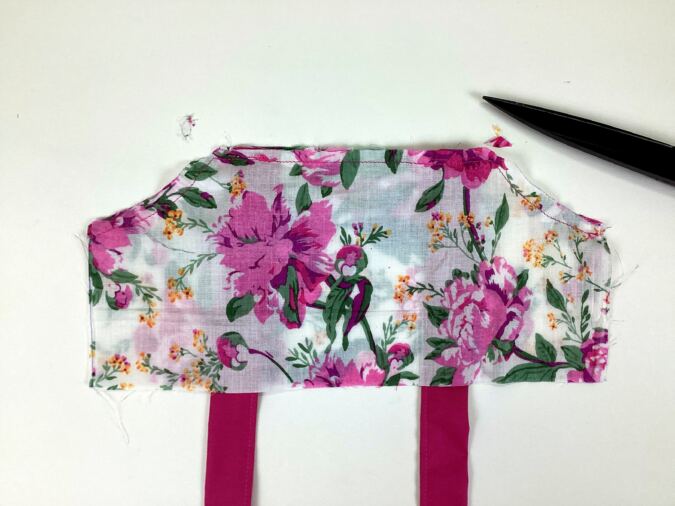
Turn over to the right side, push out the corners with the help of a wooden dowel and press.
Our front bodice is done, we do the back bodice.
Take the back bodice and lining. layer them with the right sides together aligning the edges. Sew along the top edge, leaving a 3/8-inch seam.
Turn over to the right side and press.
Next, we sew the front and back bodices together.
Flip the front lining upwards to open the side seams as shown above.

Next, flip the back lining upwards to open the back side seam. With the right sides together, align the side seams of the front and back bodices and pin (note that the back bodice is wider than the front bodice).

Sew the side seams shut on both sides.
Flip the lining back to bring the right side out.
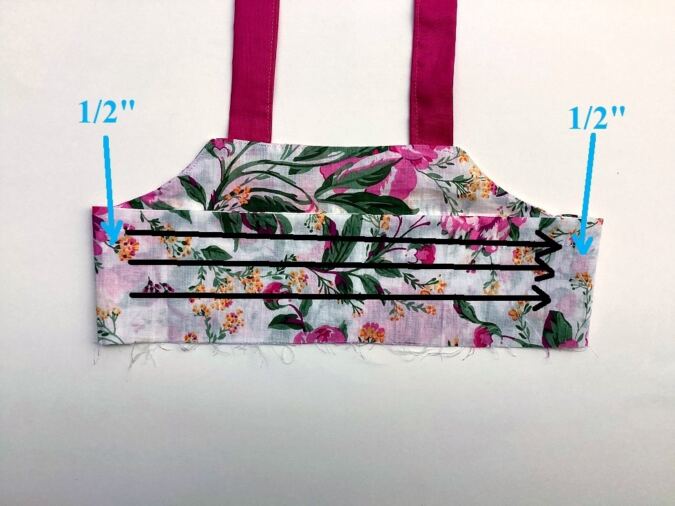
Next, sew a straight line 5/8 inch from the top edge of the back bodice, leaving ½ inch from the side seams on both ends (as marked in the picture above). Draw a second line 5/8 inch below the first and a third line 5/8 inch below the second.
**For sizes 5 and 6 years, draw one additional line 5/8 inch below the third to create an extra elastic casing.
Sew along the marked lines, making sure to reinforce the stitches at the beginning and end of each line. These rows of stitching will form the casings for the back elastic.
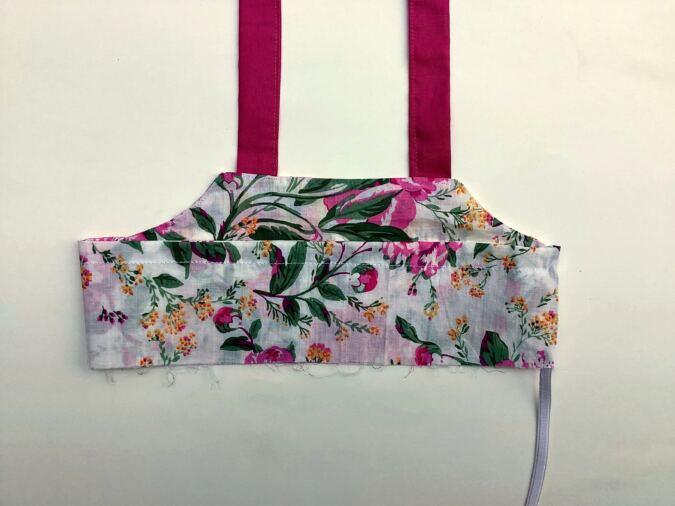
Take the required length of the elastic, referring to the table-4 above and insert it through the first casing using a safety pin. Sew back and forth a few times along the ends of the casing to attach the elastic.
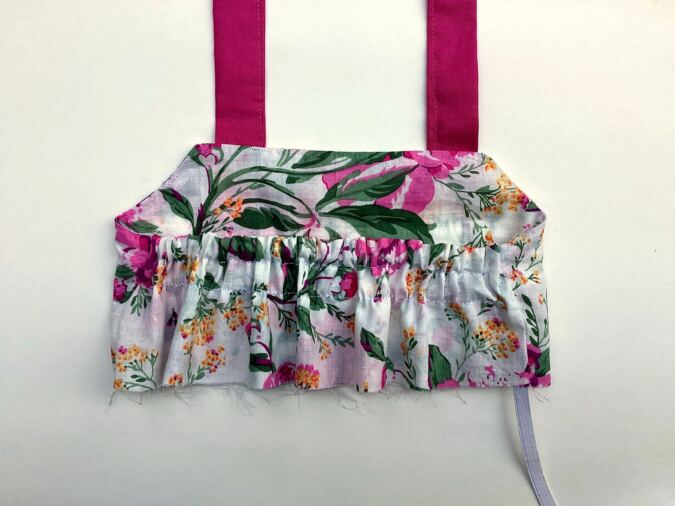
Repeat with the other pieces of elastic on the remaining casings.
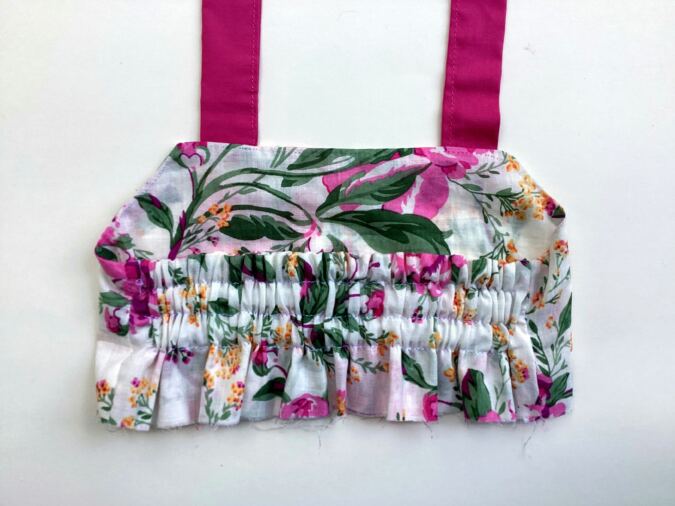
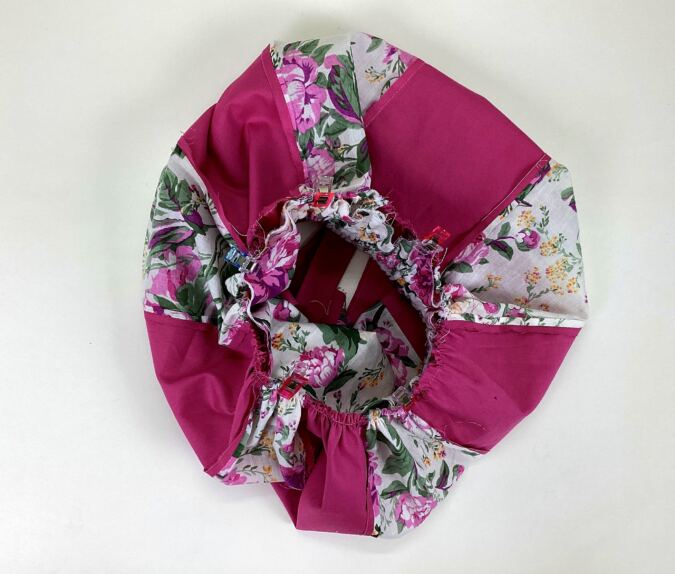
Your bodice back will now look like this.
We move on to the skirt part.
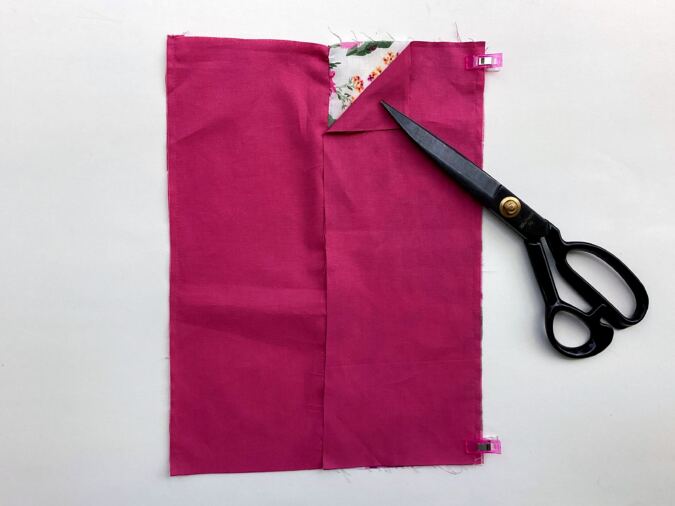
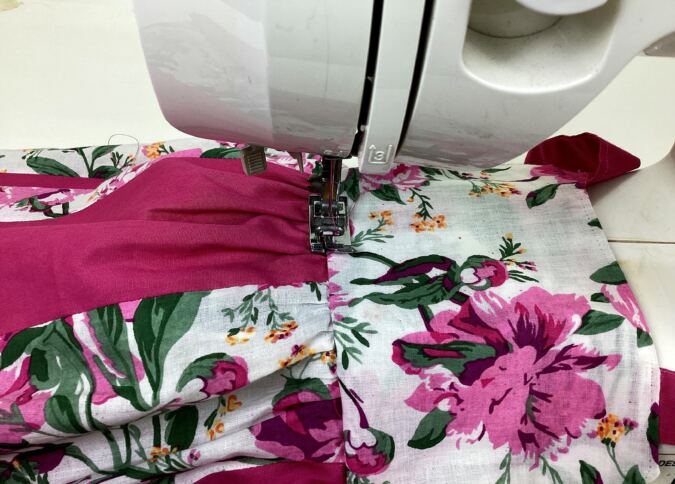
Take the two coordinating panels for the skirt. Layer them with the right sides together, aligning the edges .
Join them along the longer side as marked above.
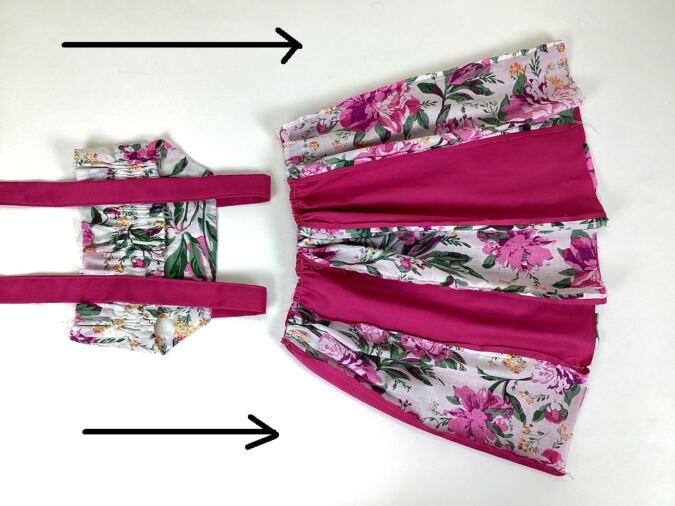
Take the next alternating panel piece and attach it to the second panel of the already joined pieces. Repeat the process until all ten panel pieces are joined together.
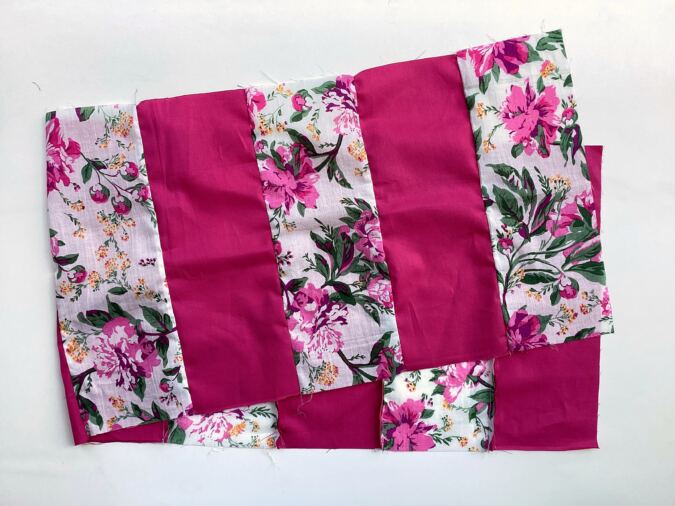
You will get your panels joined like a long strip of alternating fabric as shown above. This is our skirt piece.

Press the seams flat.
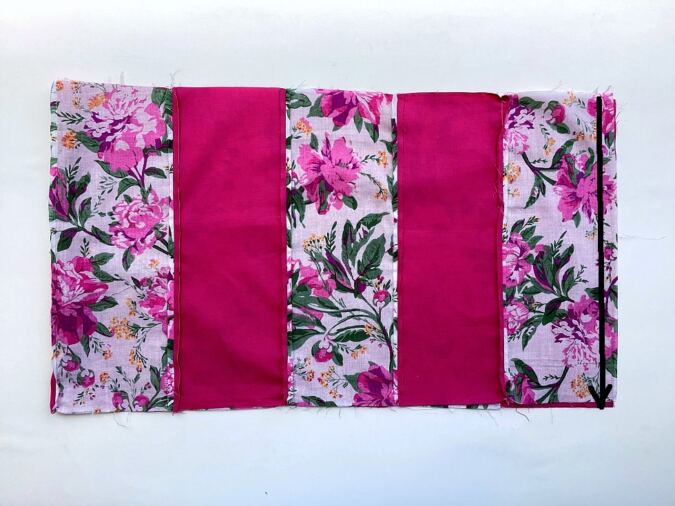
Fold the skirt over, with the right sides together, lining up the edges and sew the side shut. You will get a fabric tube.
We need to gather the skirt
Turn the upper thread tension of your machine to zero and the stitch length to the longest to get a basting stitch.
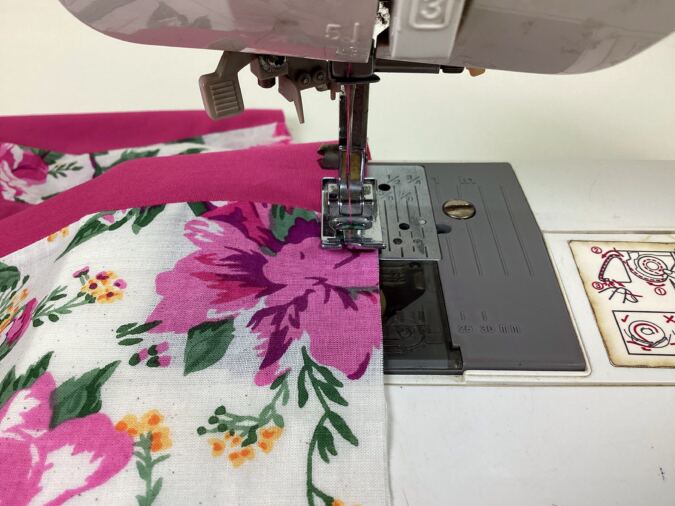
Make a basting stitch 3/8 inch away from the top edge of the skirt. Leave a long tail of thread, 7 to 8 –inches long, to pull and gather the skirt.
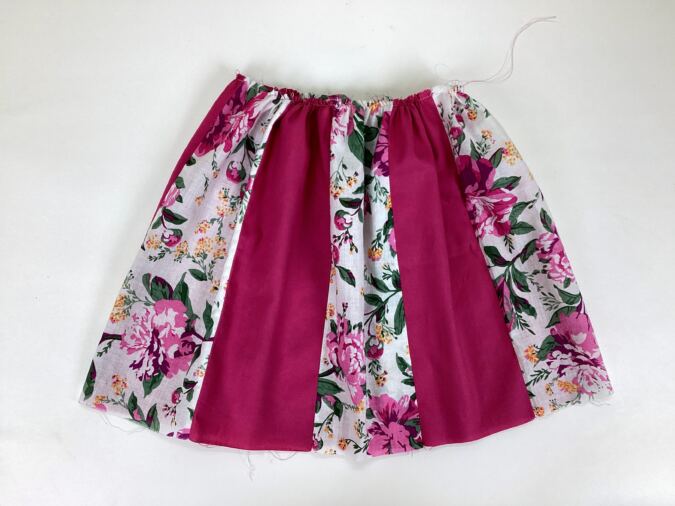
Pull the thread from the bobbin gently to gather the skirt.
Next, we attach the skirt to the bodice.
Adjust the gathering in the skirt to make it uniform and to match it with the lower edge of the bodice part.
Place the bodice on its right side, with the upper edge facing the gathered edge of the skirt. The skirt should be kept on its wrong side. Slide the bodice into the skirt.
Align the lower edge of the bodice with the upper (gathered) edge of the skirt and pin all around, making sure that the side seams fall in line.
Turn the machine tension and stitch length back to normal and sew the skirt to the bodice. Zigzag to prevent fraying.
Fold the waist seam towards the bodice and topstitch along the waist seam to give it a better finish. **You may leave out the back bodice while topstitching.
Next we move on to the lower ruffle.
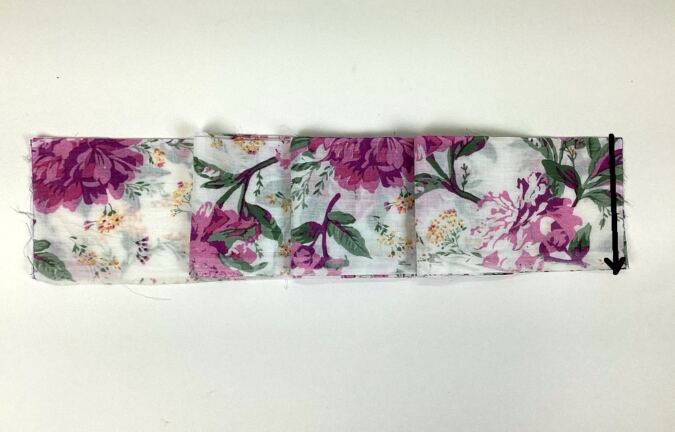
Join the ruffle pieces along the short edges to get the required length and sew it shut along the short edges to get a fabric tube.
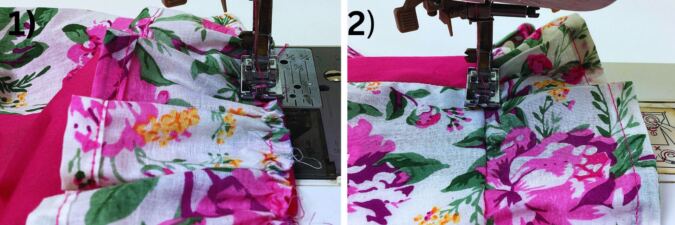
Next, we hem the lower edge of the ruffle.
1) Fold one of the long edges of the ruffle by 1/2- inch twice and press to set.
2) Sew the fold down along the edge.
Let’s gather the ruffle.
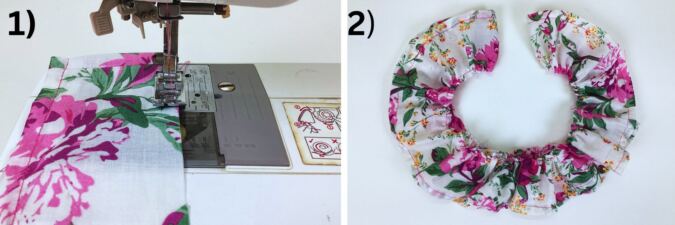
1) Sew a basting stitch along the raw edge of the ruffle piece, leaving long tail of thread about 6 to 7- inches long to pull and gather it.
2) Pull the thread from the bobbin gently and gather it. Adjust the gathering to match the lower edge of the skirt. Your ruffle will look like the picture above.
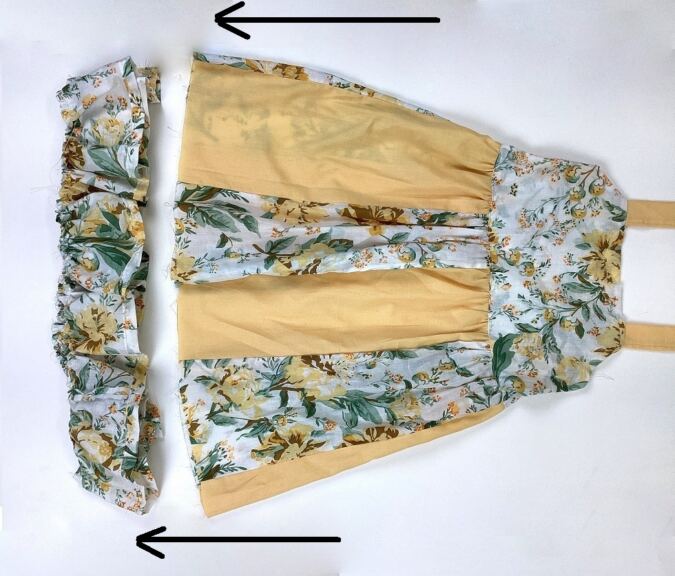
Keep The ruffle with the wrong side out. Place the the dress on its right side, with its lower edge facing the hem of the ruffle and slide the dress into the ruffle (picture for illustration purposes).
Line up the raw edges of both and clip them together all around.
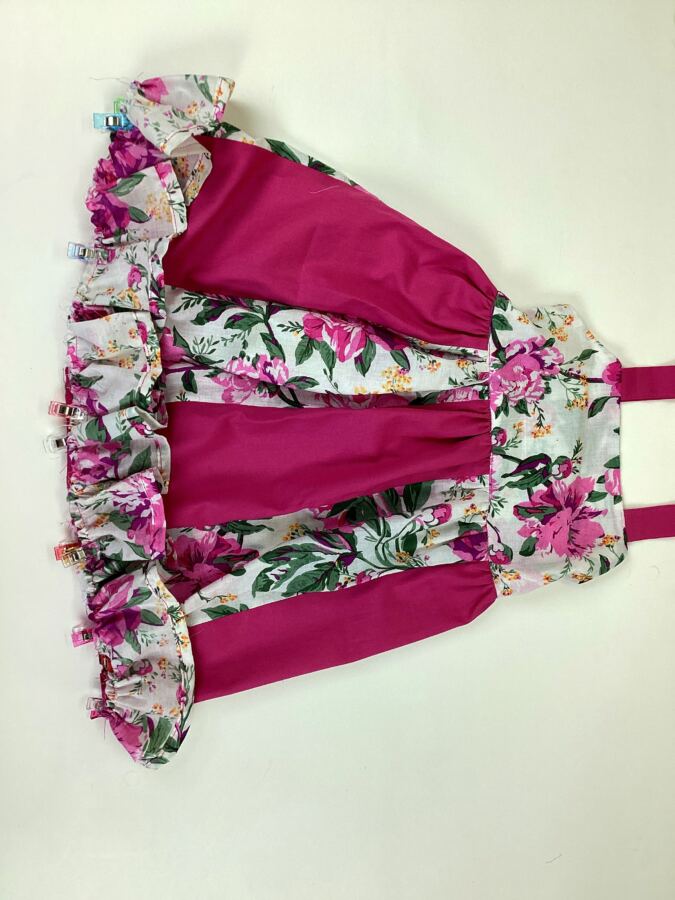
Turn the machine settings to normal and sew the ruffle to the dress, removing the clips as you go. Zigzag to prevent fraying. Turn the ruffle over to the right side and topstitch along the seamline of the dress and ruffle to make it clean and crisp.
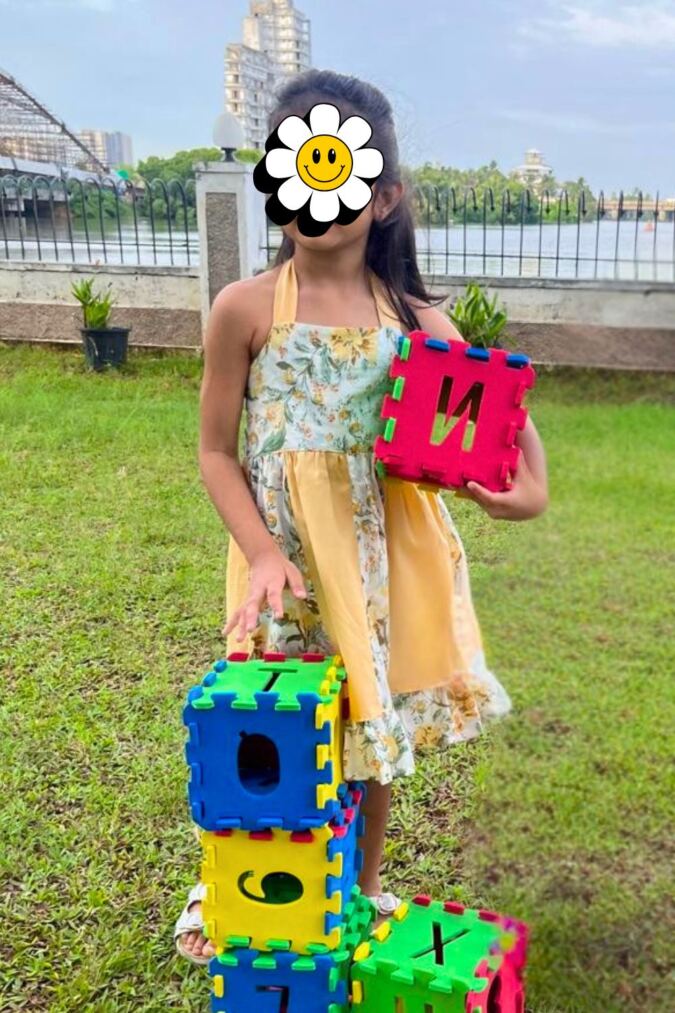
Our Paneled dress for girls is ready!
Pin it for later here,