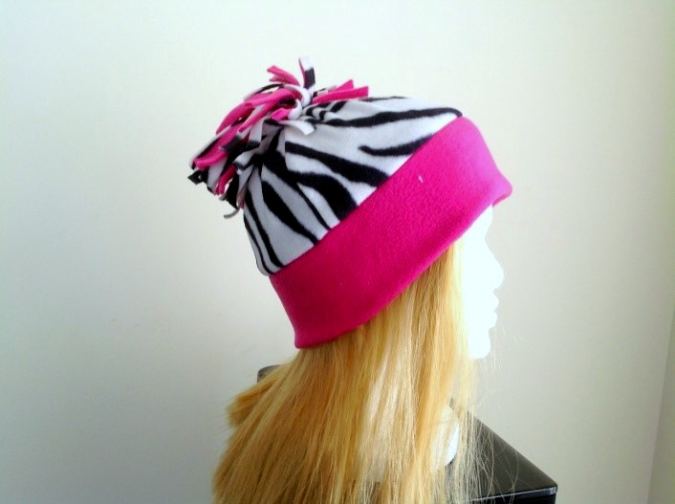
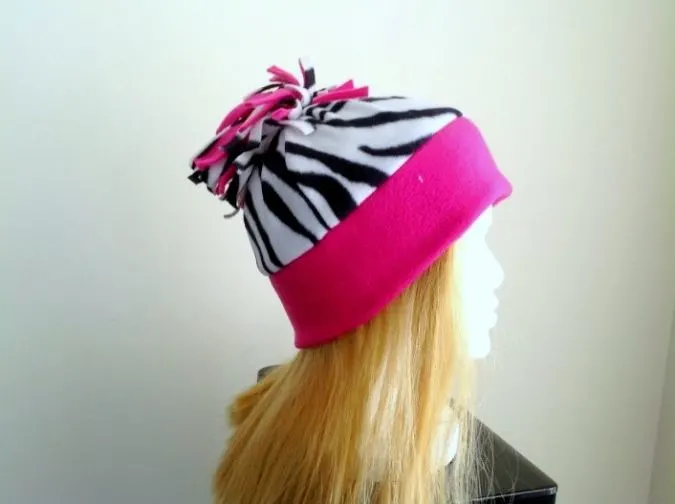
This is a beginner-level fleece hat sewing pattern that can be sewn in less than an hour. This gathered hat is a contemporary version of the classic fleece beanie hat, which will keep you warm and trendy during winter.
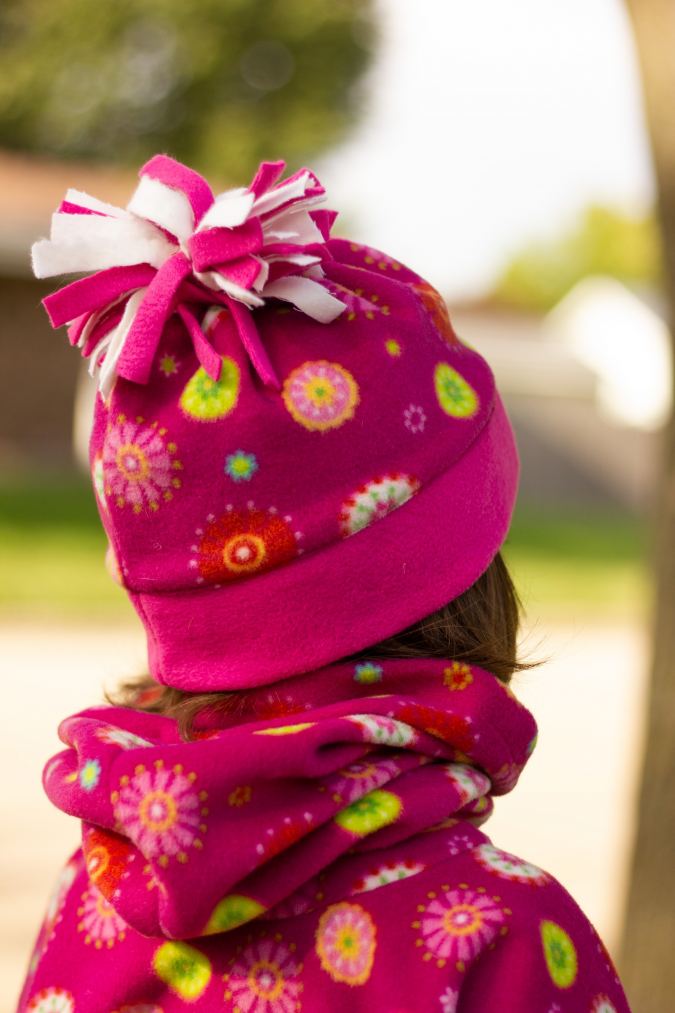

This fleece beanie pattern has a template for the hat body and detailed measurements for the cuff and pompoms, which makes it a quick and easy project. You can make the hat from newborn to adult sizes, using the template and measurements.


You can mix and match different colors and prints and have fun with this beanie sewing pattern. So come on, grab your notions and banish the winter blues with this warm and cozy hat!
Size Chart:
Table-1
| Ages | Finished Cuff Circumference
(inches) |
Finished Hat Height
(inches) |
| 0-3 months | 13 | 6 |
| 3-6 months | 15 | 6.5 |
| 6-12 months | 17 | 7 |
| 1-3 years | 18 | 7.5 |
| 3-10 years | 19.5 | 8 |
| Pre-teen to Adult | 21 | 8.5 |
Measurements:
Table-2
| Ages | Cuff Piece
Length x Width (inches) |
| 0-3 months | 13.5 x 2.5 |
| 3-6 months | 15.5 x 2.5 |
| 6-12 months | 17.5 x 3.5 |
| 1-3 years | 18.5 x 3.5 |
| 3-10 years | 20 x 4.5 |
| Pre-teen to Adult | 21.5 x 5.5 |
Instructions for sewing with fleece:
- Use a straight stitch or a narrow zigzag stitch.
- Longest stitch length works the best with fleece.
- Stitch slowly and carefully without stretching the fleece.
- You may use a regular sewing machine needle.
Fleece Beanie Hat Sewing Pattern
Supplies Needed:
Fleece fabric for the main body of the beanie hat- 1/4 yard.
Fleece fabric in a coordinating color for the cuff- 1/6 yard.
Sewing Notions.
Download the template:
*Seam allowance is ¼-inch throughout unless otherwise specified.
*The fabrics shown here are only for illustration purposes and as such may vary from the original.

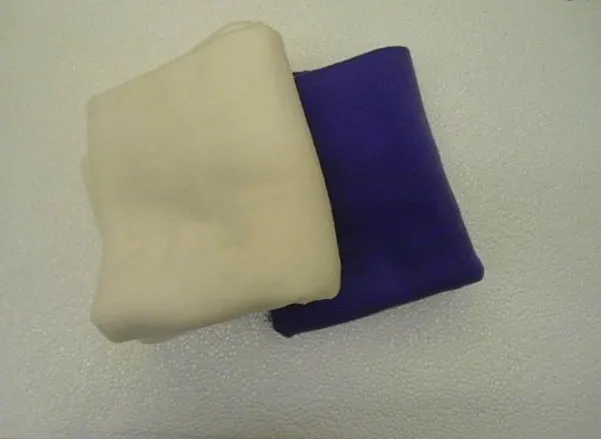
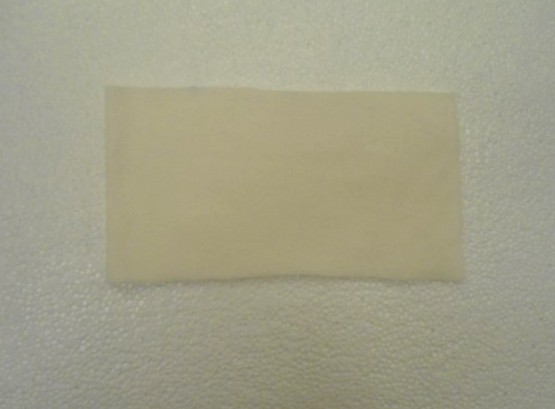
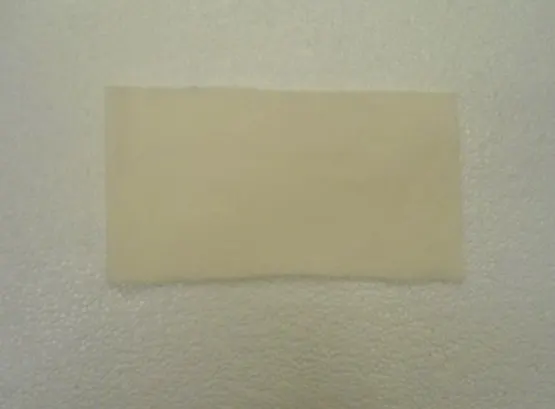
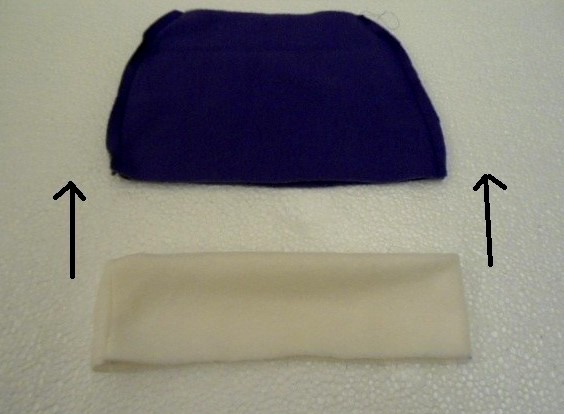
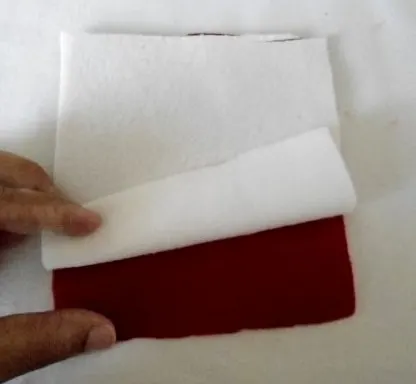
Take the fleece fabric for the hat body and cuff.

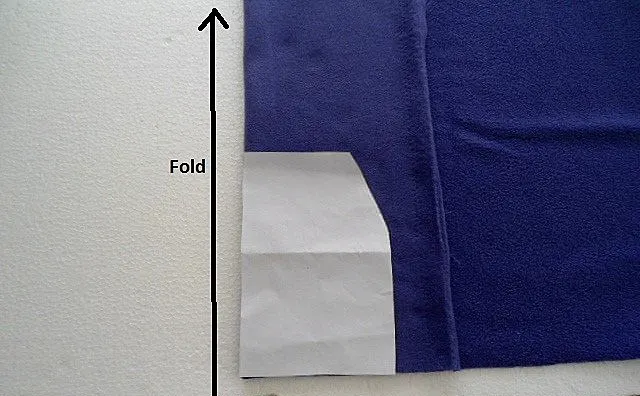
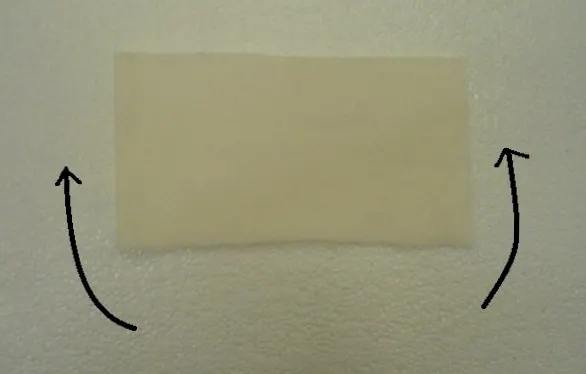
Print the pattern template and cut it according to the required age. Fold the fleece for the main body of the hat and keep the template on the fold. Mark and cut the main hat piece.
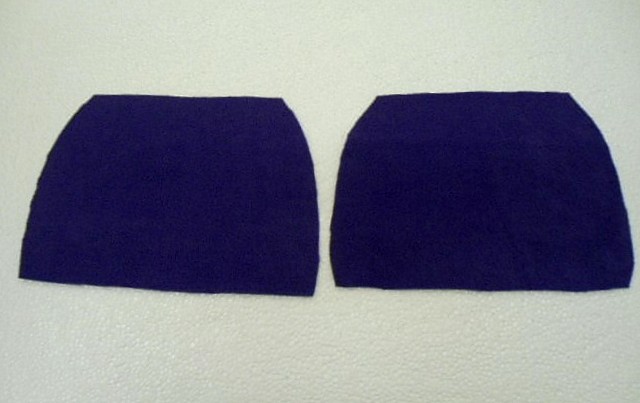

Repeat the steps to get one more of the same piece.
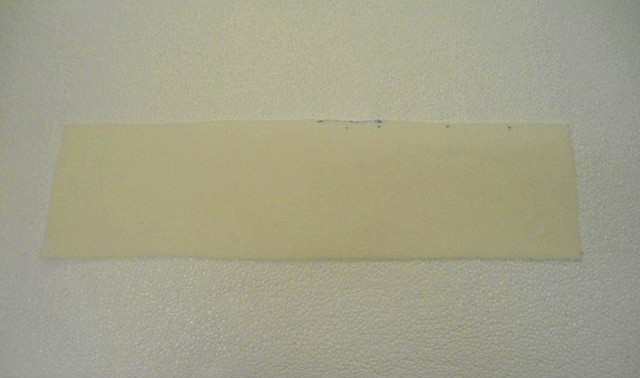
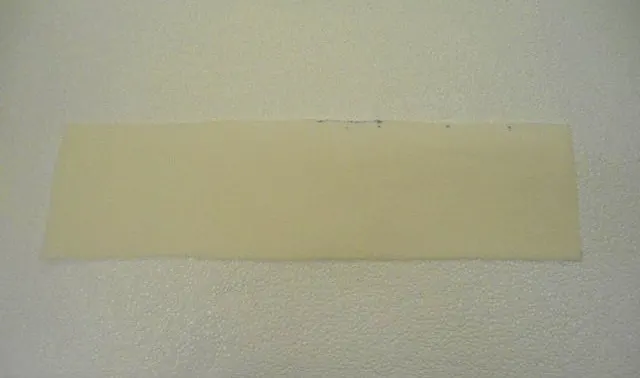
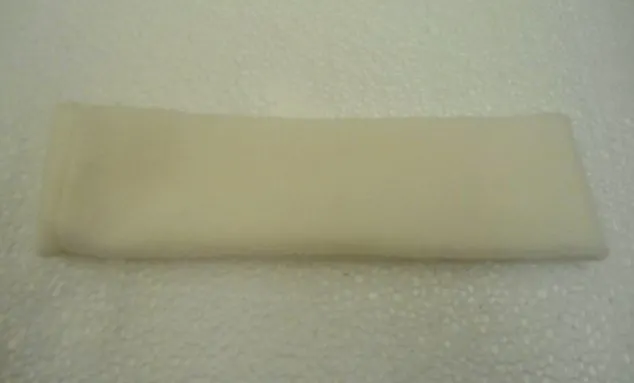
Cut a rectangular piece from the fleece fabric for the cuff, according to the age, referring to the table- 2 above.
Sewing:
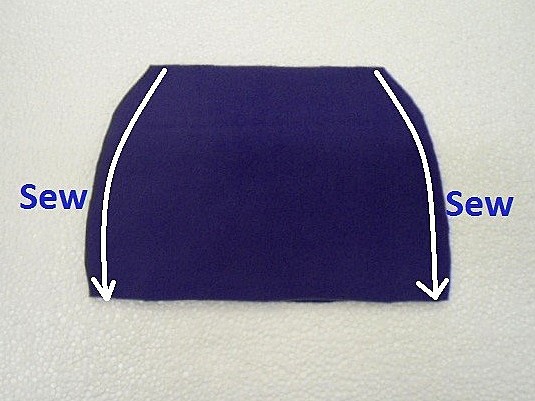
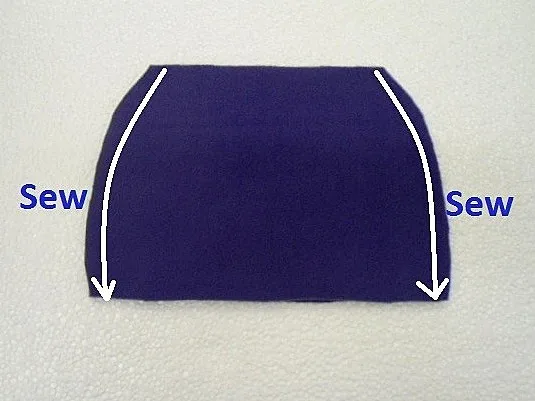
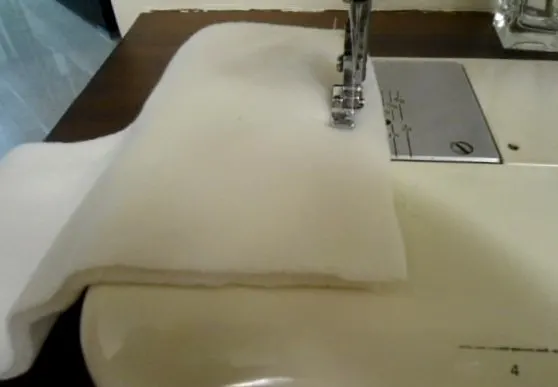
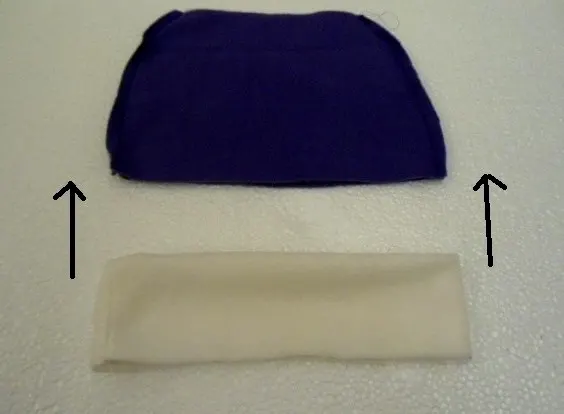
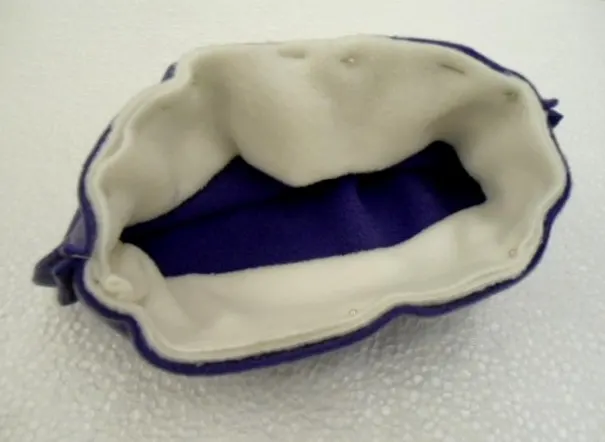
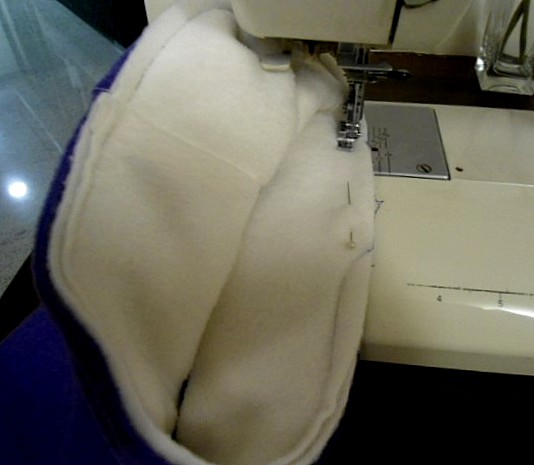
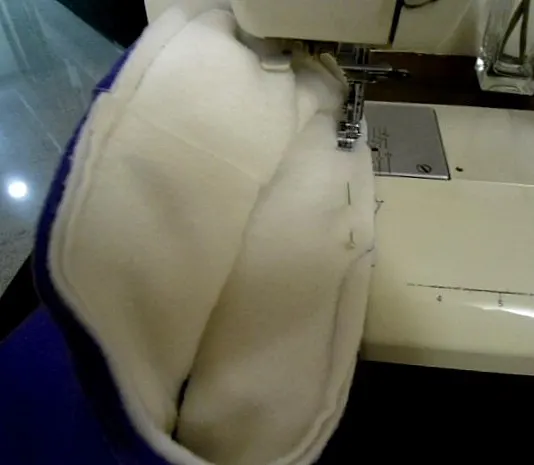
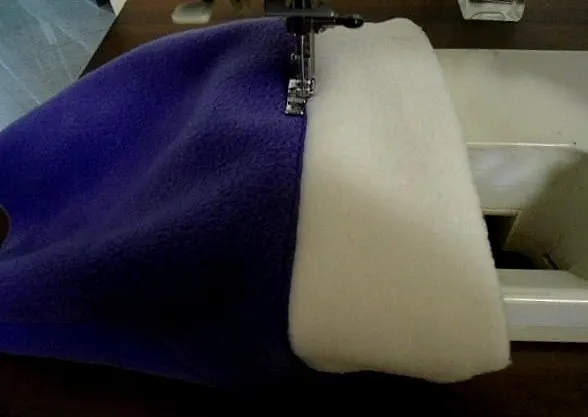
Layer the two main hat pieces with the right sides together, aligning the edges and pin. Sew along the curved sides, leaving a ¼-inch seam allowance. Take care to reinforce at the start and finish.
Let’s do the cuff of the hat.
Take the cuff piece, fold it widthwise with the right sides together and matching the edges.

Sew the shorter side shut to form a tube.

Fold the tube halfway up, bringing the raw edges together and the right side out. Your cuff is ready for attachment to the hat.
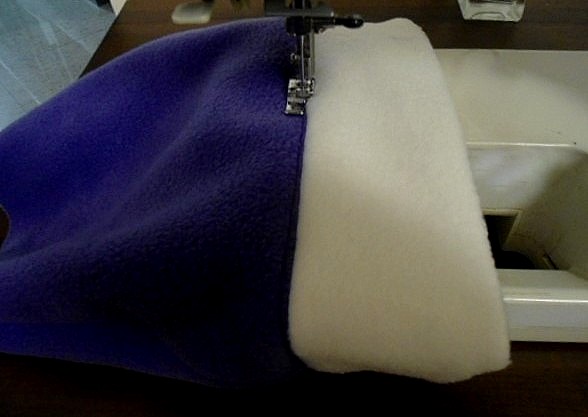
Place the done main hat piece on its wrong side and the cuff on its right side. The folded edge of the cuff should face the hat.
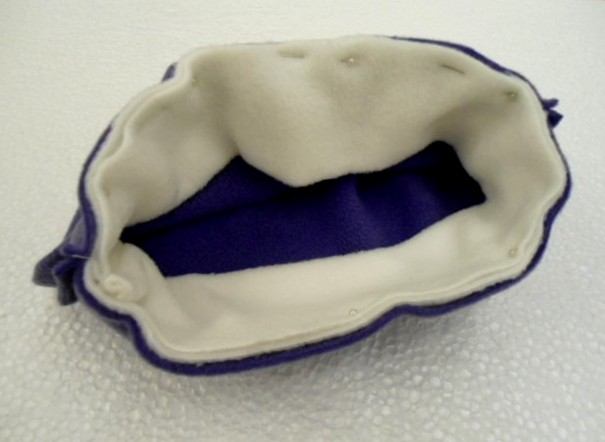
Slide the cuff into the hat. Align the raw edges of the hat and the cuff and pin all around, making sure to catch both the edges of the cuff.
Sew the cuff to the hat, removing the pins as you go.
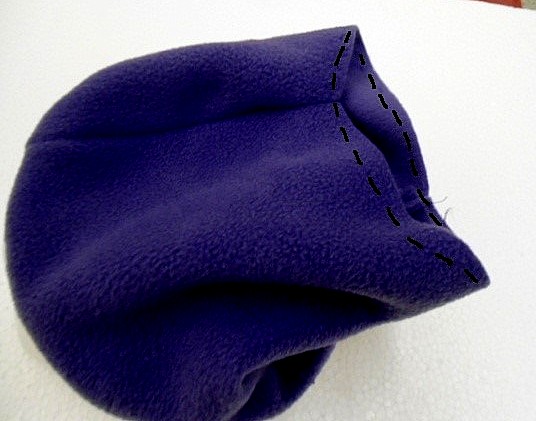
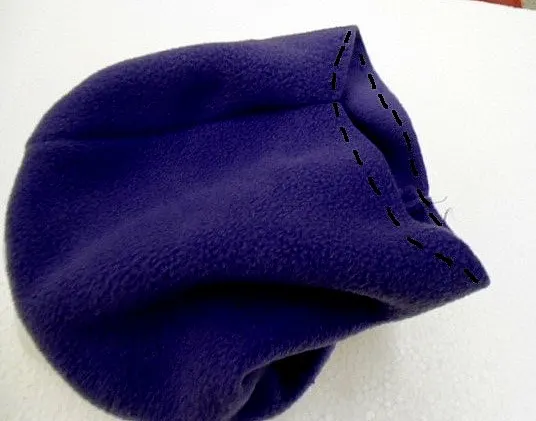
Turn the hat over to the right side and flip the cuff also over to its right side. Topstitch along the seam line of the hat and the cuff, keeping the seam underneath towards the main hat body.
Next, we need to gather the top of the hat.
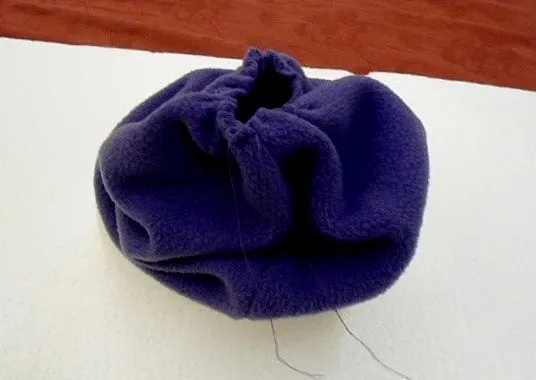
Make a running stitch along the raw edge of the hat, using a needle and thread. This is to gather and sew the hat closed.


Pull the thread gently on both sides, gather the hat tightly and tie the thread together in a few knots to secure.
Let’s do the pompom for the hat.
*The few pictures below are for illustration purposes.

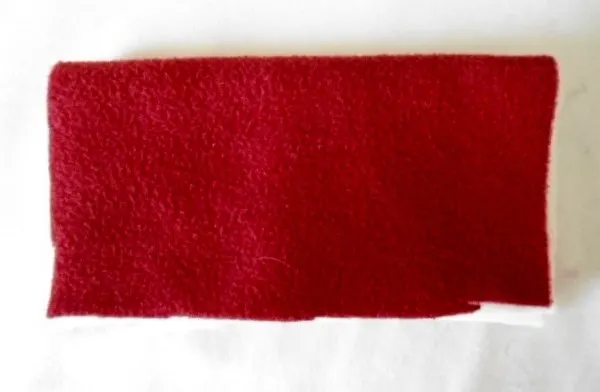
Take two pieces of fleece used for the hat body and cuff, 5-inches long and 6 inches wide. Keep them layered aligning the edges and fold in half lengthwise.
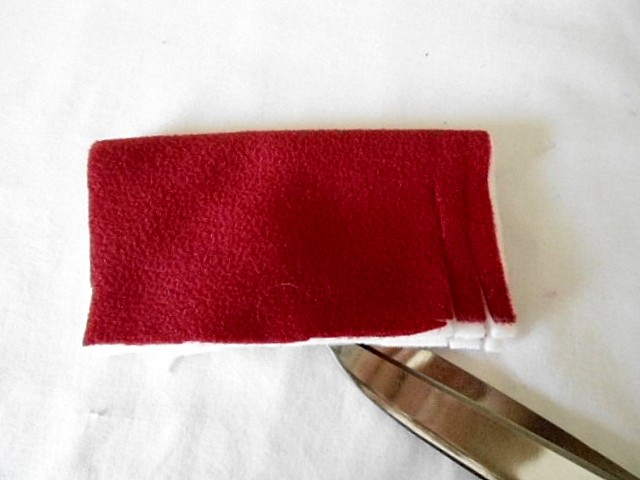

Make small cuts about ¼-inch wide from the raw edge of the piece, taking care to leave about half an inch space from the fold and not to cut all the way through.

Keep cutting along the entire length of the fabric.

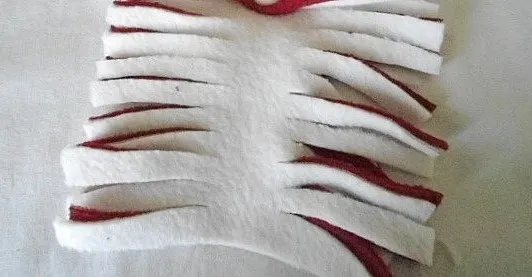
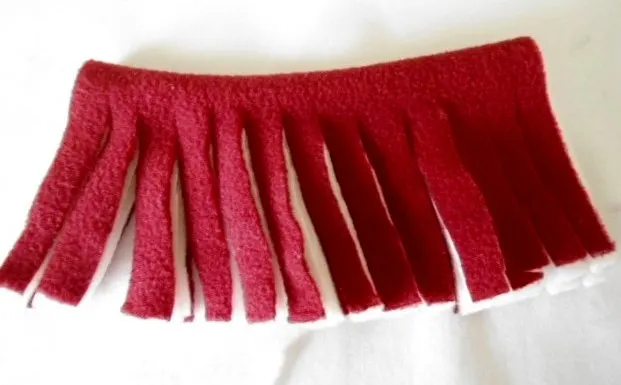
Open up and you will have a tasseled piece like this.
Now we need to tie it in a bunch.
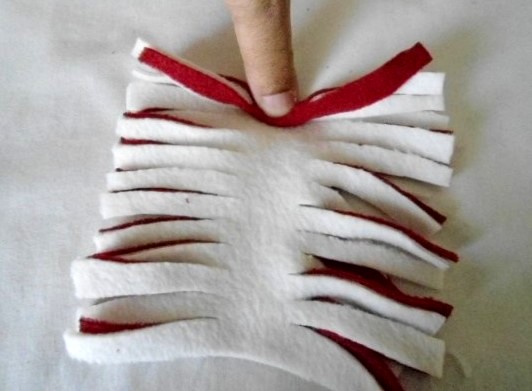

From one end, start rolling the tassels. Keep rolling till you reach the other end.

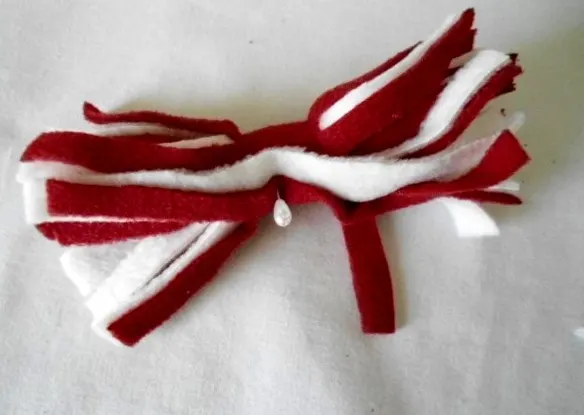
Insert a pin through the center of the bunch. Thread a long needle with matching thread and insert it through the center, in and out a few times. Wrap the ends of the thread around its center a few times and tie the ends to secure. Your pompom is ready.
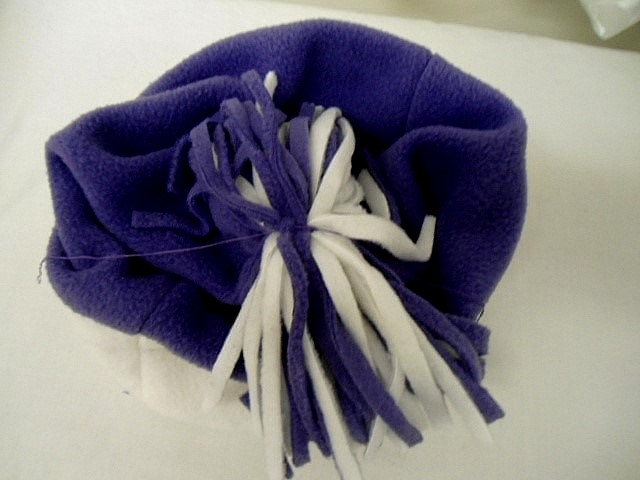
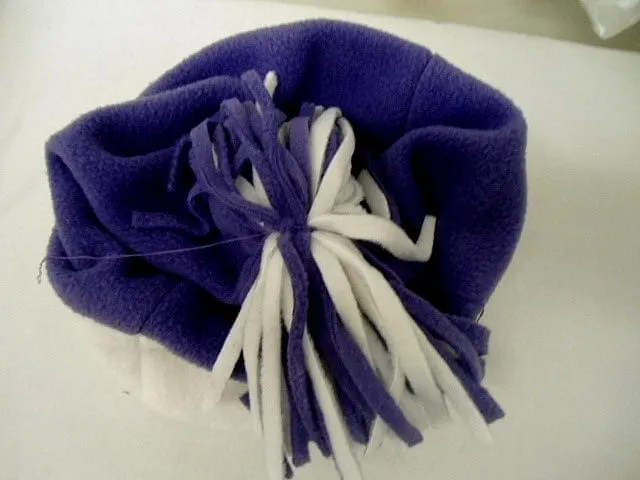
Sew the pompom to the top of the hat along its center, using a needle and thread. Sew tightly to secure.
.
Your fleece hat with pompom is ready!
For more of my free patterns, click here.
For hundreds of free patterns and DIYs, visit allfreesewing.com.
Pin it for later here,


Stone Cottage Adventures
Tuesday 17th of December 2013
Great pattern! -Marci @ Stone Cottage Adventures
Michele Reynolds
Friday 13th of December 2013
Sweet! Pinned:) Stop by. Merry Christmas