


Materials Required
- Red, white, green, and a small piece of orange and black felt.
- 3/8 -inch satin ribbon in red and white color.
- Red and white sewing thread.
- Sewing Needle.
- Polyfill fiber for stuffing.
- Water-soluble marker for marking the template.
- White pearl beads and red ornamental beads.
We need to make five Christmas ornaments. Let’s start with the star first.
Star

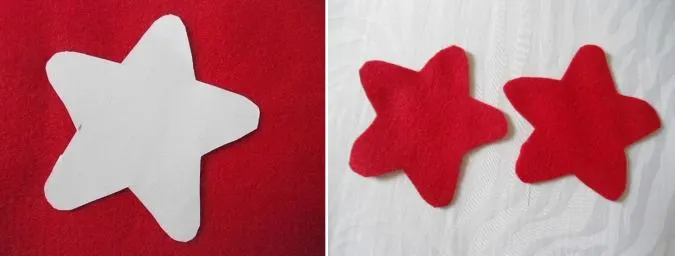
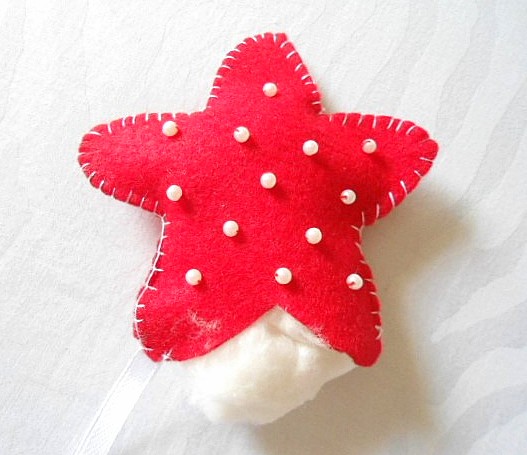
Cut the template for the star at the end of this pdf and keep the template on the red felt as shown above. Mark and cut the star-shaped felt. Repeat the steps to get one more of such piece.
Next, we need to add a few pearl beads on the star for embellishment.

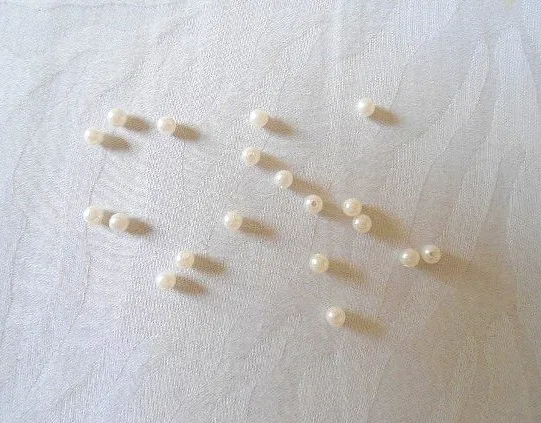
Take the pearls to be attached.
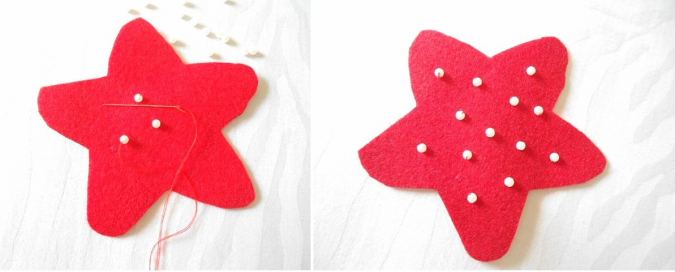
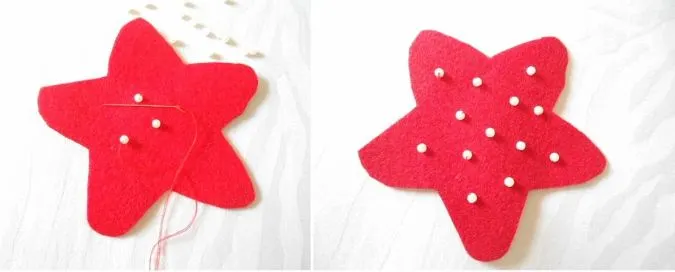
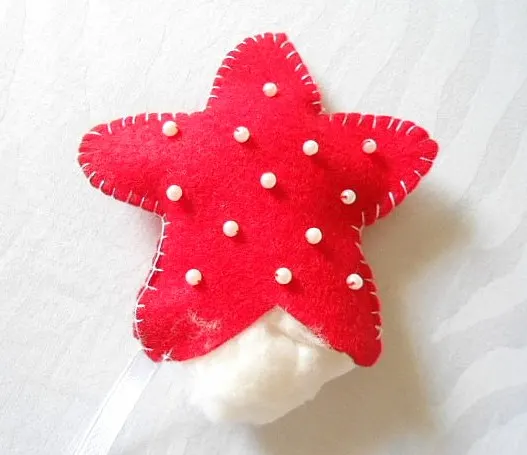
Sew the pearls scattered on the star using a needle and thread. Do the same on the other star piece also.
Let’s fix the loop at the back of one of the pieces.


Take a satin ribbon piece, 7-inches long and fold it in a loop. Sew it to the back of one of the pieces, along a corner as shown above.
Let’s sew the two pieces together.
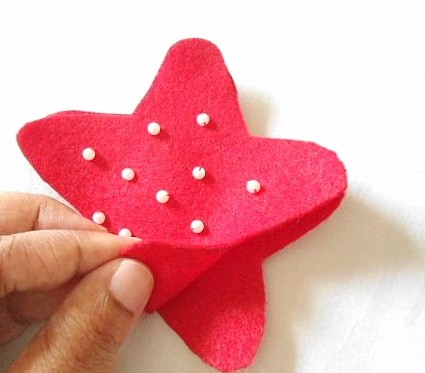
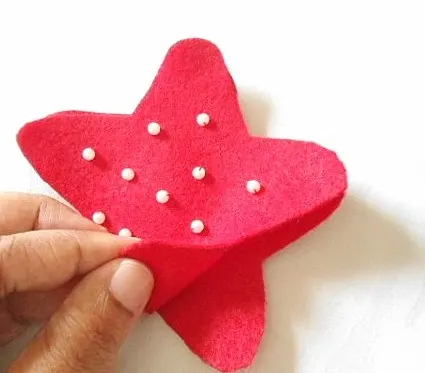
Keep the two star-shaped felt pieces overlapping with the wrong sides together and aligning all the edges and corners.
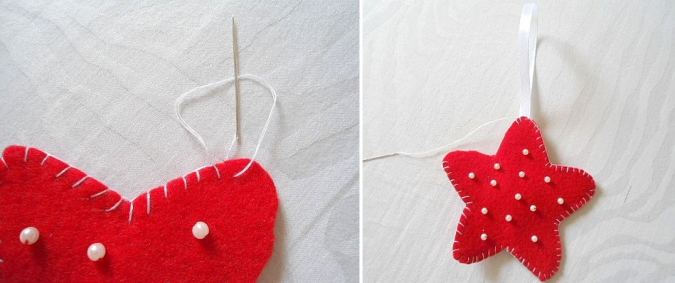

Sew the two pieces together, around the edge, using a neat blanket stitch. Take care to leave a small opening, about one to one and a half inches long to insert the polyfill fiber. Note that I have used a contrasting thread (white) here so that the ornamental stitch is visible.
Insert a little polyfill, till the star becomes sturdy and taut. Take care not to overstuff the star to prevent it from getting rounded up.
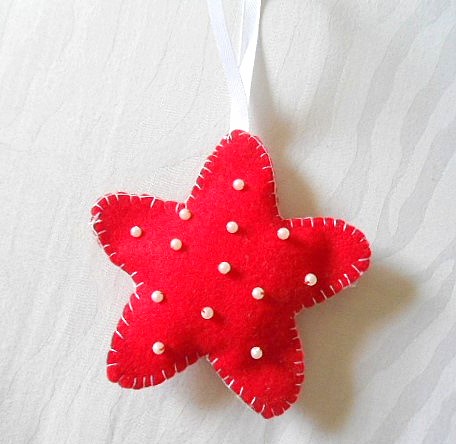

Sew the opening shut and our star is done!
Candy Cane
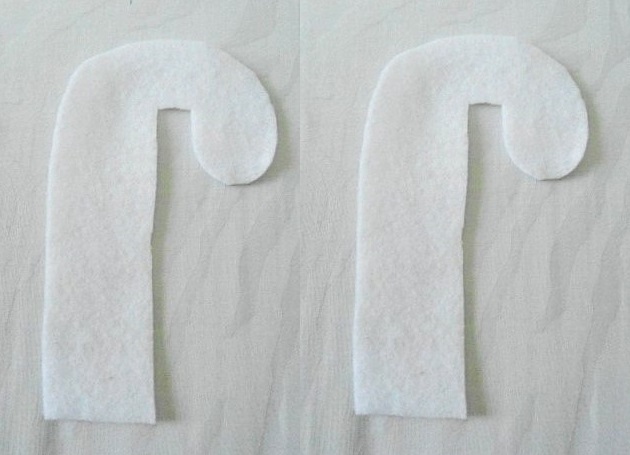
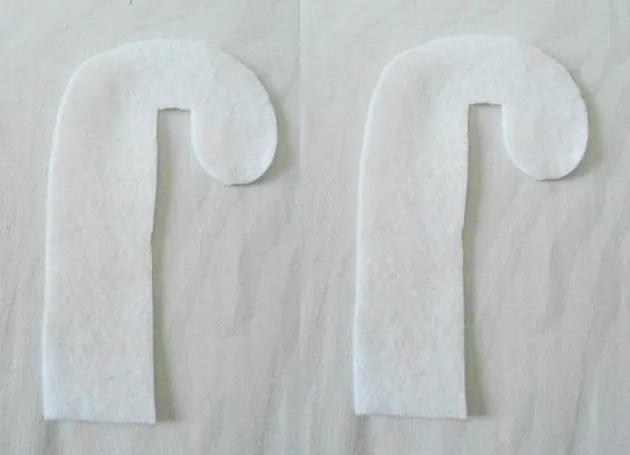
Cut the pattern template for the candy cane at the end of this pdf, keep it on the white felt and mark it. Cut out the candy cane piece. Repeat the steps to get one more of such piece.
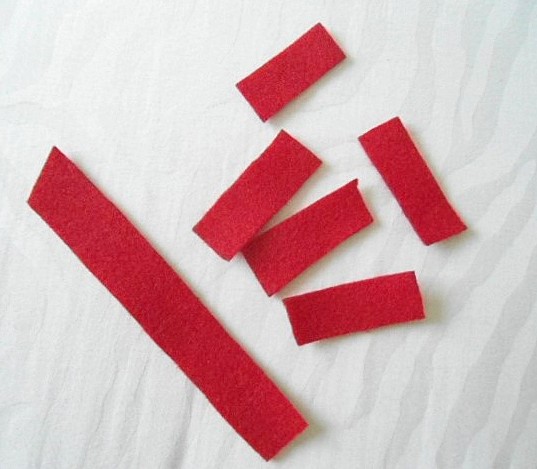
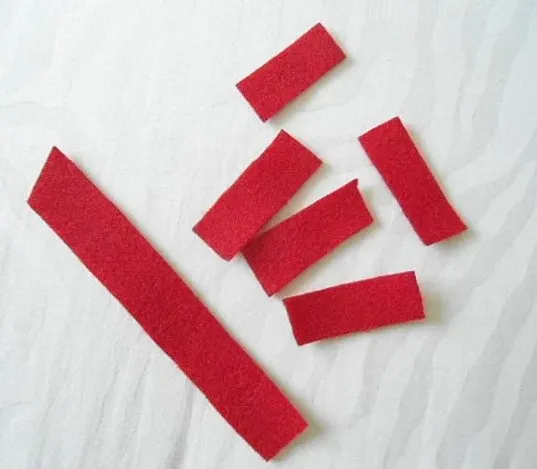
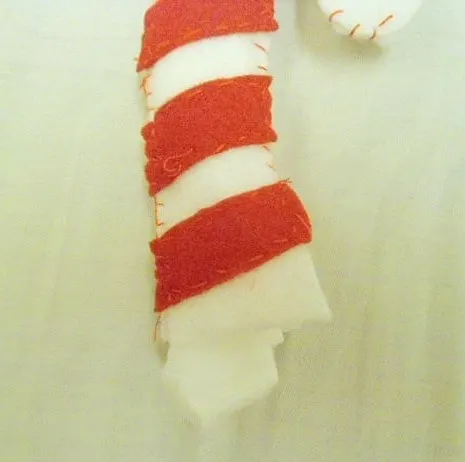
Next, cut a few strips from the red felt, about ½-inch wide and 1 & ½-inch long. Cut one strip with the same width but about 3-inches long.
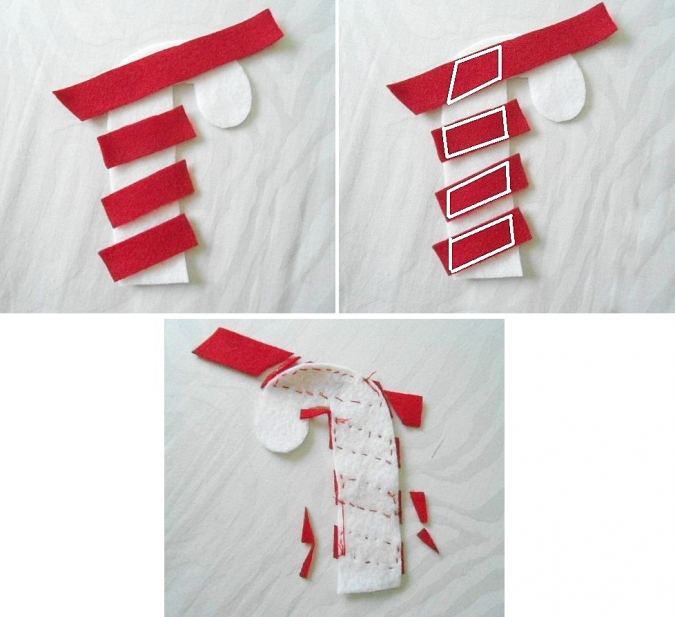
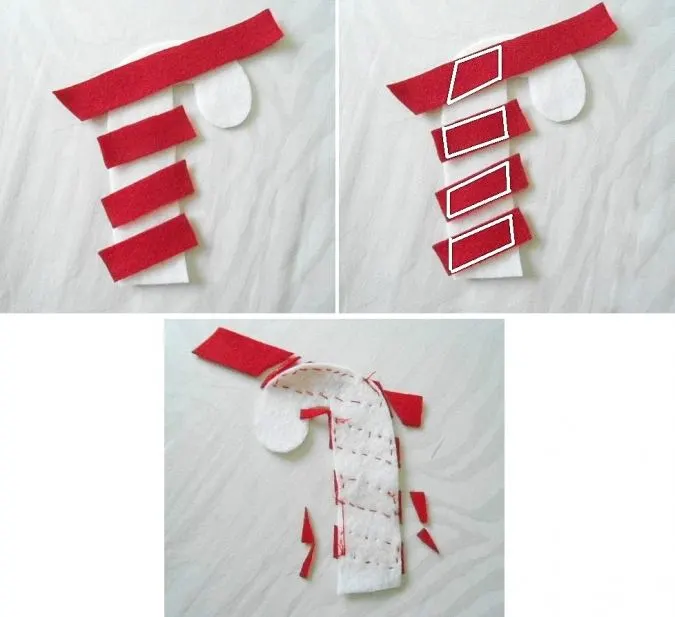
Arrange the strips on one of the candy cane pieces in a slanting manner as shown in the picture and pin. Secure the strip to the candy cane by sewing a running stitch around it as marked by the white lines in the picture. Cut off any extra in the strips. Repeat the steps on the back piece of the candy cane.
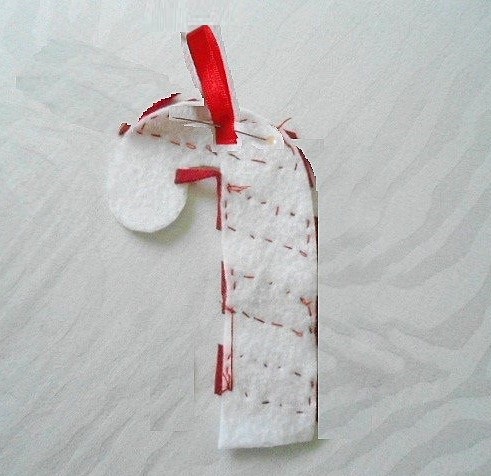
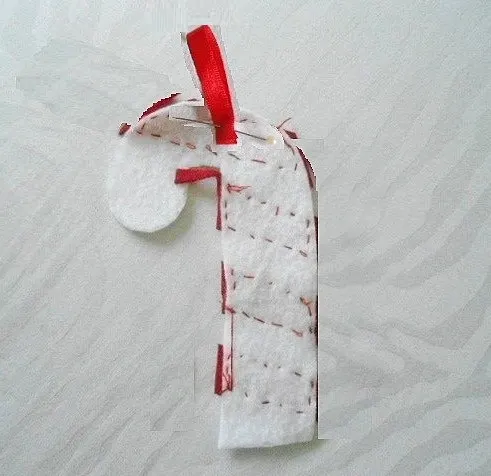
Take a satin ribbon piece, fold it in a loop, and sew it at the back of one of the pieces.

Keep the two candy cane pieces with the wrong sides together and the edges aligning. Sew it shut around the edge using a blanket stitch. Leave the short side open to insert the poly fiber filling. Note that here also I have used a contrasting red thread for sewing.

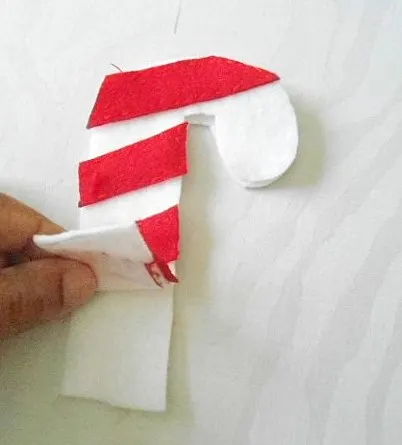
Insert the polyfill through the opening and sew the opening shut. Your felt candy cane is now ready!
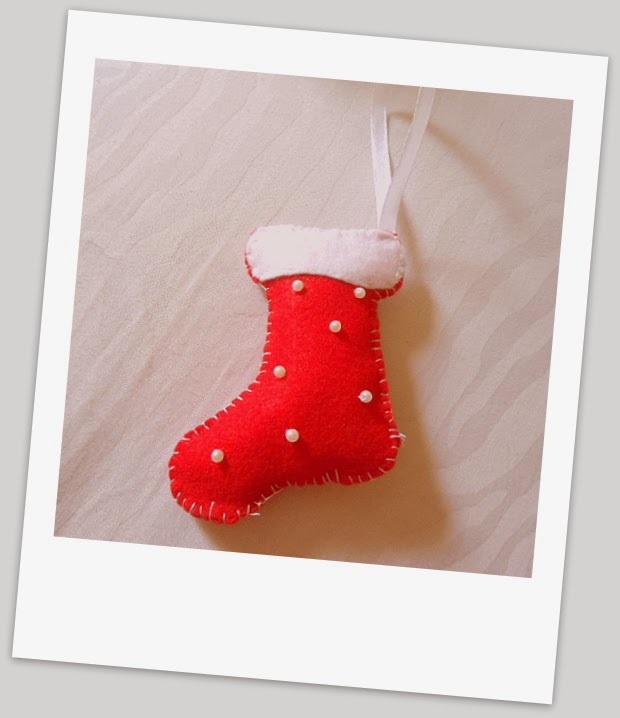
Stockings

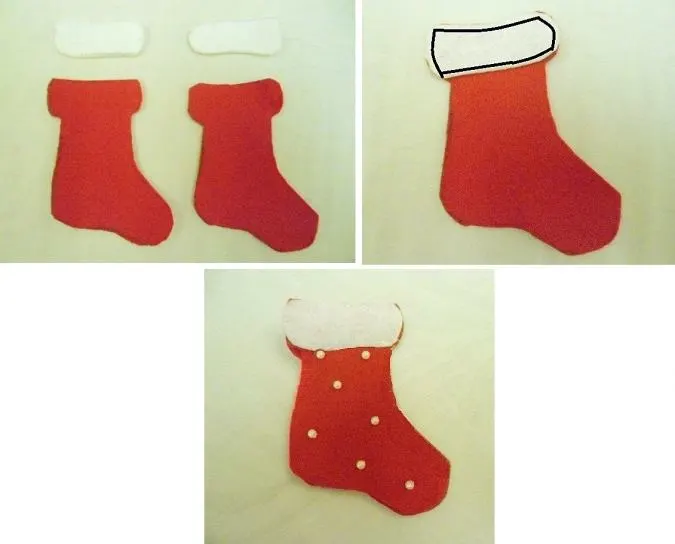
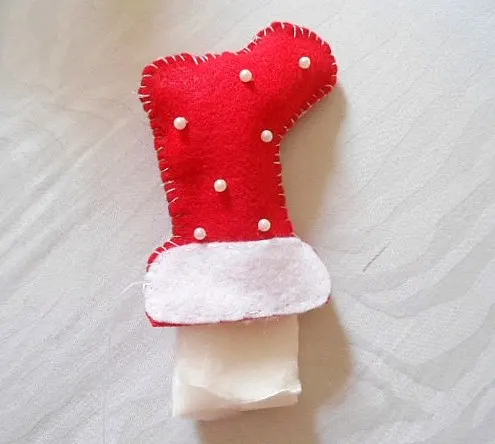
Cut the pattern template for the stockings and the cuff at the end of the pdf. Keep the template for the stockings on the red felt, mark, and cut it. Repeat the steps to get one more of the same piece. Two pieces of the cuff should be cut similarly from the white felt. Take a cuff piece, keep it at the top edge of the stockings, aligning the edges, and sew it to the stockings using a running stitch as marked above. Repeat the steps with the other stockings and cuff pieces. Sew a few pearl beads to the two pieces for embellishment.
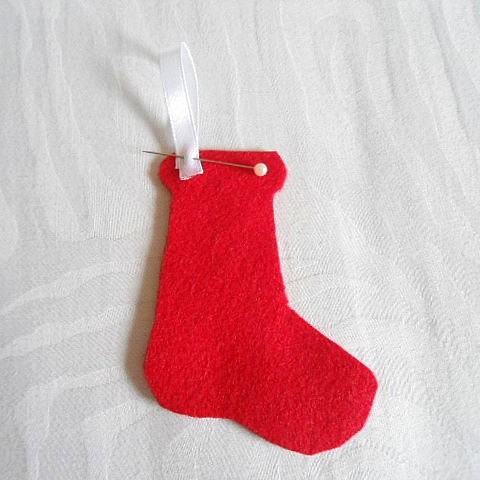

Take one piece of the stockings and a ribbon piece, 7-inches long, fold it in half in a loop, and sew it onto the backside of the cuff area on its wrong side as shown above.
Let’s sew the two stocking pieces together.

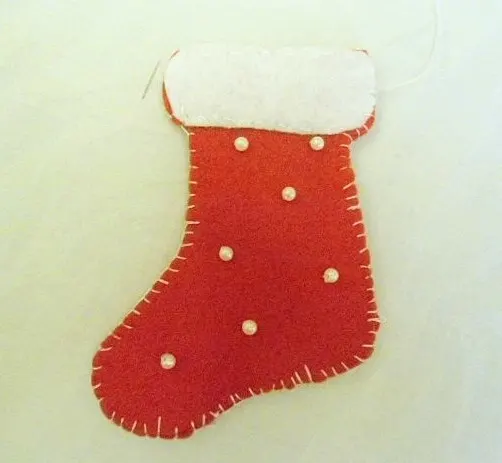
Keep the two pieces layered with the wrong sides together, aligning the edges and sew around the edge with a blanket stitch. Leave an opening at the upper edge for stuffing.

Stuff the stockings with polyfill moderately and sew the opening closed.

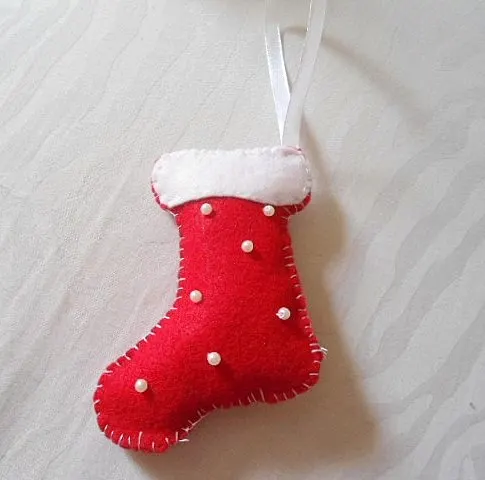
Our stockings are ready.
Snowman.
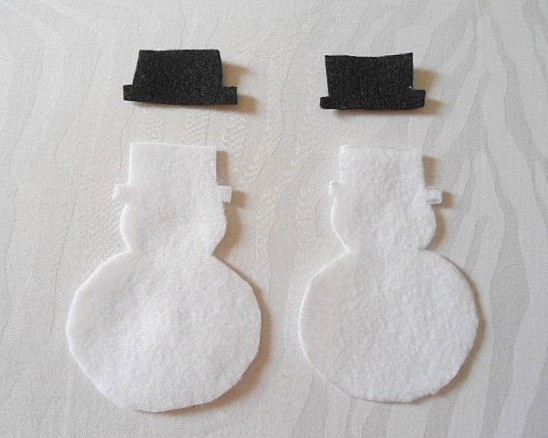
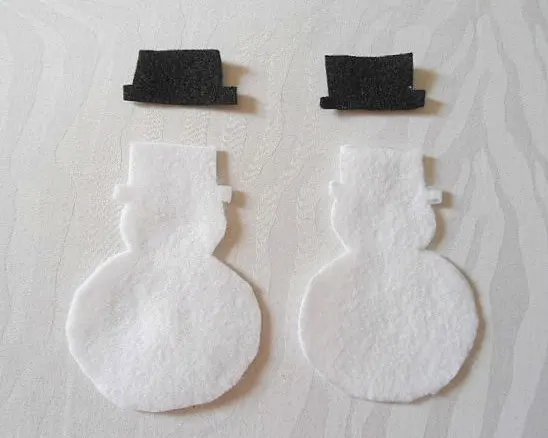
Cut the pattern template for the snowman and the hat at the end of this pdf. Keep the template for the snowman on the white felt and the hat on the black felt. Mark and cut them. You will have to cut two each from each piece.

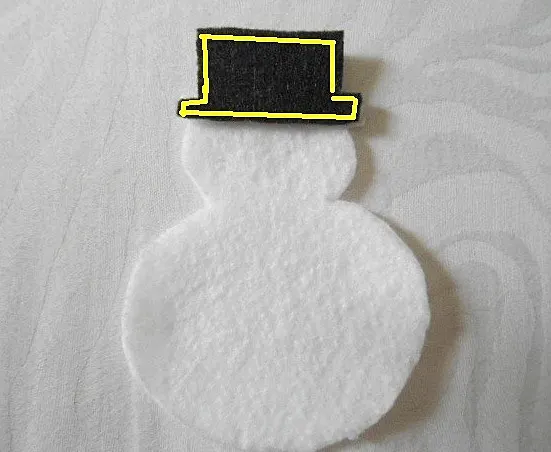
Keep the hat piece over the top of the snowman piece and sew along the yellow line as marked above using a running stitch.
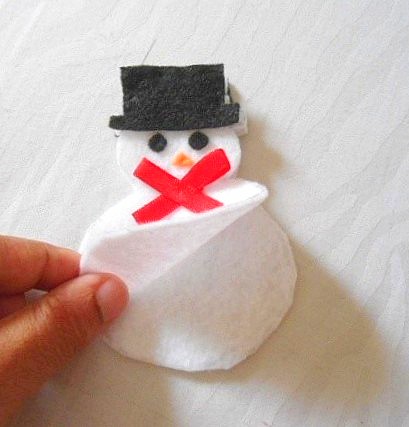
Let’s attach the nose and the bow of the snowman.
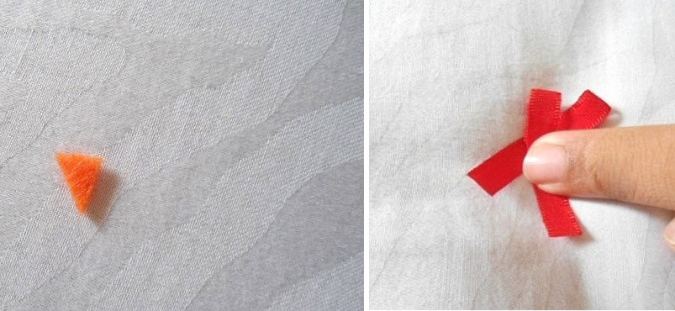
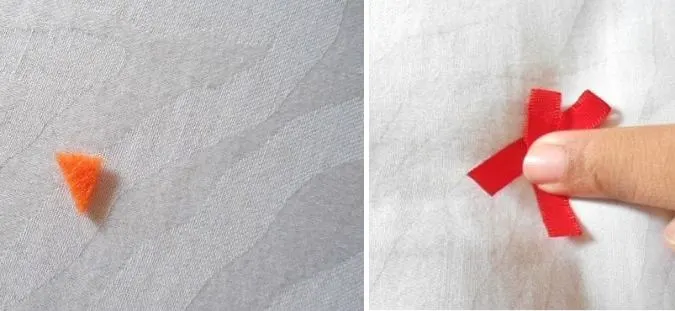
Cut a small triangular piece from the orange felt for the nose and a piece of red satin ribbon, 4-inches long for the bow. You will have to cut two circular black pieces of felt for the eyes also.
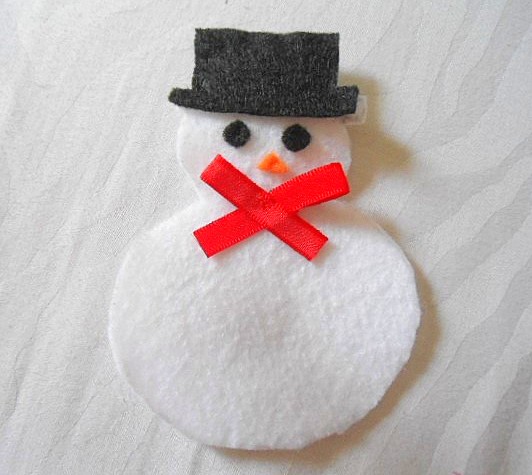

Hand- sew the eyes, nose, and the bow on the face of the snowman. You get the front piece of the snowman.
Take the other piece for the snowman and the hat piece and sew them together as done before. You don’t need the eyes, nose, and bow here. This forms the back piece of the snowman.
Sew the satin ribbon loop on to the backside of the front piece just as we did for the other ornaments.
Let’s attach the front and back piece together.

Keep the front and back pieces layered with the wrong sides together and aligning the edges. Sew all around with a contrasting stitch in red color. Here again, leave a small opening for stuffing. Stuff it with poly fiber and sew the opening shut. Your snowman is ready.
Christmas tree.
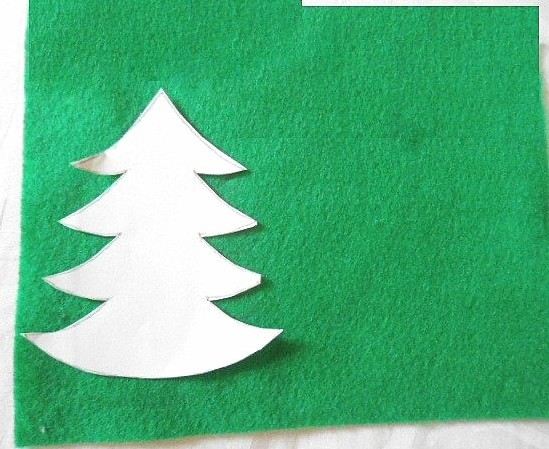
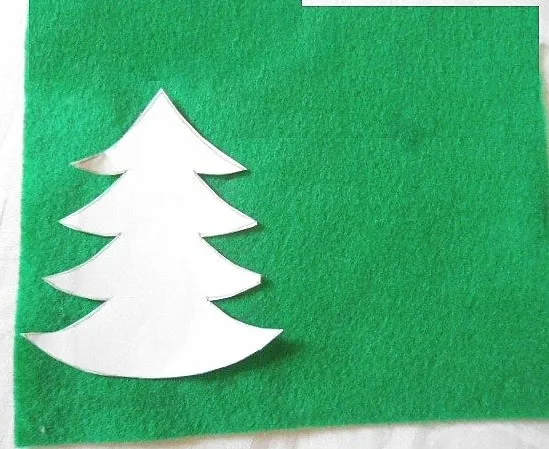
Cut the pattern template for the tree, keep it on the green felt, and mark it. Cut the front piece for the tree from the felt. Repeat the steps to get one more of such a piece.
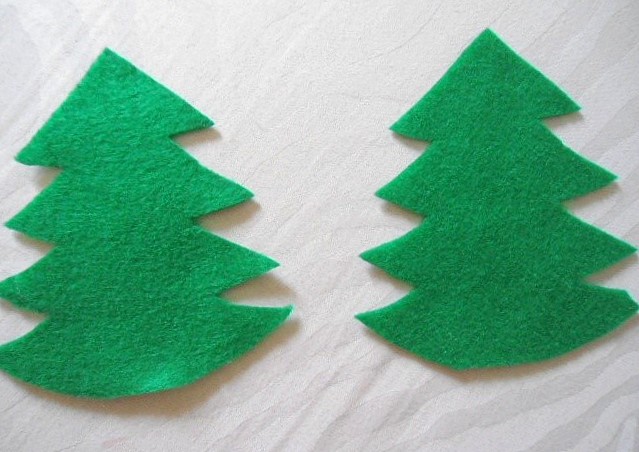
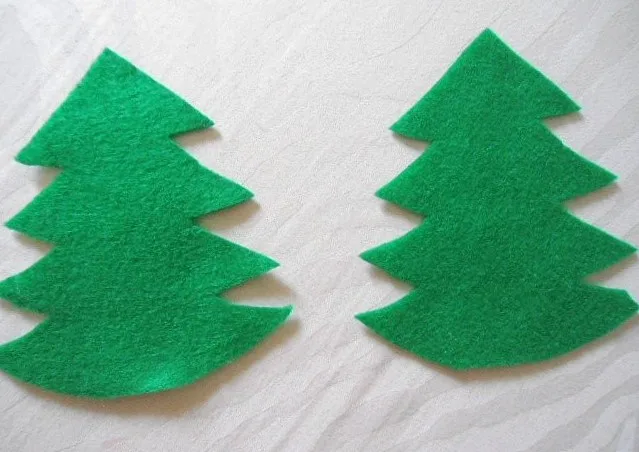
You will get your two pieces like this.
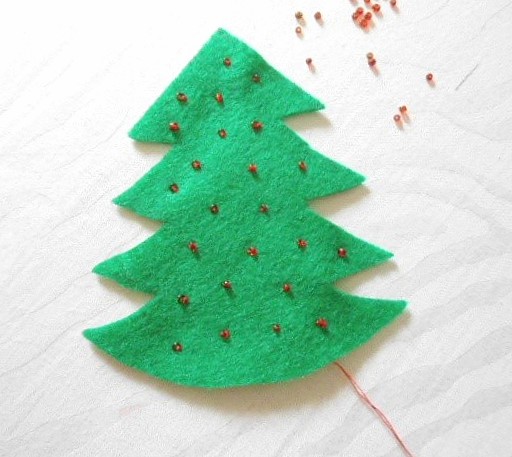

Take one of the pieces and sew red-colored beads scattered over it. Repeat the same on the other piece.
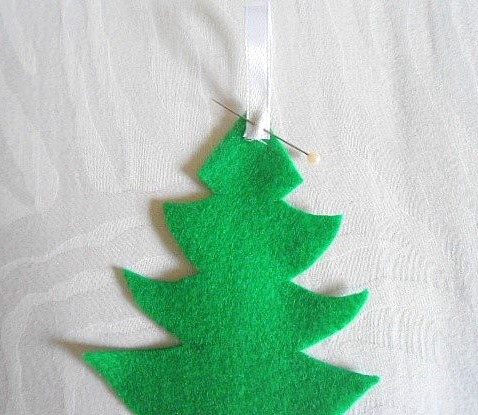

Next, take one of the pieces and a white satin ribbon piece, 7-inches long, fold it in a loop, and sew it on the back of the tree piece.
We need to sew the two pieces together.

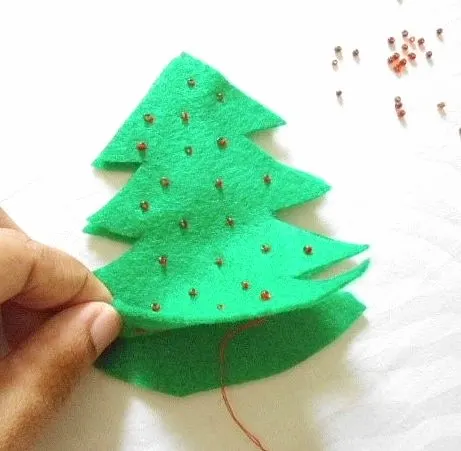
Keep the two pieces layered with the wrong sides together and sew around it using a blanket stitch in red contrasting thread. A small opening must be left here again for stuffing.
Sew the opening shut after stuffing and our tree is done.
Have a look at the webstory for the post here, Festive Felt: DIY Christmas Ornaments
CK
Friday 21st of October 2022
Is there a pattern to cut the shapes to make the ornaments, p
Surayya
Monday 24th of October 2022
Yes, there are pattern pieces for all the ornaments on the pattern page.
Isabel Plaza Caballero
Saturday 18th of January 2014
Really impressive designs! color combination is awesome.Its too creative to design baby clothes in a new design.
baby boy clothing
Carrie
Saturday 14th of December 2013
So cute!! Thank you for sharing at Sharing Saturday!!
Bobbie S
Friday 13th of December 2013
Cute! Thanks for linking up to check me out saturday link party! I hope you decide to join us again tonight! iamonly1woman.blogspot.com
Anna Czarina
Thursday 12th of December 2013
These are just adorable I want to make one!
Anna Czarina