


*Note– The Flower is not included in this tutorial.
Materials Required
- Heavy weight cotton fabric of any desired print and color for the first panel- ¼ yard.
- Heavy weight cotton fabric in a coordinating color and print for the second panel- ¼ yard.
- Heavy weight cotton fabric in another coordinating print and color for the lower panel-1/4- yard.
- Cotton fabric for lining- ½-yard.
- Medium to heavyweight single-sided fusible interfacing- ½-yard.
- Sew-on snap button- one pair.
- Sewing Notions.
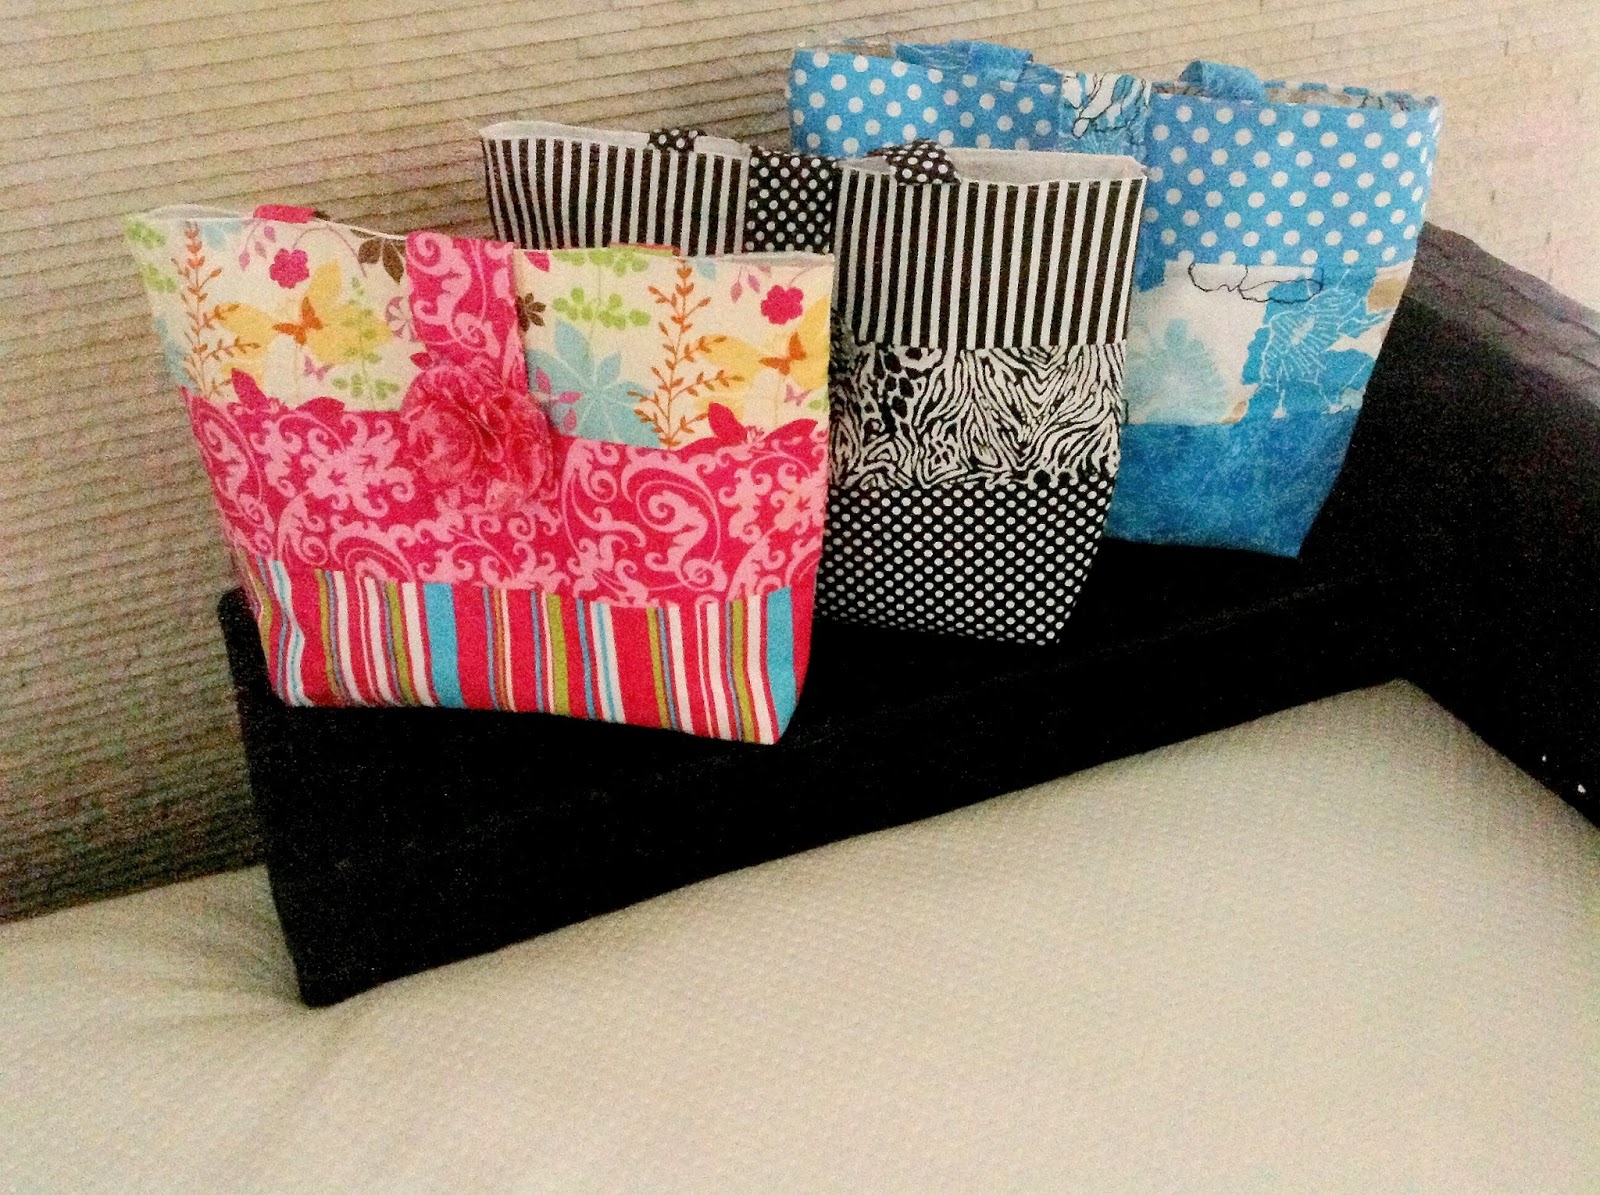
*The fabrics shown here are only for illustration purposes and as such may vary from the original.
*The seam allowance is 3/8- inch unless otherwise specified.
*I suggest you read the entire pattern once before starting to get a general idea.
*All seams are to be finished by zigzag or serger.
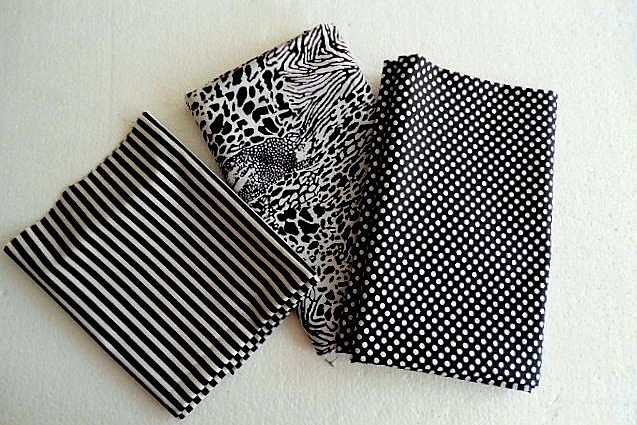
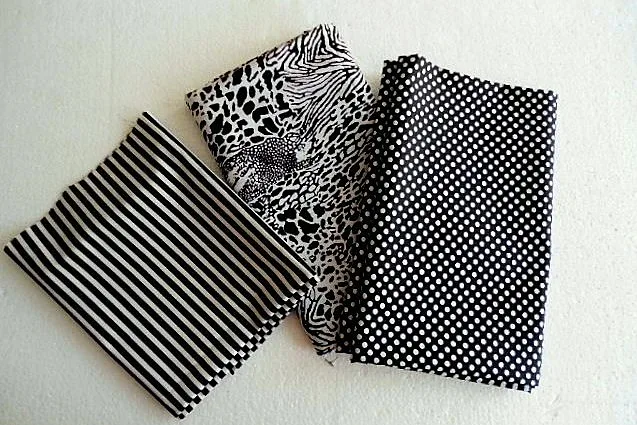
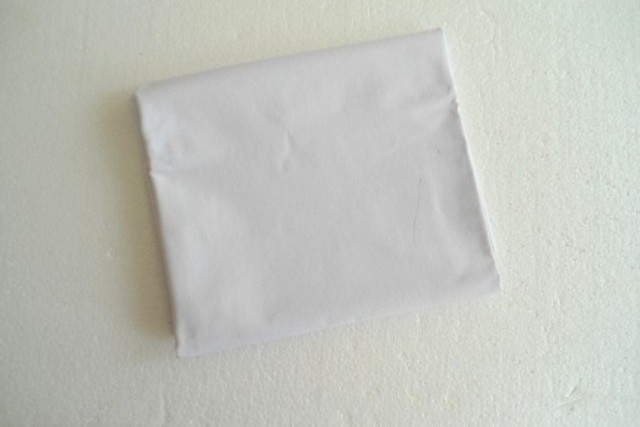
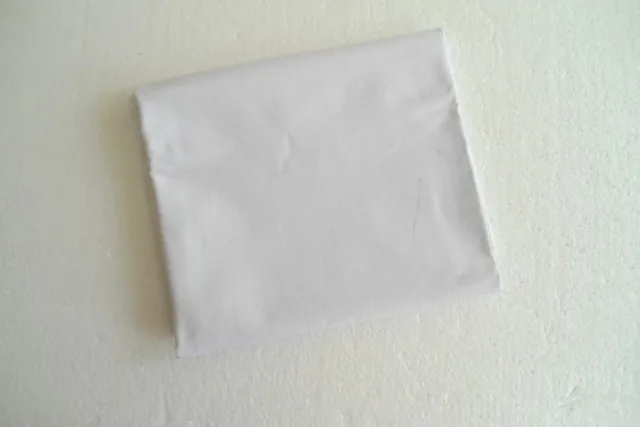
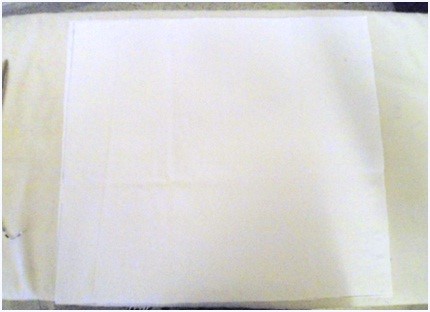
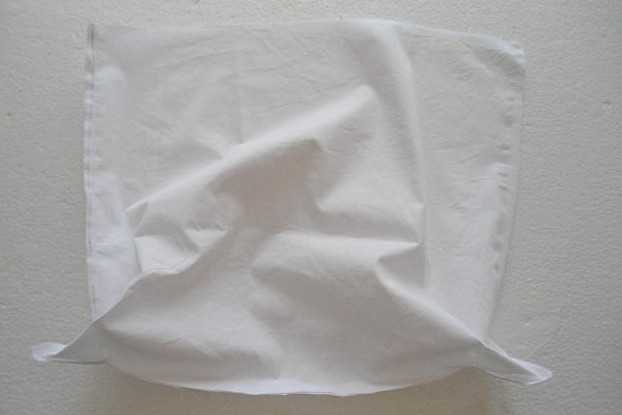
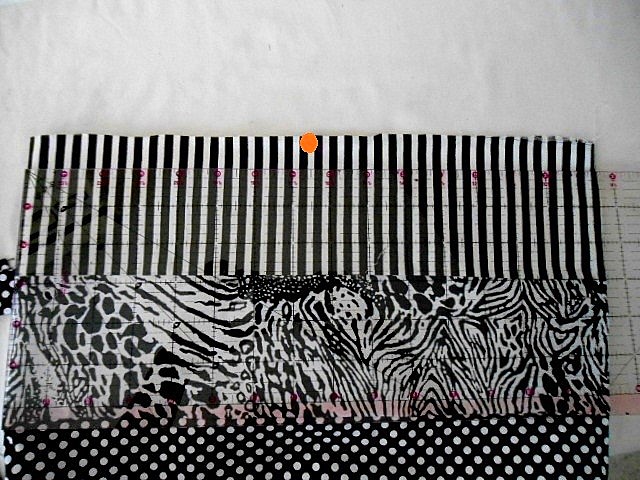
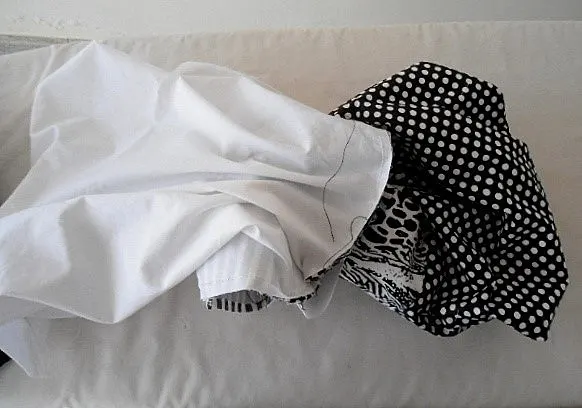
Take the required fabrics for the bag body, lining, and interfacing as shown above.
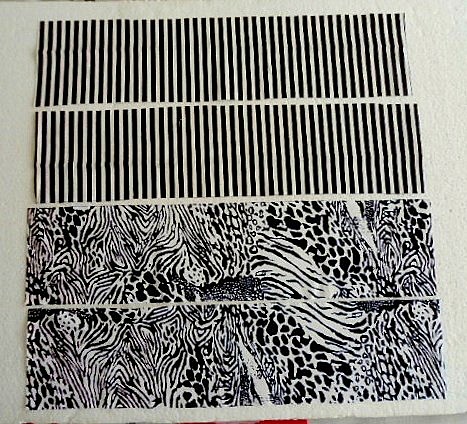
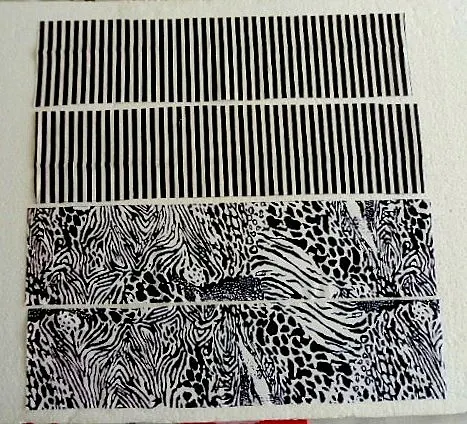
Cut two fabric strips, 4.25-inches long and 16.75-inches wide for the first panel from one of the fabric. Cut two fabric pieces from the other fabric for the second panel.
Cut the third panel, 7.25-inches long and 16.65-inches wide from the third fabric.


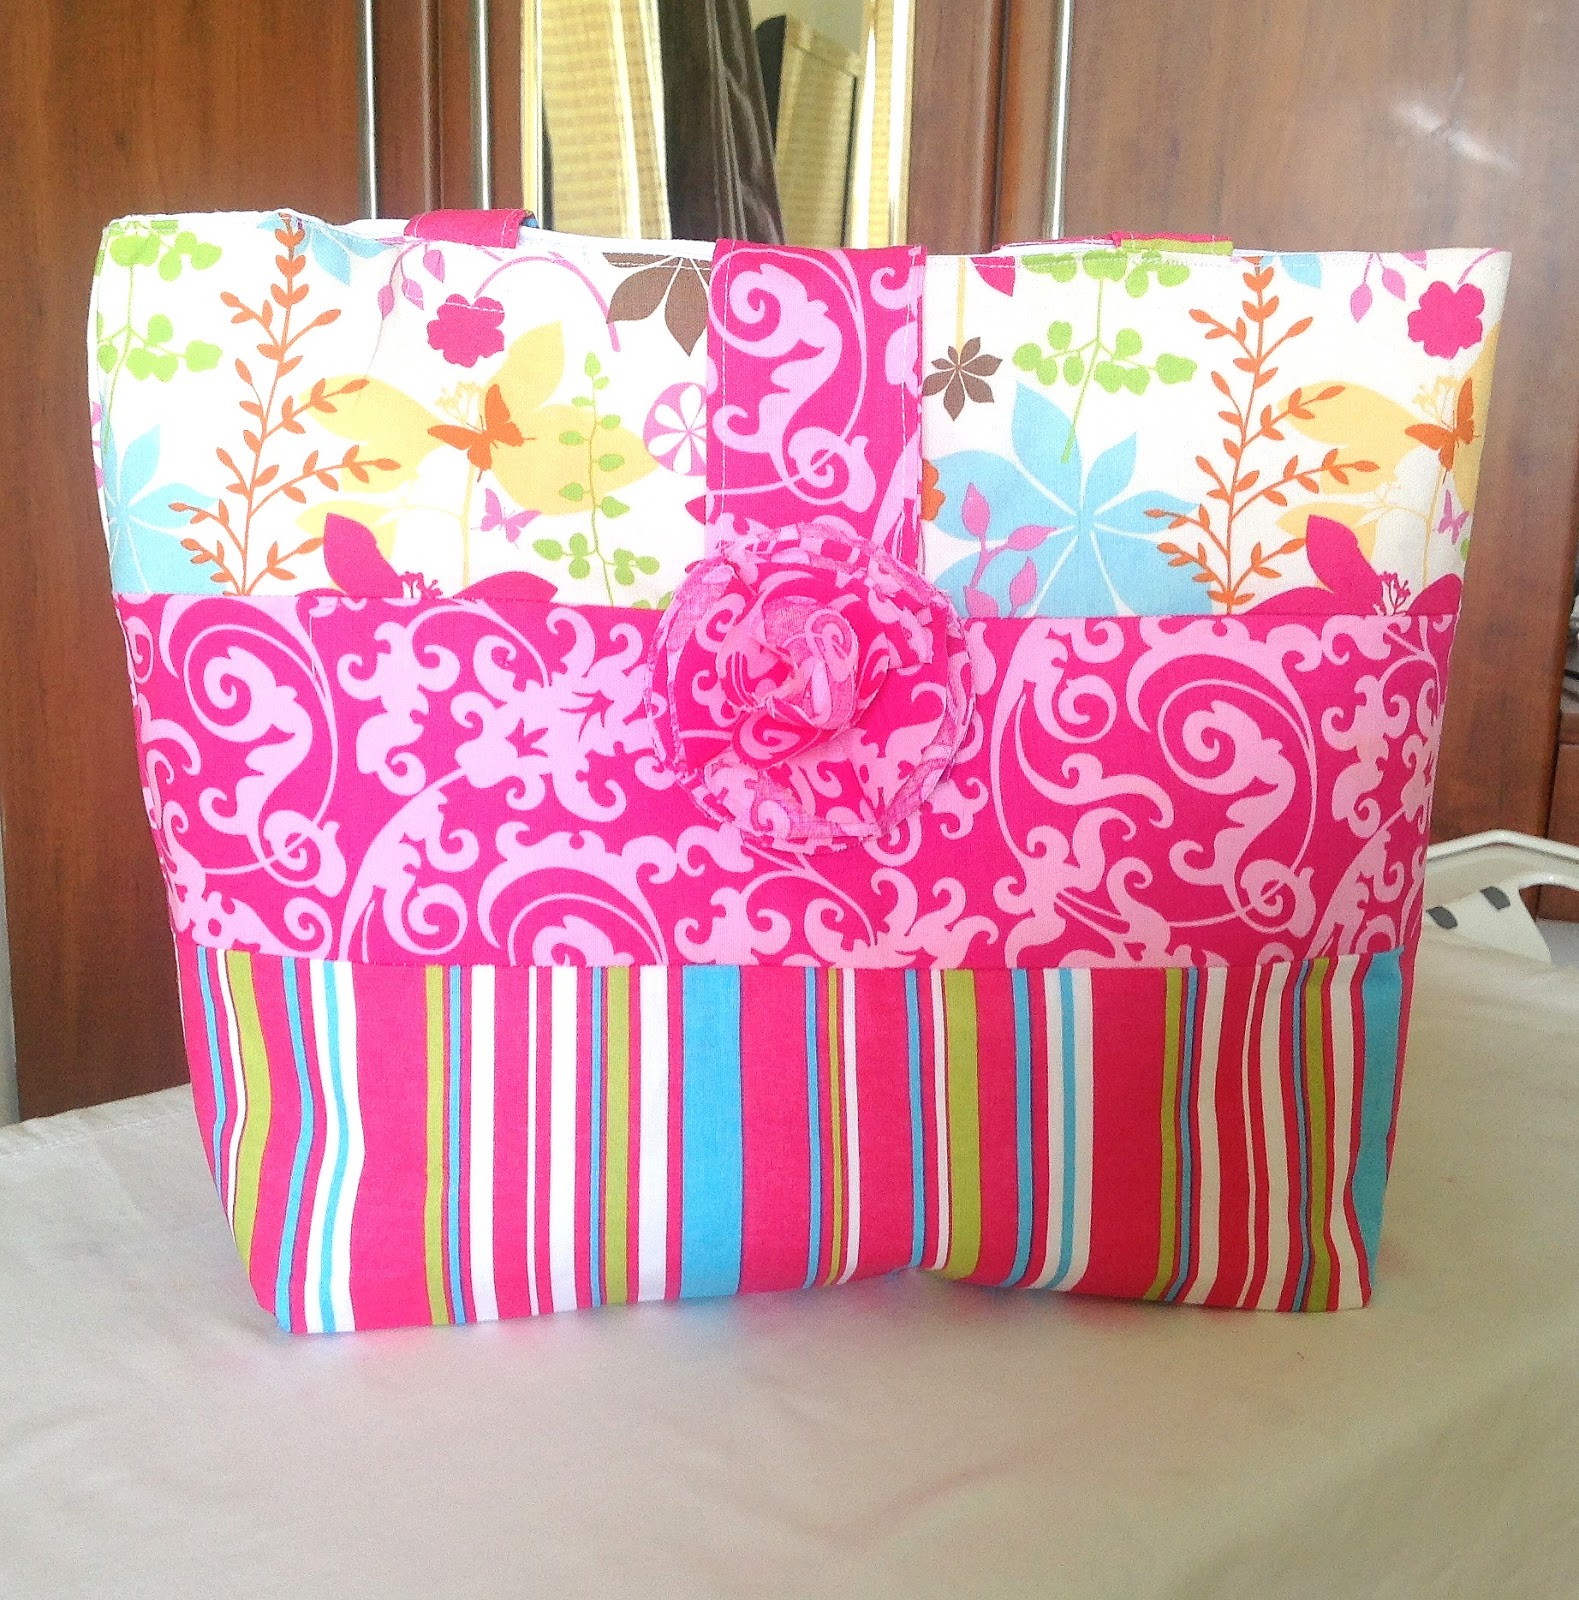
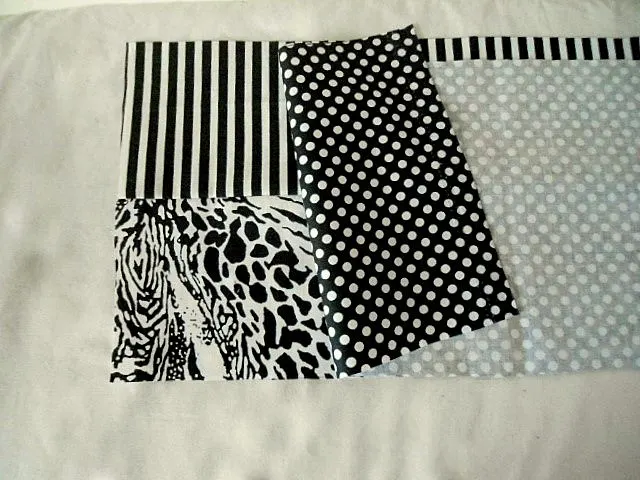
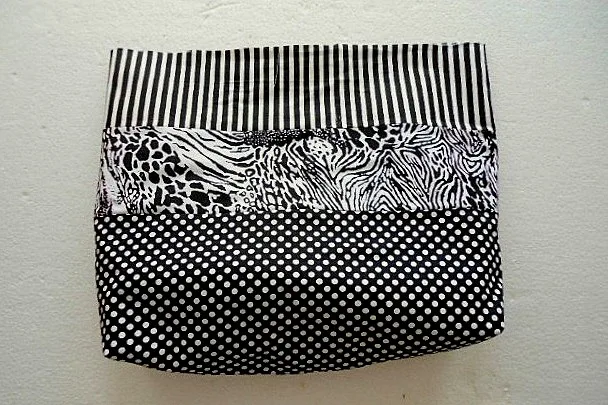
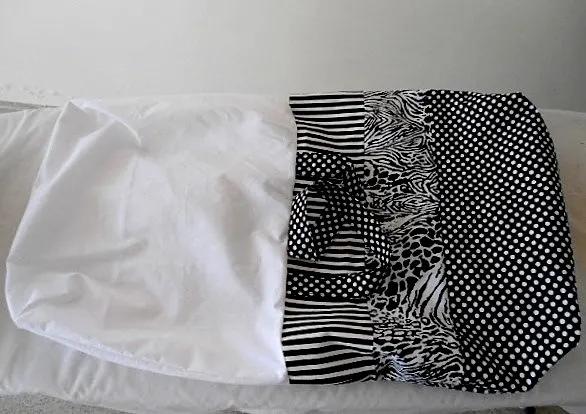
This is how we are going to arrange the fabric pieces for the bag. Let’s name the panels, panel 1, panel 2 and panel 3.

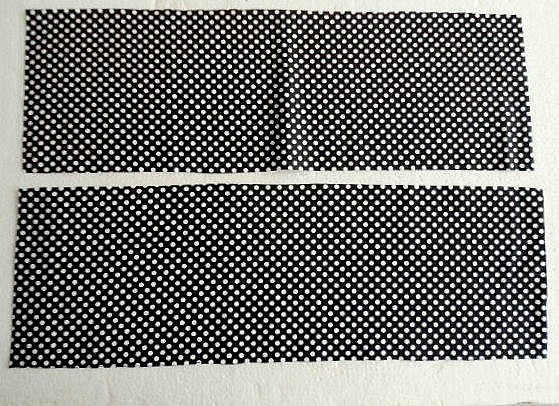
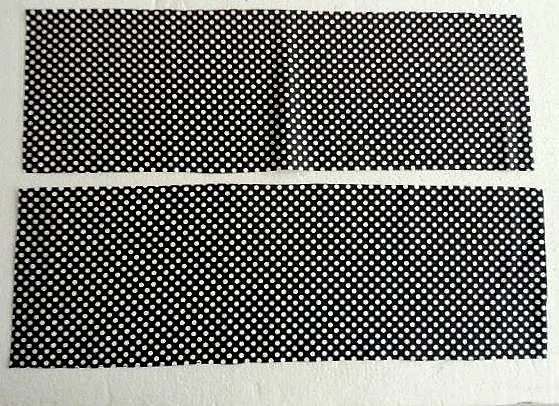
Cut two fabric pieces, 14.25-inches long and 16.75-inches wide for the lining.
Now we need to join the panels to form the bag body.
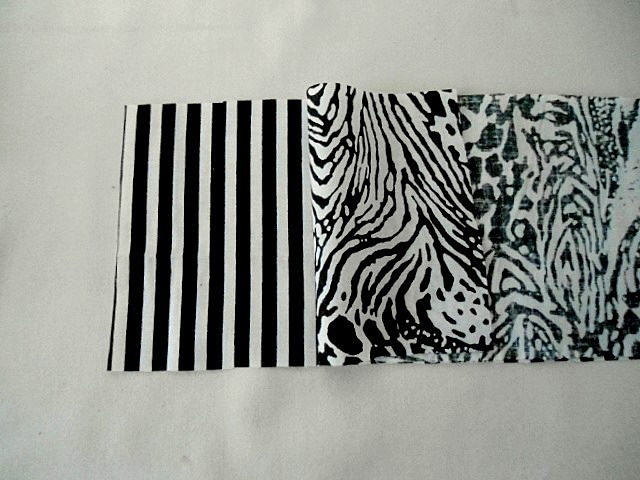
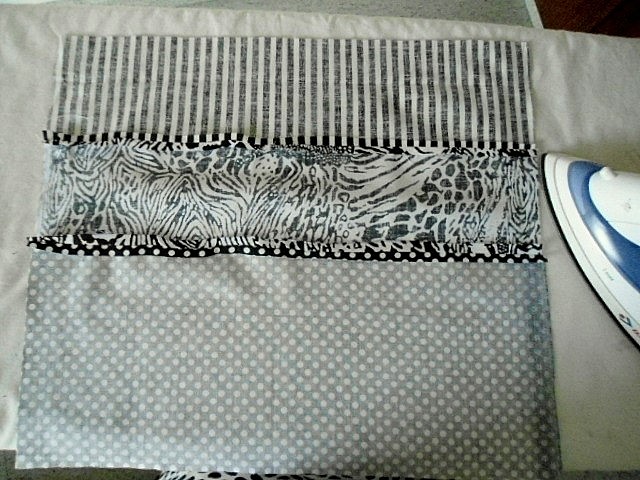
Take the first and second panels and layer them with the right sides together, aligning the edges.
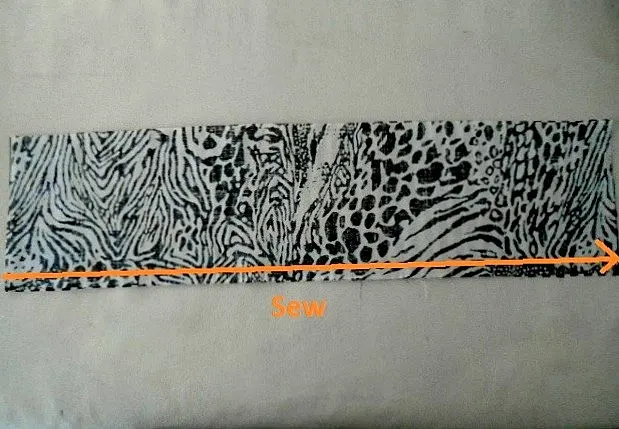
Sew along one of the longer edges to join them.
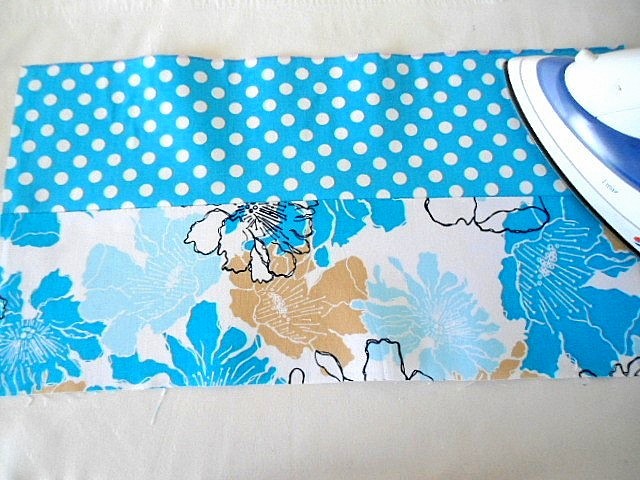

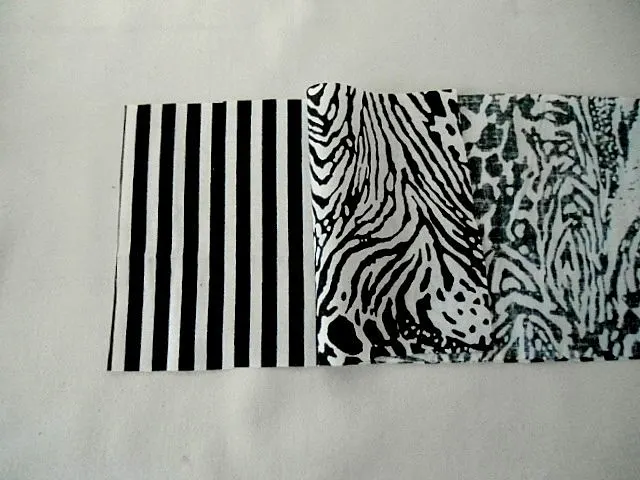
Your joint panels would look like this. Press along the seam line to make it neat and taut.

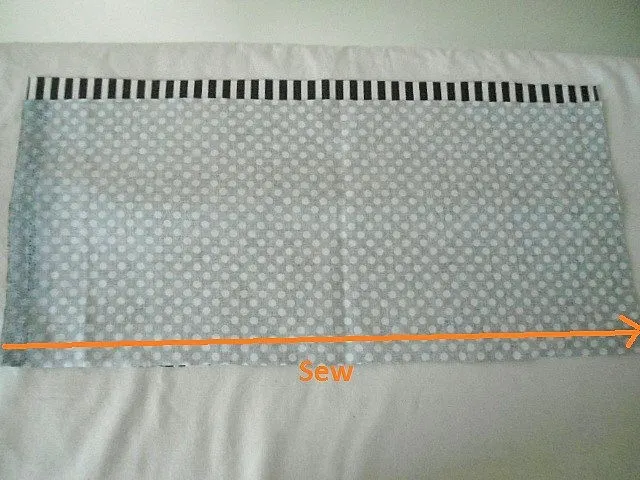
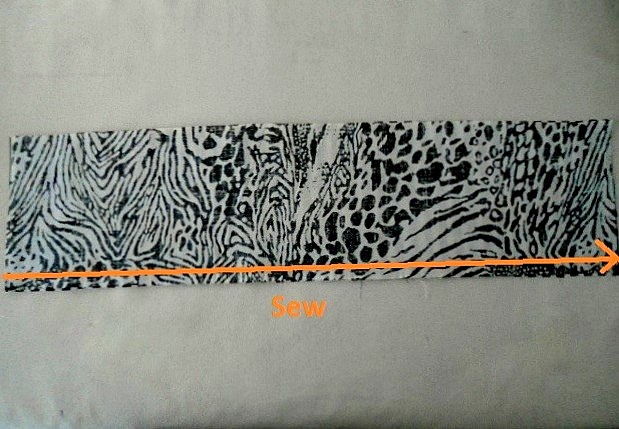
Now take the third panel, keep it over the done panels, with the right sides together and sew along the longer edge to secure. The front piece of your bag is ready.
Repeat the steps with the other three fabric pieces to get the back piece of the bag.
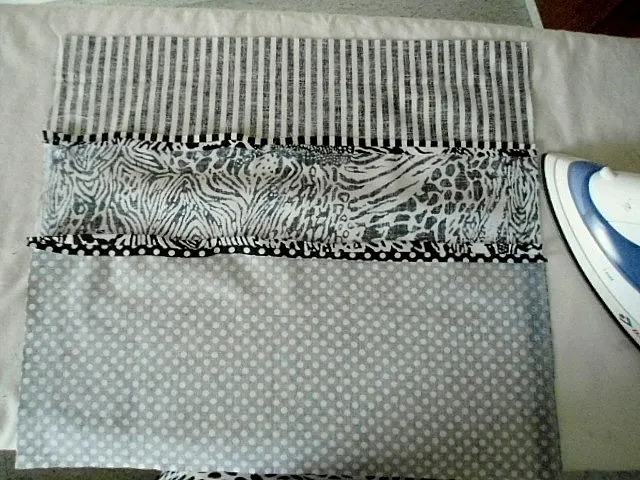
Press the seams flat.
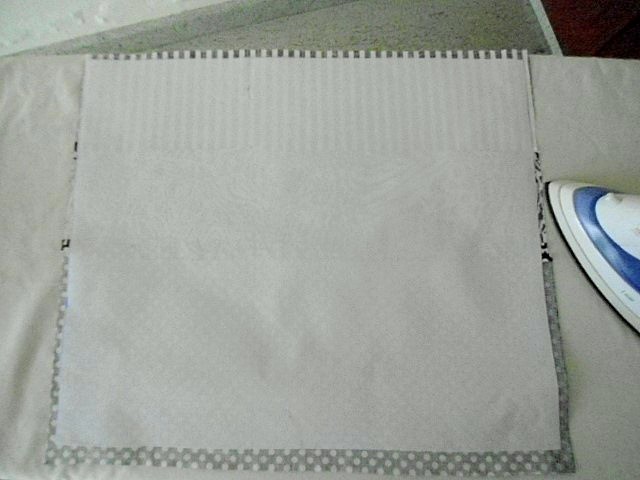

Cut two pieces of interfacing, 13.5-inches long and 16-inches wide, and fuse them onto the wrong side of the front and back bag pieces, following the manufacturer’s instructions. Make sure to leave a 3/8-inch gap all around while fusing.
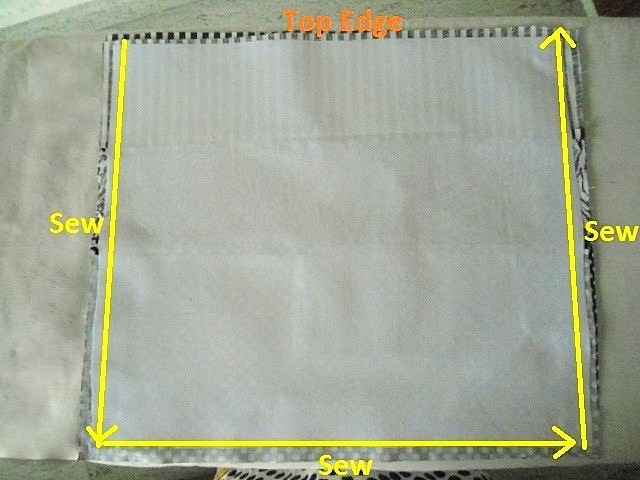
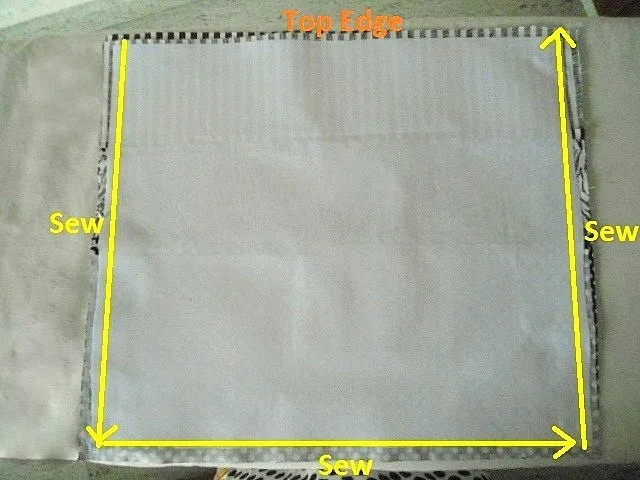
Take the done front and back pieces and layer them with the right sides together and aligning the edges. Sew along the three sides, leaving the top edge open as marked above.

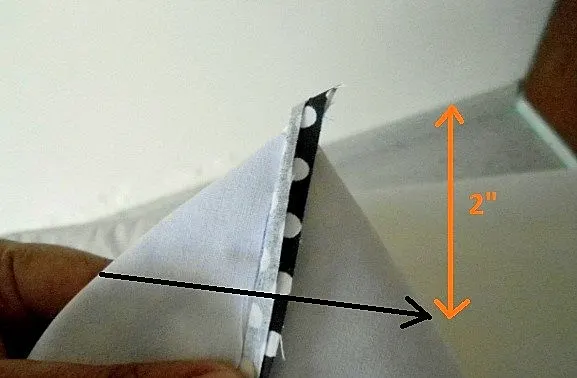
Now take the lower corner of the bag in your hand and move the front and back pieces away from each other. Align the side seam over the bottom seam of the bag and mark a line 2” across the corner as shown above. Sew along the line, reinforcing at the start and finish.

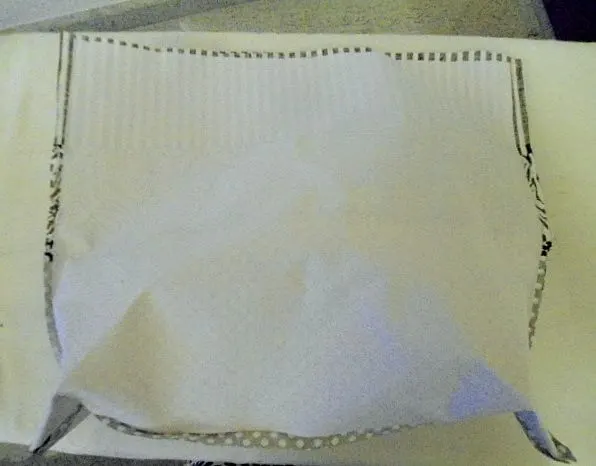
Repeat the steps on the other corner. The wrong side of your bag would look like this.
Turn over to the right side and now your bag has a three-dimensional shape.


Take the two lining pieces, layer them aligning the edges and sew along the three sides as marked above. The top edge is left open.

Repeat the steps you did on the corners of the main bag piece, on the lining.
Now we need to attach the shoulder strap and the strap for the button. Let’s first do the button strap.
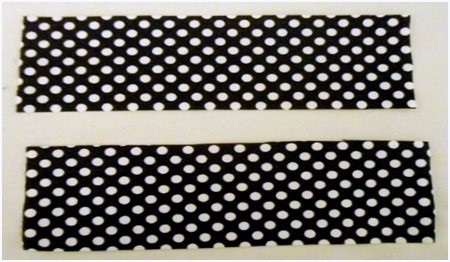

Take two fabric pieces, 7-inches long and 2.5-inches wide.

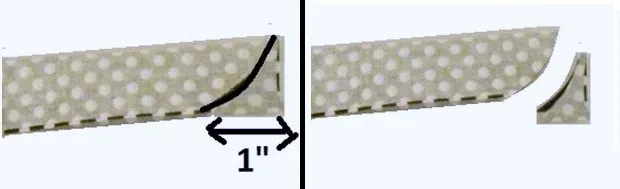
Layer the two pieces, aligning the edges and fold lengthwise. Mark a curved line one-inch away from the top edge and cut along the line as shown above.
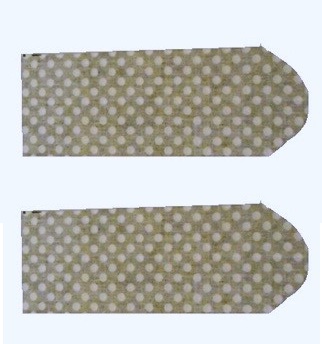
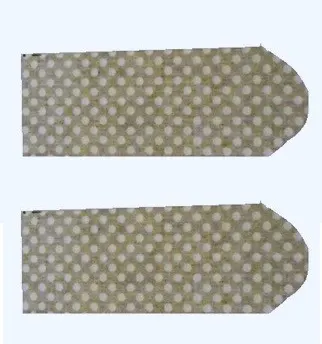
Open up and your strap pieces would look like this.
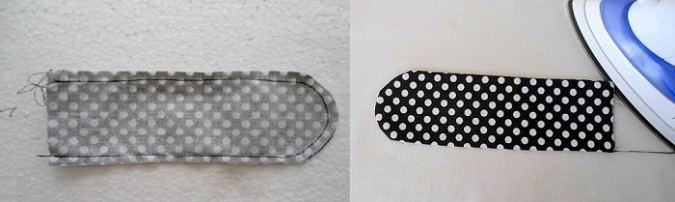
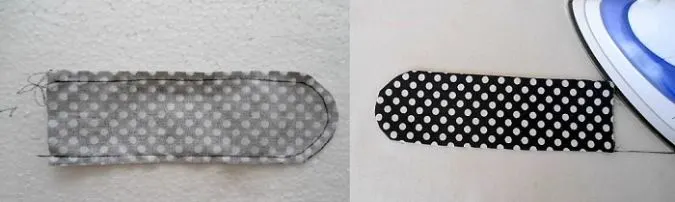
Layer the two pieces with the right sides together and aligning the edges. Sew around the edge as shown above.
Turn over to the right side and press.

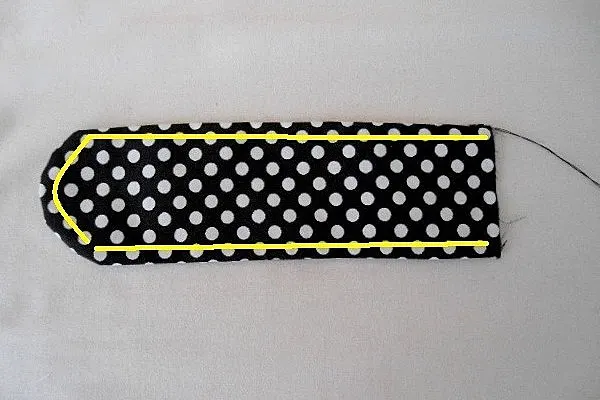
Topstitch around the edge as marked by the yellow line.
Now we need to attach the strap onto the bag.

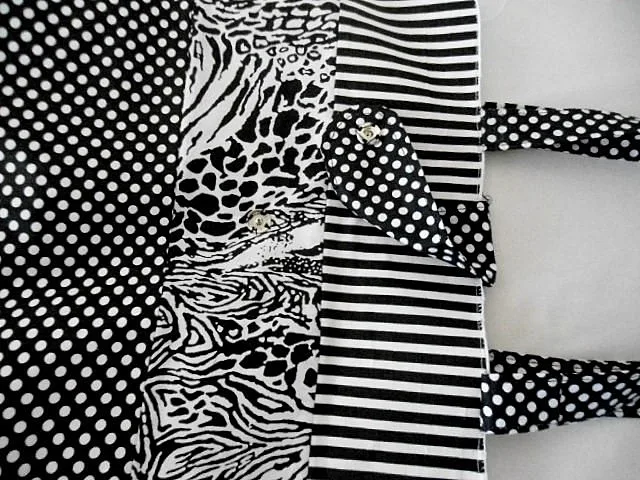
Mark a point at the centre of the top edge of the bag as shown in the picture.
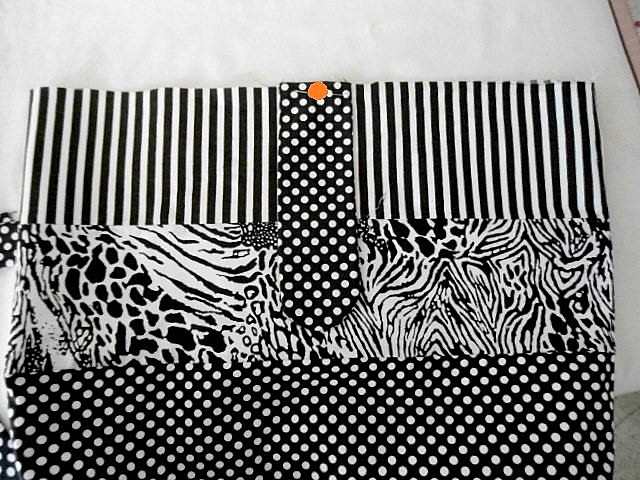
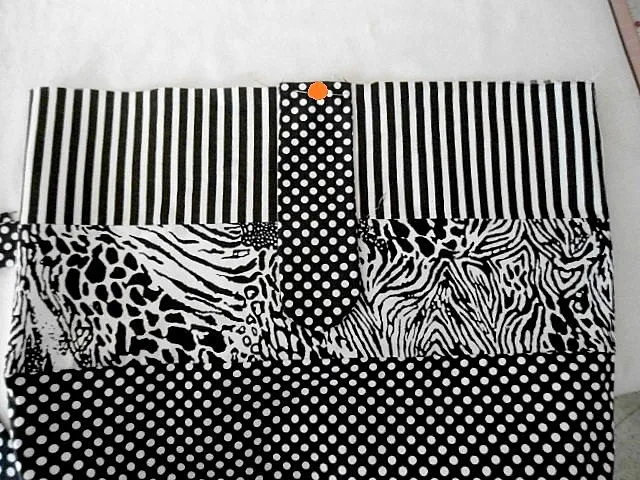
Mark a point at the top center of the strap and keep the strap over the bag, on its right side, overlapping the marked points and aligning the top edges. Pin the strap onto the bag.
Sew the strap onto the bag.
Now we need to attach the shoulder straps. Let’s sew it.
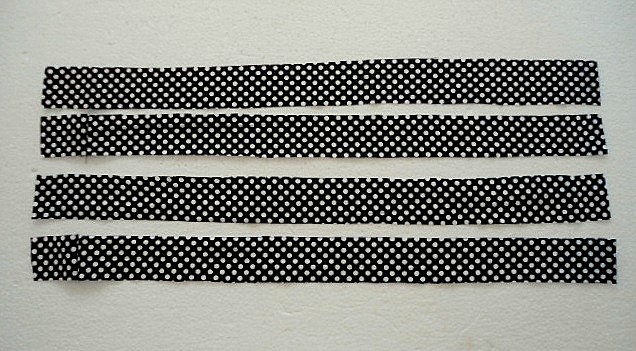
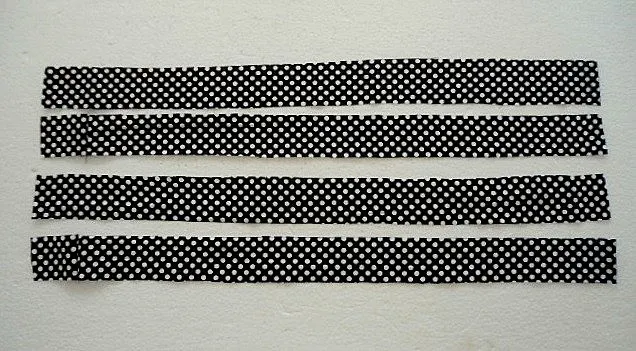
Cut four fabric pieces of any print, 24-inches long and 1.75-inches wide.
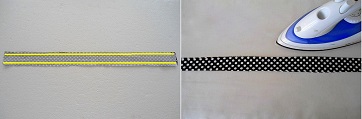

Take two of the above fabric pieces and layer them with the right sides together, aligning the edges. Sew along the two longer edges as marked by the yellow line.
Turn the strap inside-out and press taut.
Repeat the steps with the other two pieces to make the other shoulder strap.
Let’s attach the strap onto the bag.
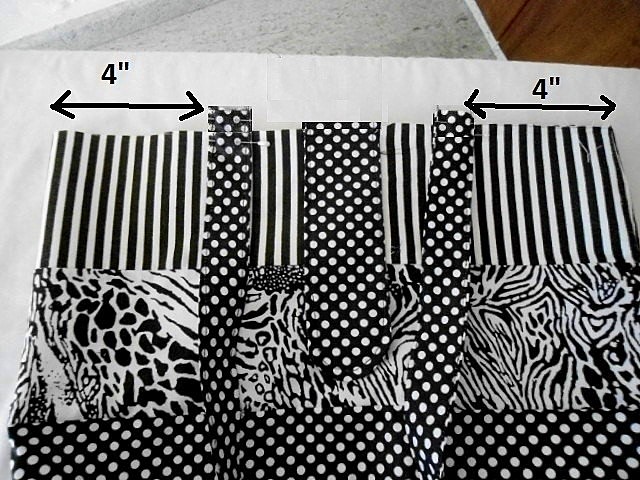

Place the two ends of the strap about 4-inches from either sides, on the right side of the bag as marked above and pin. Note that the raw edge of the strap extends about ½” from the raw edge of the bag. This is to make the strap strong and sturdy while carrying heavy articles.
Sew the strap onto the bag, removing the pin as you go. Repeat the steps on the other side of the bag with the other strap.
Now we need to attach the lining onto the bag.


Keep the lining on its wrong side and the bag on its right side and slide the lining over the bag. Make sure to align the seam lines of the bag and the lining.
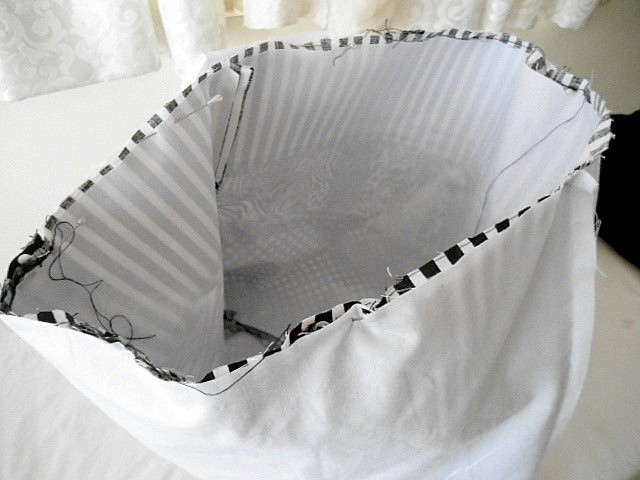
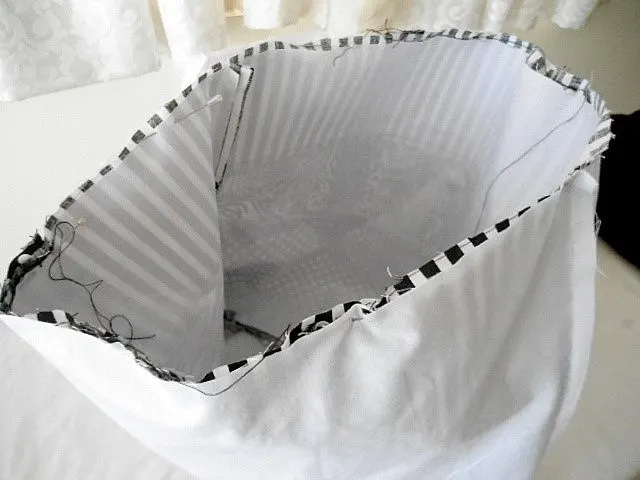
Align the upper edges of the bag and the lining and pin all around.
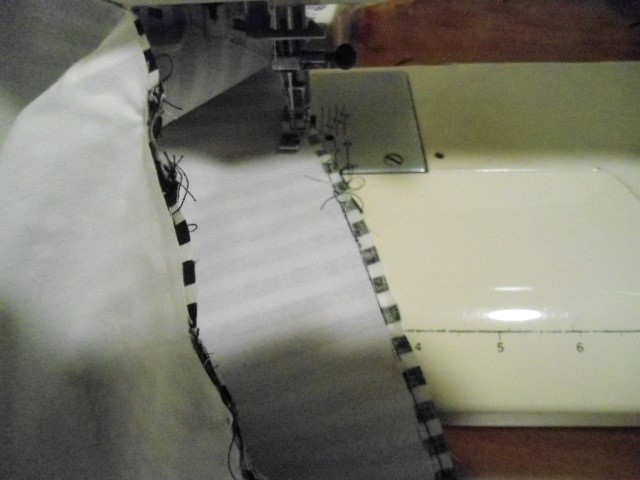

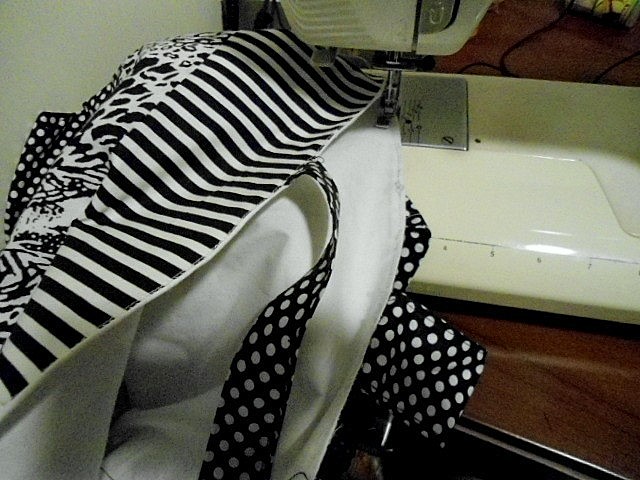
Sew the lining onto the bag, removing the pin as you go. Take care to leave a 6 to 7-inches gap to pull out the bag.
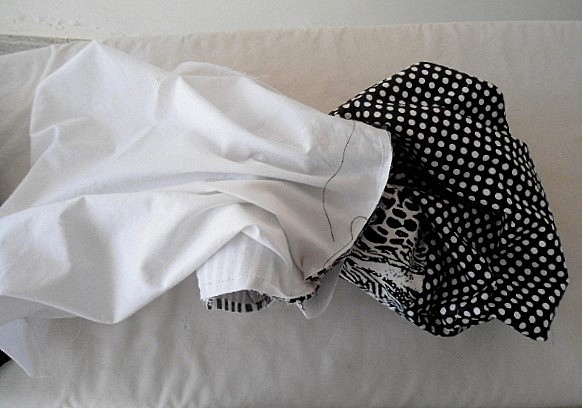
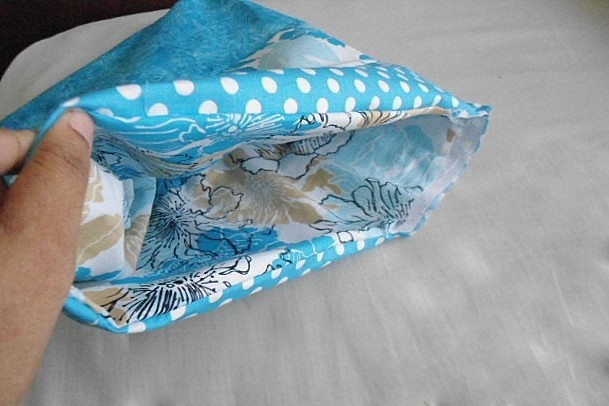
Now slip your hand down the opening and pull out the bag fabric as shown above.

Push the lining into the bag.
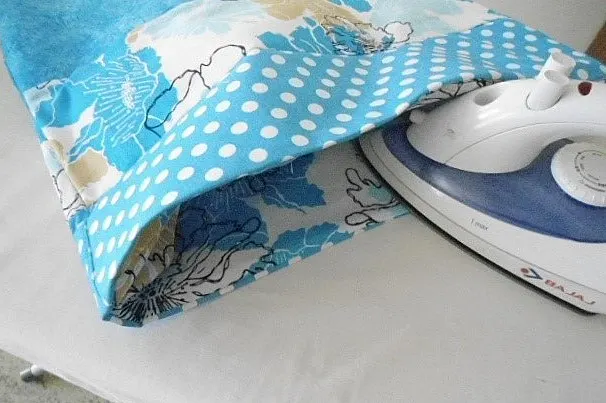
Press around the inside of the bag to make it neat and crisp.

Topstitch around the upper edge.
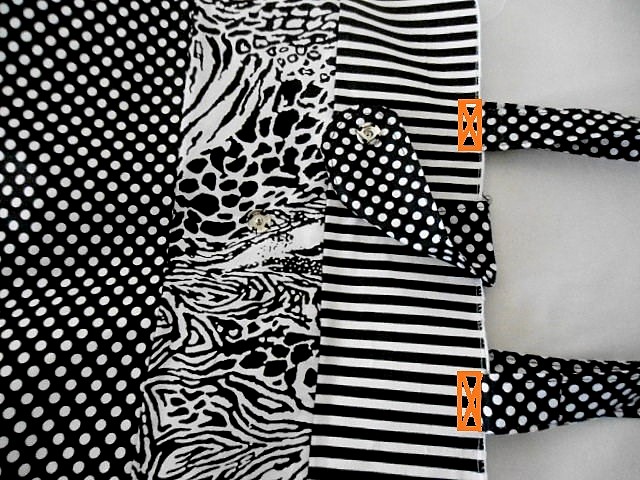
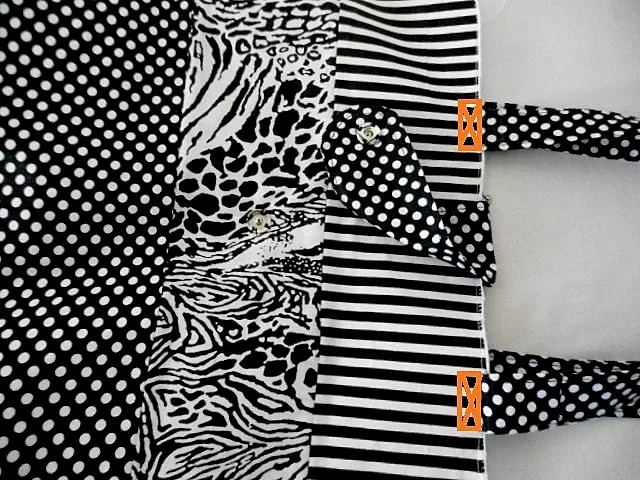
Now sew small rectangles with two diagonals, just below the point where the straps are attached to make it strong and sturdy. Make sure to catch the ends of the strap in the rectangle.
Our bag is almost done; we need to attach the snap buttons.
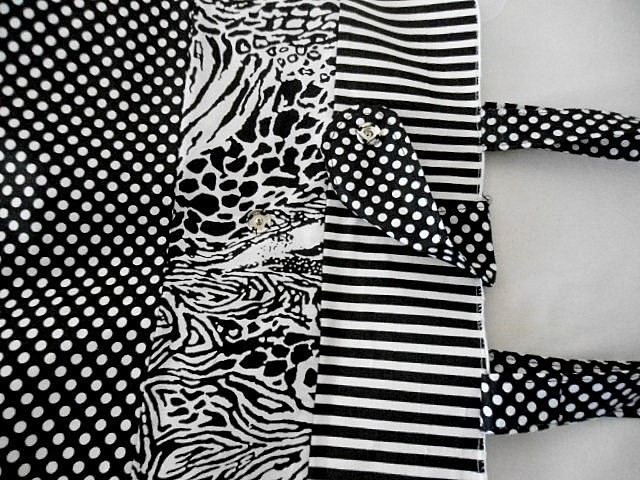
Mark a point along the lower center of the strap on its wrong side and sew the snap button using a needle and thread. Now close the strap and see where the button would fall and mark a point on the bag. Attach the complimentary snap button at that point.
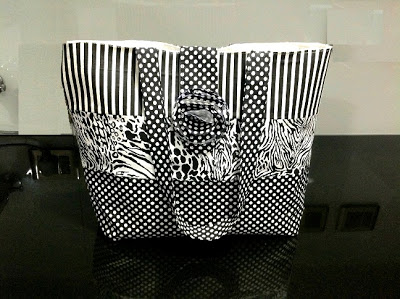

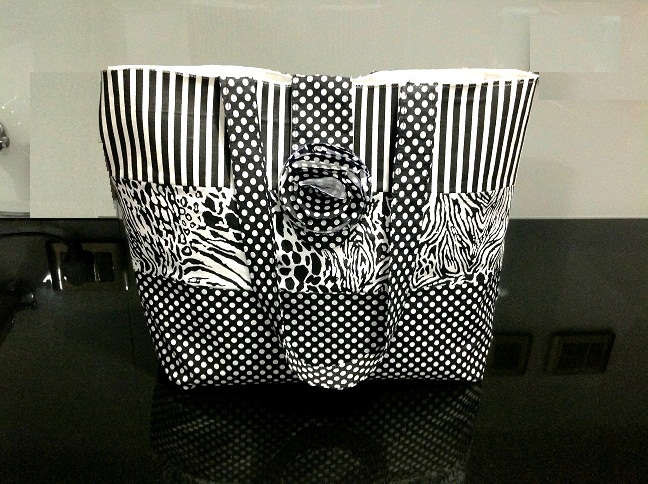
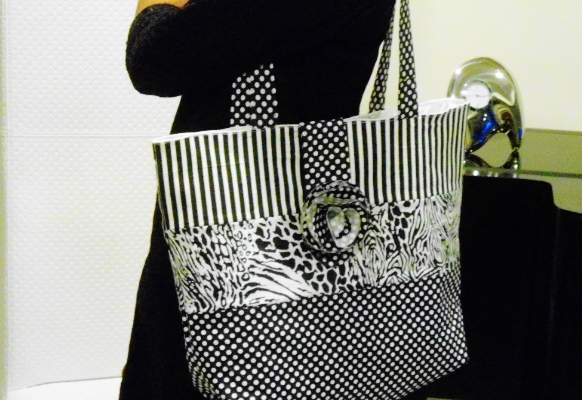
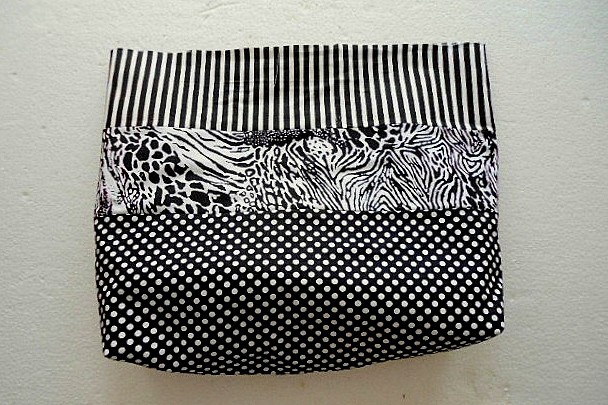
Our tote bag is ready!
Find the webstory for the post here, Sew Your Own Tote Bag: Free Pattern & Tutorial Pin it for later here,


Boots Marshall
Tuesday 10th of October 2023
I’d love to make this, but I didn’t see the link for the pattern.
Marilyn Salter
Thursday 28th of July 2022
How can I print these instructions? I love the bag, but I don’t want to print the page with all the ads.
MAXINE SMITH
Tuesday 26th of July 2022
Really stylish bags. Like so much better than others. The flower gives it that extra that makes it stand out. Where can I find tutorial on flower please. It looks nicer than others I have seen. Thank you for sharing your talent! Maxine
Surayya
Tuesday 26th of July 2022
Thank you, glad you liked it. You may find the tutorials for fabric flowers here, https://sewcraftyme.com/how-to-make-fabric-flowers.html
Elizabeth John
Thursday 29th of July 2021
Thank u for the patterns God bless you
Surayya
Saturday 31st of July 2021
You are welcome! And thanks for leaving the comment!
Tracie Goodchild
Tuesday 27th of July 2021
I love your free tote bags I'm thinking I can make these for Xmas for my work colleagues im shore they will love them thank you
Surayya
Saturday 31st of July 2021
Great! I am glad you liked it!