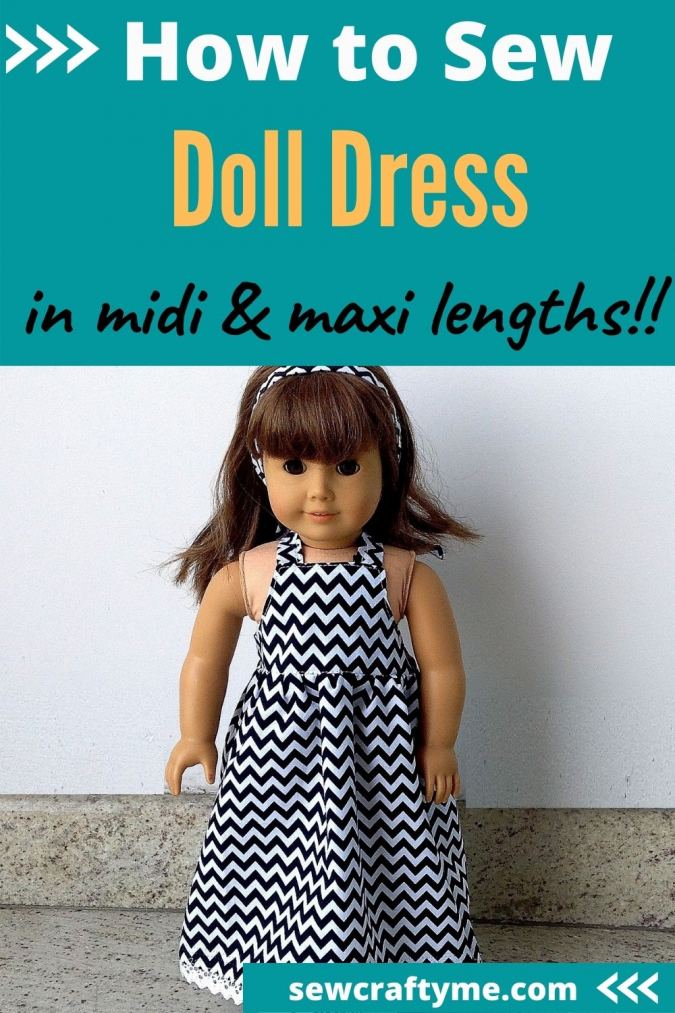
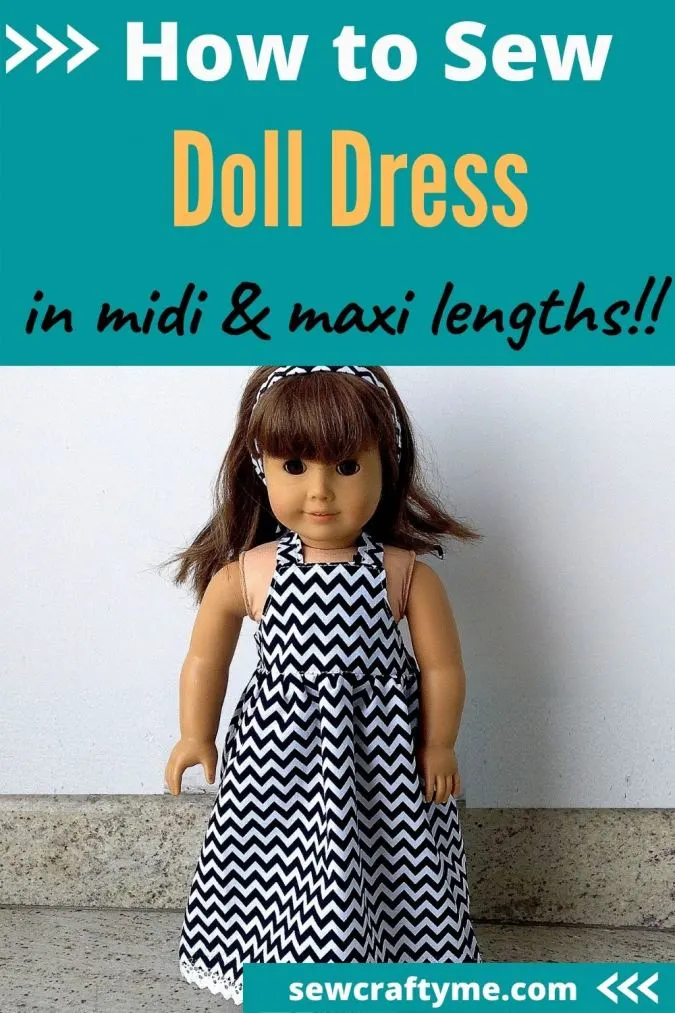
This doll dress sewing pattern is all you need to cheer up your little girl this summer. This is a beautiful American 18- inch doll dress pattern, with options to sew it as a midi and maxi dress. I am primarily a girls’ dress designer but designing and sewing doll clothes are fun. I feel, maybe, that the child in me finds expression while doing so.


I design dolls dresses which can be put together quickly. They should also be easy for on and off, on her dolly, for your little girl. Buttons and zippers, I totally avoid. I try sticking on to elastic and velcro instead. Here, The dress has a back elastic and back tie to hold it neat and prim.

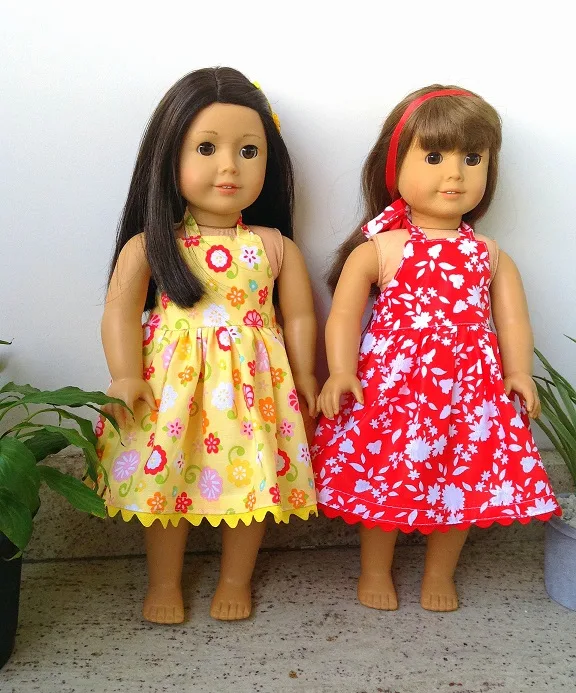
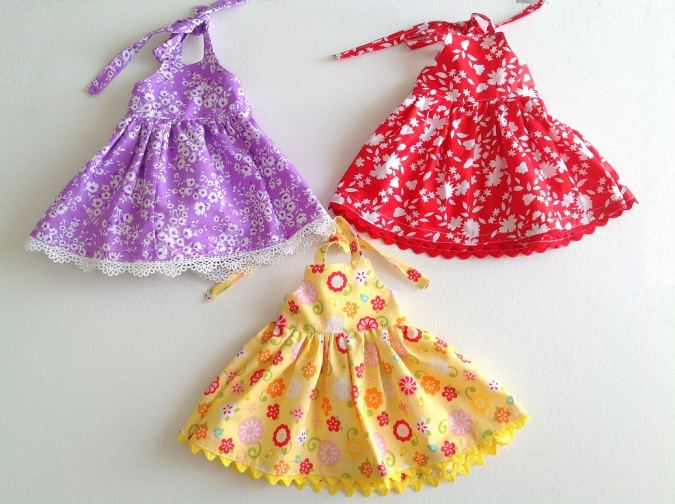


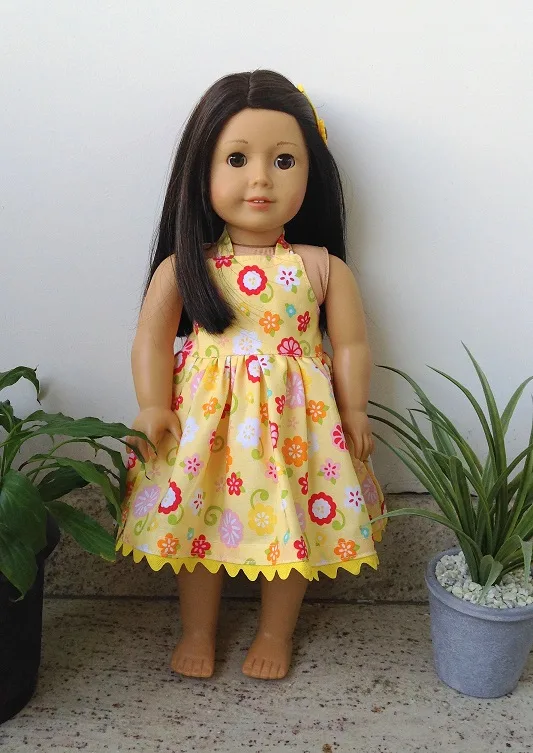
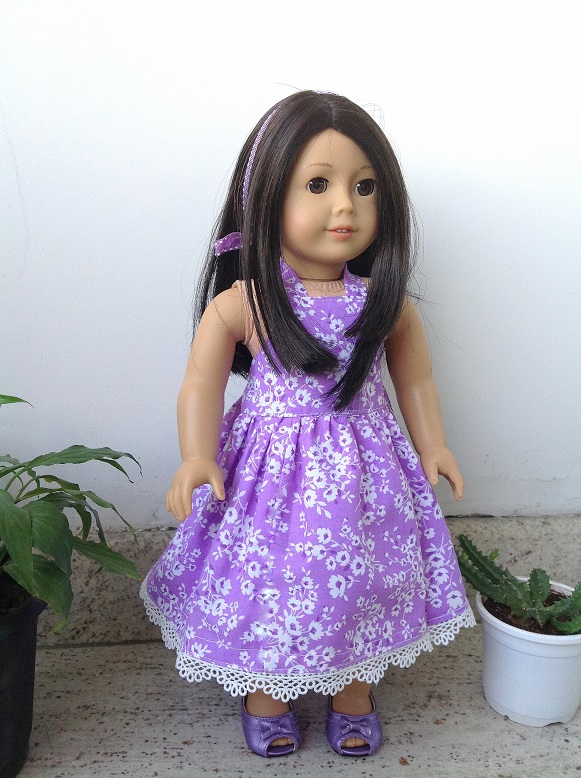

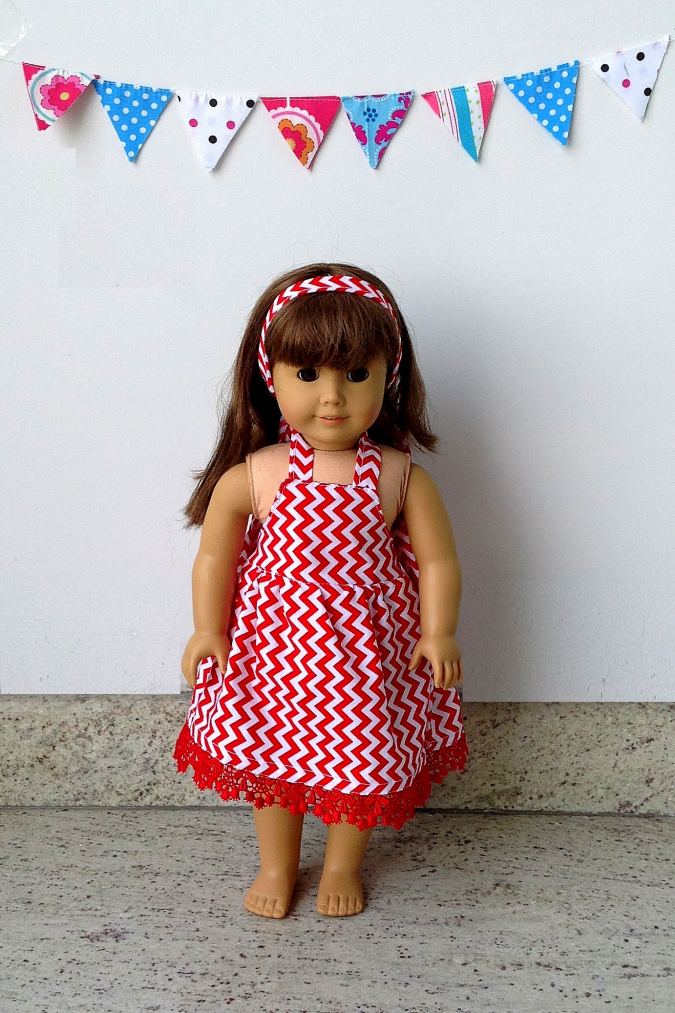

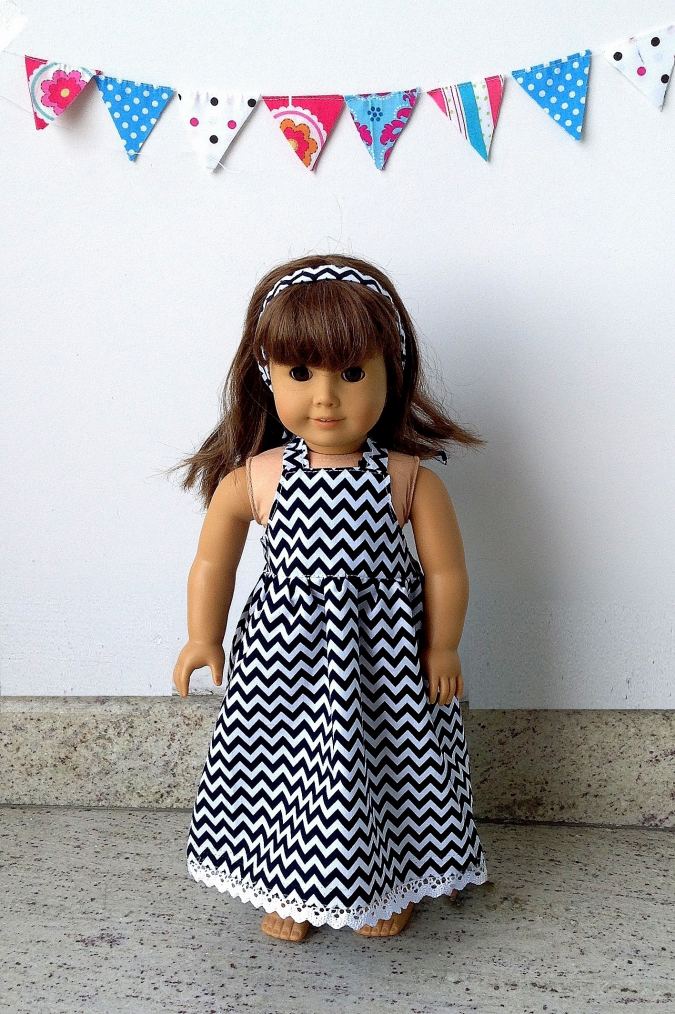

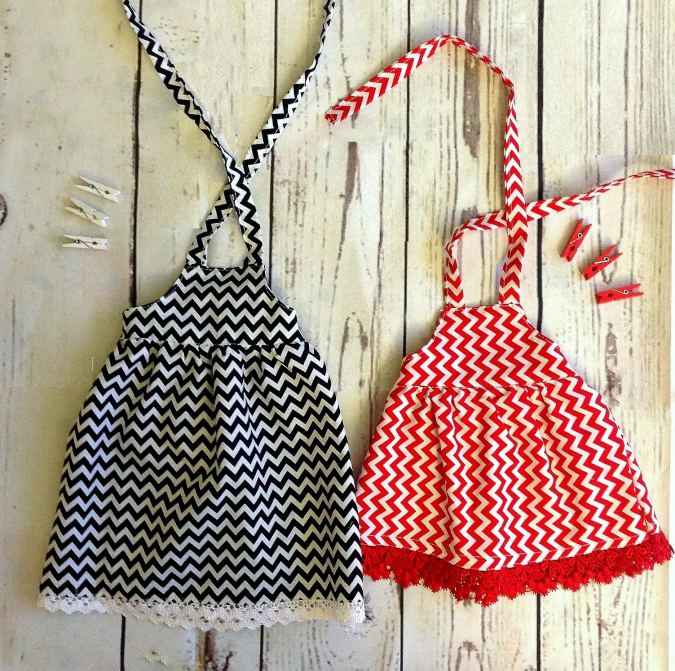

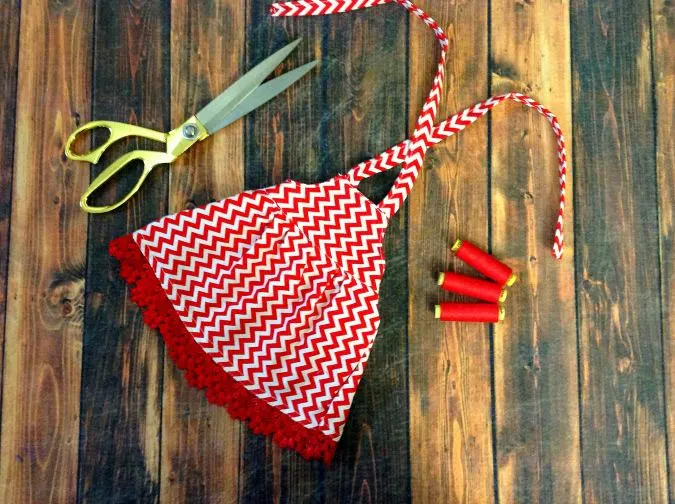
This is a very simple design but you can make it gorgeous by adding embellishments like lace, ricrac, or satin ribbon. Even contrasting fabrics for the yoke and skirt part can make it look great.

This is a miniature replica of my girl’s easy sundress pattern. So, how much happier can your little one get than sewing a matching set of dress for her and her dolly?
If you would love to see more of my AG doll patterns, find them here:
Doll Mini/ Midi/ Maxi Skirt Pattern
Heart Pinafore Pattern for AG Dolls
Easy Sundress Sewing Pattern for AG Dolls
Pillowcase Dress Sewing Pattern for AG Dolls
Peasant Dress Sewing Pattern for AG Dolls
You can follow the written pattern below or purchase an Ad-free PDF for just $2.50, Add to Cart here. The pattern will be e-mailed to you.
American 18 Inch Doll Mini/Maxi Dress Sewing Pattern Free
Materials Required:
- Fabric scraps for the dress yoke and skirt.
- 3/8- inch Elastic for back yoke 5.5- inches.
- Sewing Notions.
- Ricrac or lace (optional)
- Seam allowance is 3/8 inch unless otherwise specified.
- Download the template below.
Step-1
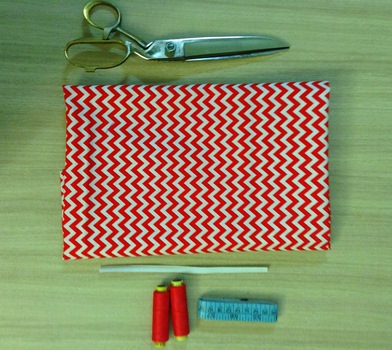
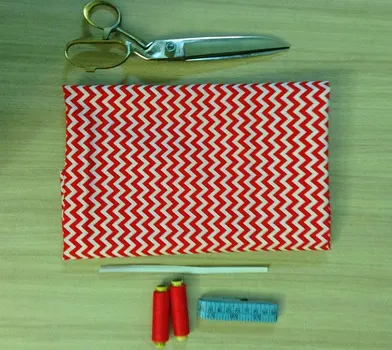
Gather your supplies.
Step-2


Cut the pattern templates for the front and back yokes. Fold the fabric and place the template on the fold. Cut around the template and get your front and back yoke pieces.
Repeat the steps to get the lining pieces for the same.
Measurements for Skirt Piece:

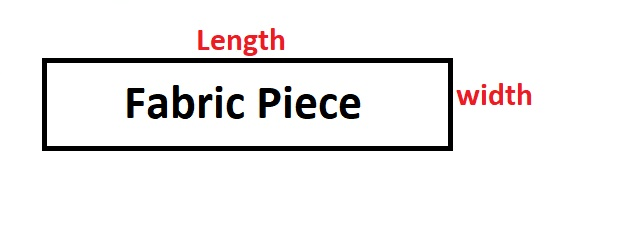
Cut 1 piece, 35 inches long and 11.5 inches wide for a maxi dress.
Cut 1 piece, 35 inches long and 7.75 inches wide for a midi dress.
Reduce the width of the lace or ricrac from the width of the skirt piece, if you wish to add one.
Measurement for strap pieces:
Cut 2 pieces, 15 inches long and 2 inches wide.


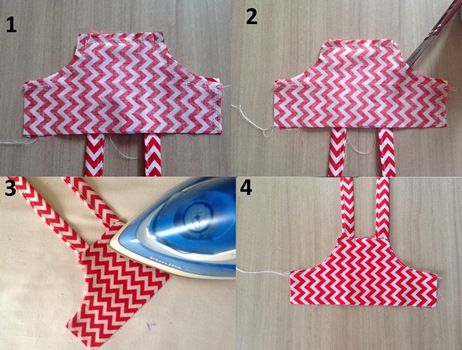
Your dress pieces will look like the picture above.
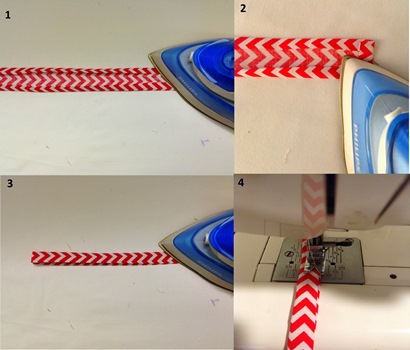
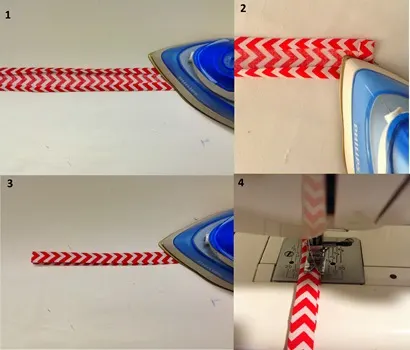
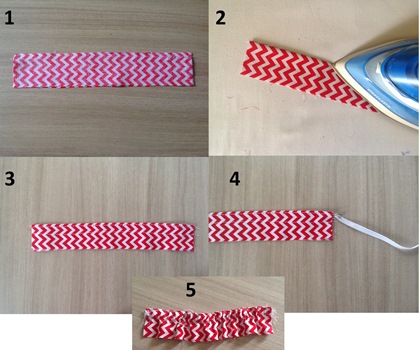
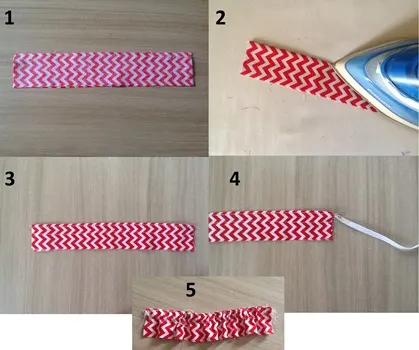
Take one of the strap pieces; fold its two longer edges and one shorter edge by 3/8-inch towards the wrong side and press to set. Fold in half lengthwise and press again.
Sew the strap shut along the edge of the fold. Repeat with the other strap piece.
Step-4
Next, take the front yoke piece and keep the right side up. Keep the shorter raw edge of the strap, ½-inch from the armhole and pin. Repeat with the other strap on the other side of the yoke.
Sew the straps to the yoke.
Step-5
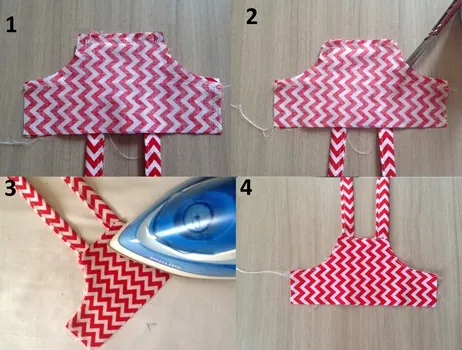
Place the yoke lining above the front yoke, with the right sides together and aligning the edges. Sew along the top edge and armhole. Clip the curves and cut the corners to reduce the bulk in the seam.
Turn over to the right side and press taut. Topstitch along the armhole curve and the top edge to make it neat and crisp.
Step-6
Take the back yoke and the lining, layer them with the right sides together and aligning the edges. Sew along one of the longer edges to join.
Turn over to the right side and press taut. Topstitch along the sewn edge to make it neat and crisp.
Next, sew a running stitch, ½- inch from the top edge to make a casing for the elastic. Take the required length of the elastic and insert it through the casing, using a safety pin. Secure the ends of the elastic by sewing back and forth a few times.
Step-7
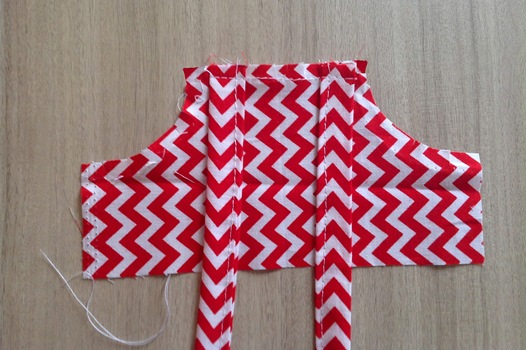
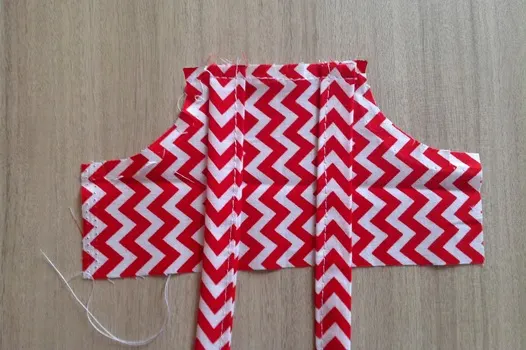
Let’s attach the front and back yoke together.
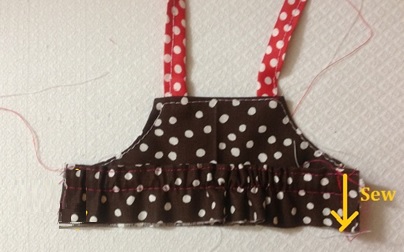
Keep the front and back yokes layered, with the right sides together and aligning the side edges. Sew one of the side seams shut (the other side seam is sewn, once the skirt is attached). * The above picture is for illustration purpose.
Step-8
We move on to the skirt. We first press its lower hem.
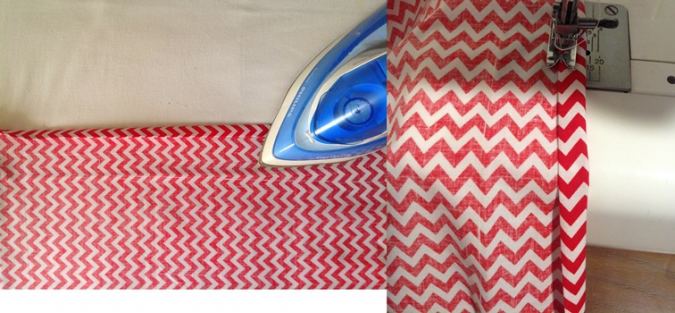
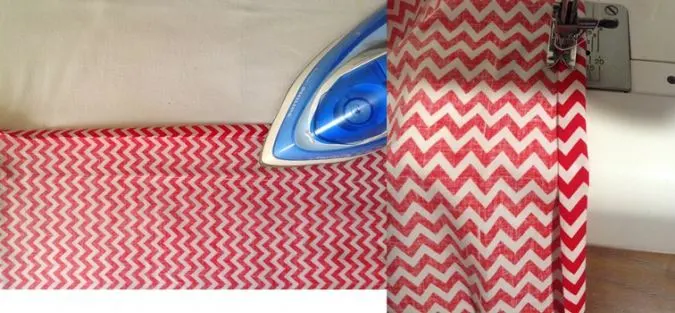
Fold one of its longer edges towards the wrong side by ½- inch and press. Fold again by ½-inch and press once more. Sew down the hem along the edge of the fold.
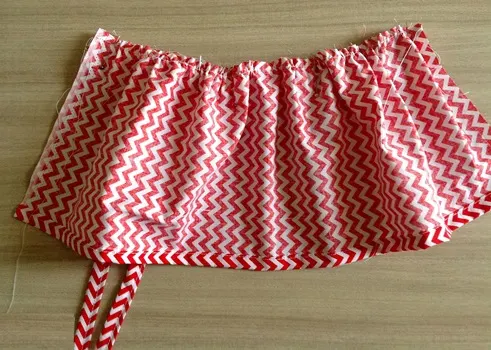
Step-9
Next, we gather the skirt. For that, turn the upper thread tension of your machine to zero and stitch length to the longest, to get a basting stitch.

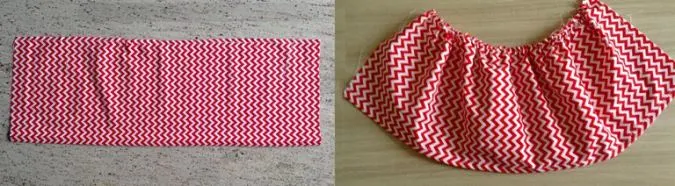
Sew a basting stitch, along the upper raw edge of the skirt, leaving a long tail of thread, 6-7 inches long. Pull the thread from the bobbin gently and gather the skirt.
Adjust the gathers to make it uniform and to match it with the lower edge of the yoke.
Step-10

Align the gathered upper edge of the skirt, along the lower edge of the yoke, with the right sides together and pin.
Step-11
Turn the machine settings back to normal.
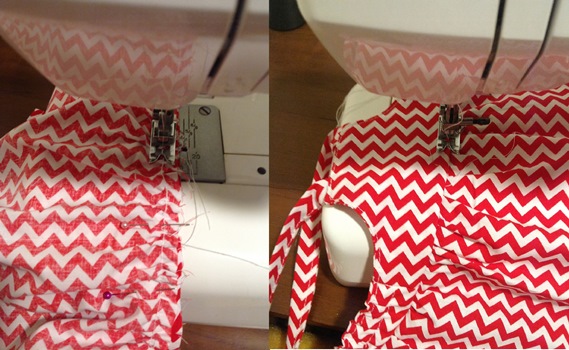

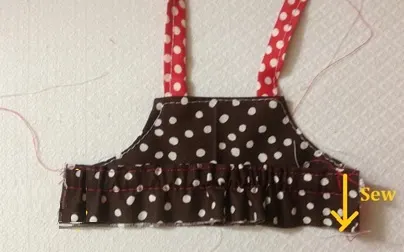
Sew the skirt to the yoke, removing the pins as you go. Turn over to the right side and topstitch along the seam line of the skirt and yoke to make it neat and crisp.
Step-12
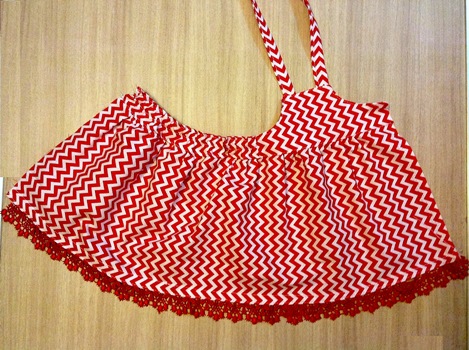

At this point, you may add your ricrac or lace (optional).

Fold the dress over, with the right sides together and edges aligning. Sew the other side seam shut.
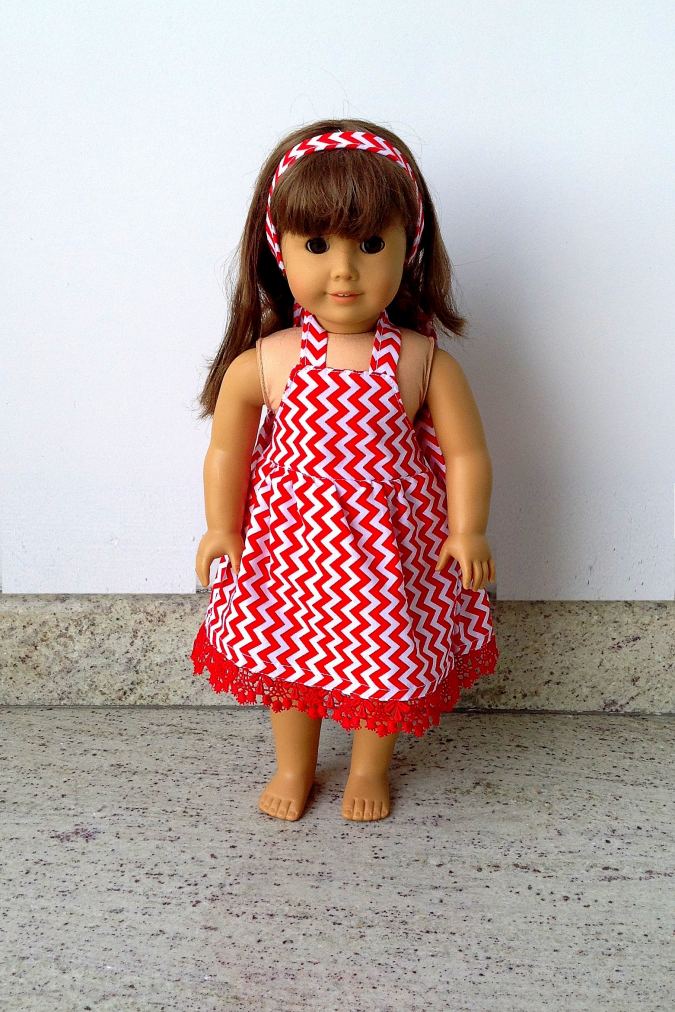

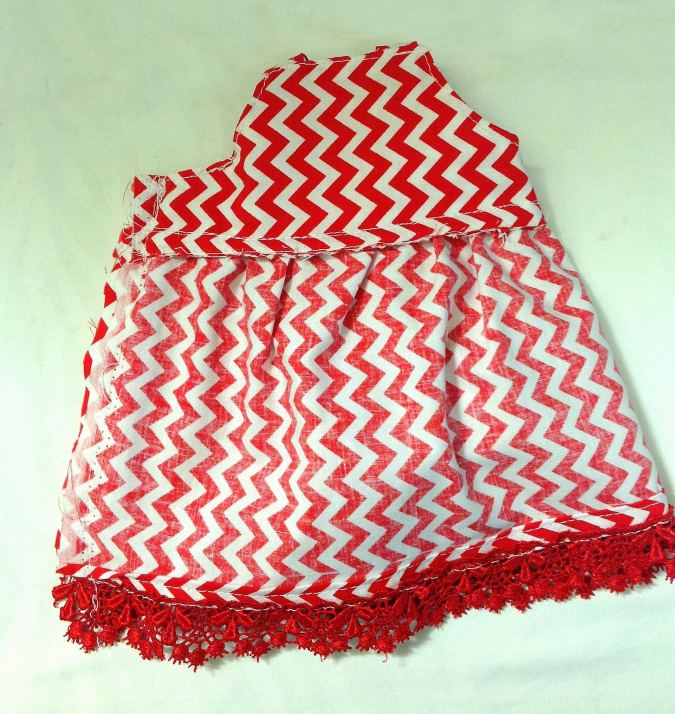
Pull it over your little girl’s American doll and tie the straps at the back and the dolly is ready for her summer play!
Pin it for later here,
For more doll patterns, click here.
For more free patterns, visit craftgossip.com.
Karen
Saturday 19th of February 2022
Looks Cute!
Karen Rodrigue
Tuesday 31st of August 2021
Cannot download template.
Surayya
Wednesday 1st of September 2021
Kindly Refresh your browser and try again!
Barbara
Sunday 27th of September 2020
Thanks for creating this pattern, which I just purchased out of appreciation. 😁
Surayya
Sunday 27th of September 2020
Thanks for the appreciation!
Jackie Koepnick
Friday 31st of July 2020
I was skeptical when I first got this that it was so easy but it is and thank you thank you I made 9 in the first couple of day
Geraldine
Friday 3rd of July 2020
Pattern dowloaded easily, it was easy to follow and i have the first one done. Thank you so very much. I am doing the tiered skirt next.