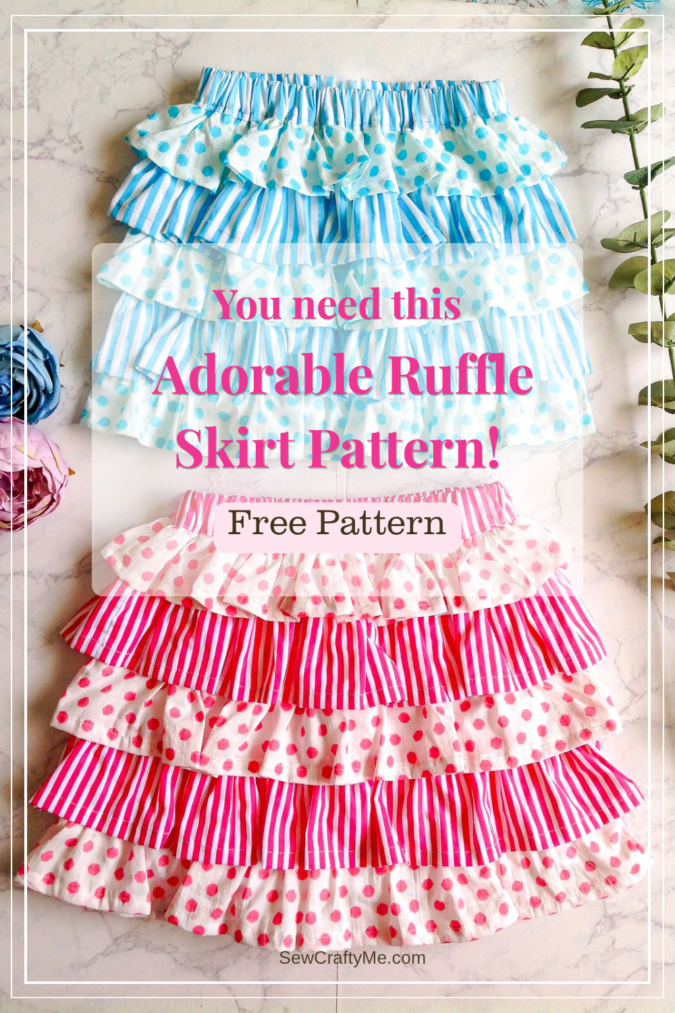
Do you have a basket full of fabric scraps that you just can’t bring yourself to throw away? Then this free ruffle skirt pattern is the perfect project for you!
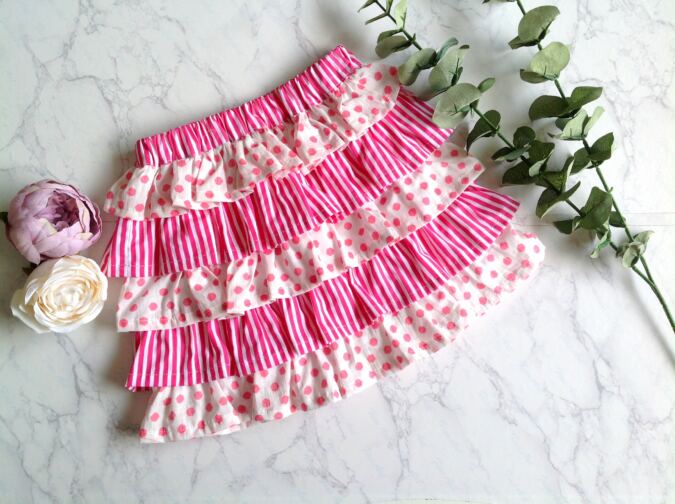
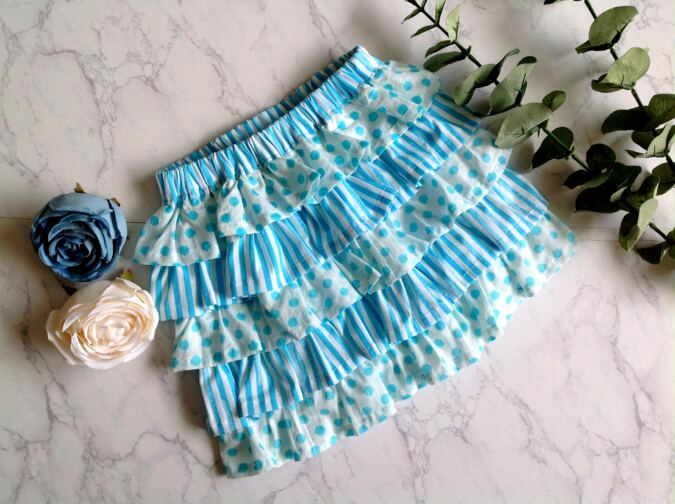
Mix and match your favorite colors and prints to create a skirt that’s completely your own. The layers of ruffles make it fun, playful, and a great way to give those leftover fabric pieces a brand-new life.
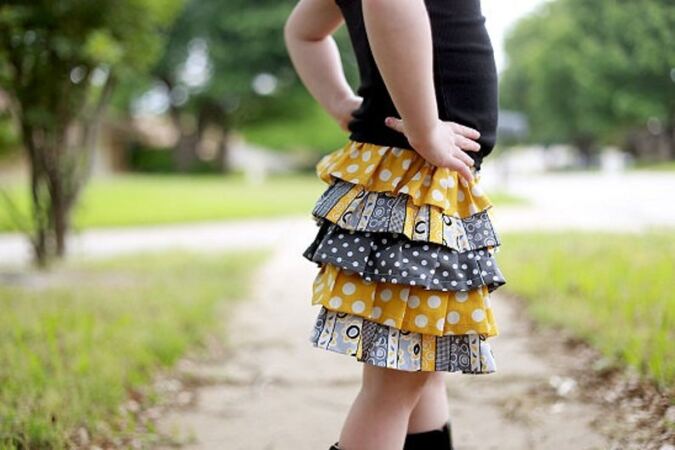

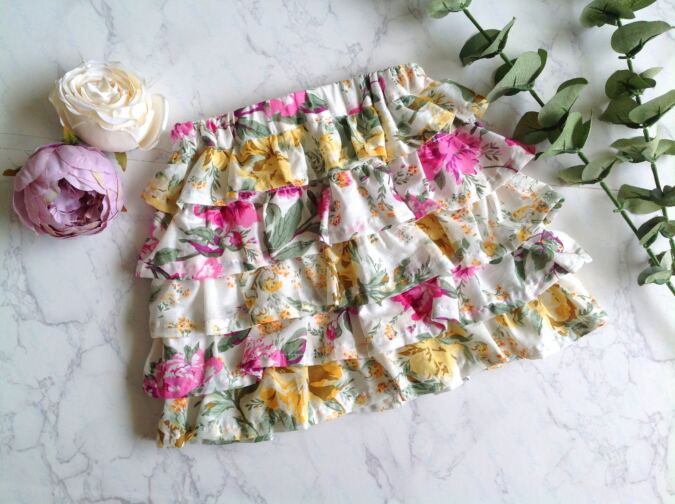
Yes, sewing all those ruffles takes a little extra time, but don’t let that intimidate you. The steps are simple and repetitive, and once you’ve sewn the first couple of rows, you’ll quickly get into the rhythm. Before you know it, you’ll have a beautiful skirt that was well worth the effort!
Free Ruffled Skirt Pattern for Girls
Materials Required
- Light to medium weight cotton fabric for the skirt body – requirement specified in the table-2 below.
- Light to medium weight cotton fabric for the waistband and ruffles- requirement specified in the table-2 below.
- 3//4- inch – requirement specified in the table-2 below
- Sewing Notions.
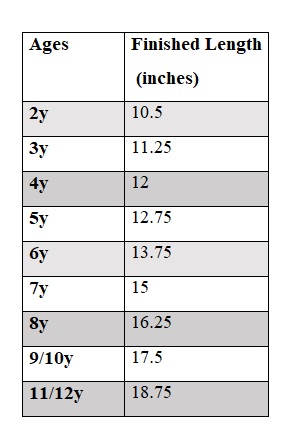
Approximate Finished Length
Table-1
I suggest you read the entire pattern once before starting to get a general idea.
All the fabrics used here are of 44/45 inches width.
The fabrics shown here are only for illustration purposes and as such may vary from the original.
All seam allowance is 3/8-inch unless otherwise specified.
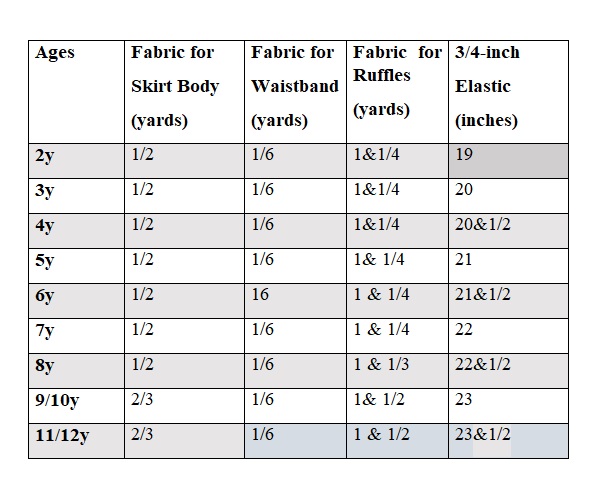
Fabric Requirements
Table-2
*The fabric requirement given below is for the five ruffles altogether. If you wish to choose different fabric for each ruffle, divide the total requirement by five to get the requirement for each fabric.
Measurements
Table-3
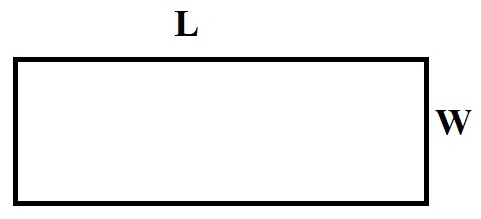
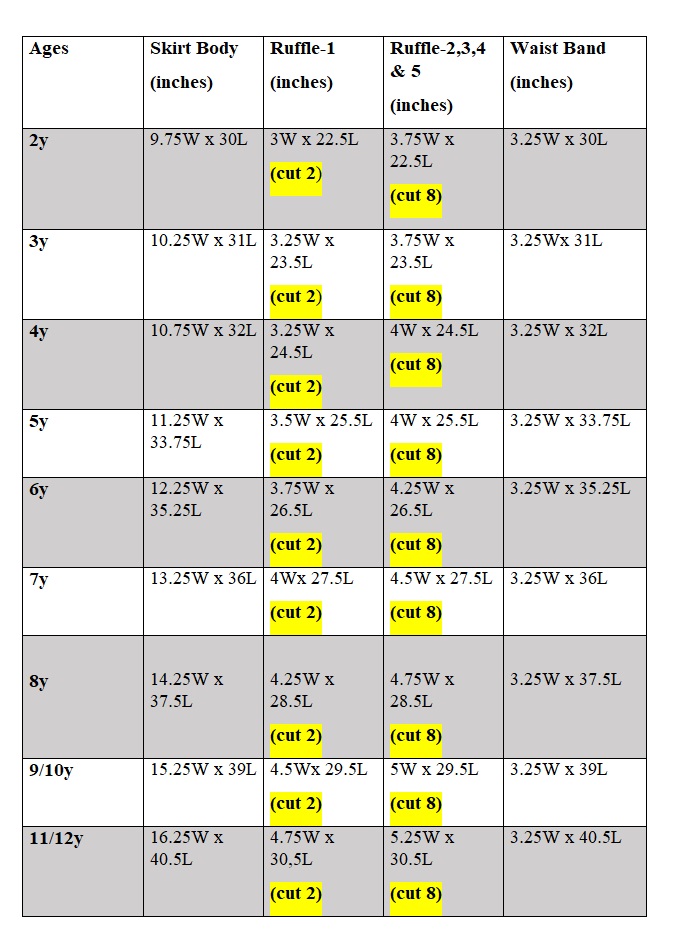
In the table below, “W” stands for the width of the fabric and “L” the length.
Sewing
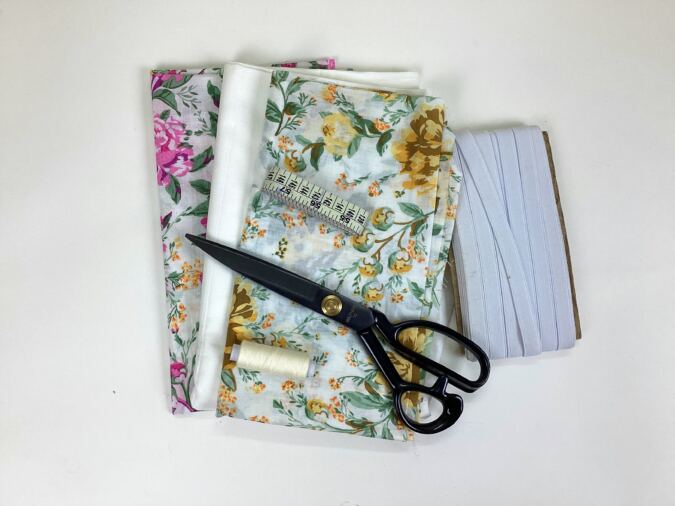
Gather the supplies
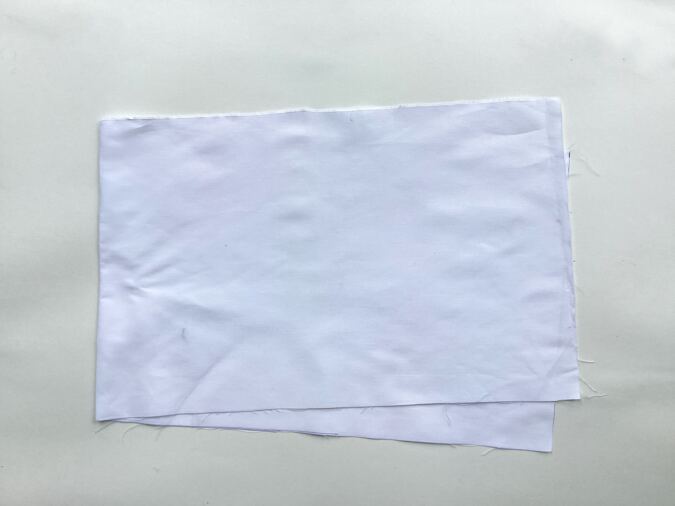
Cut the fabric required for the skirt body, referring to the table-3 above.
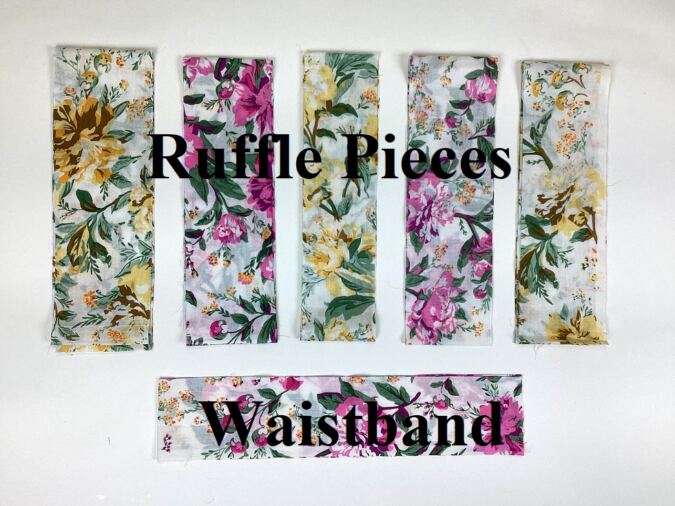
Cut the fabric strips for the ruffles and waistband, also referring to the table-3 above.
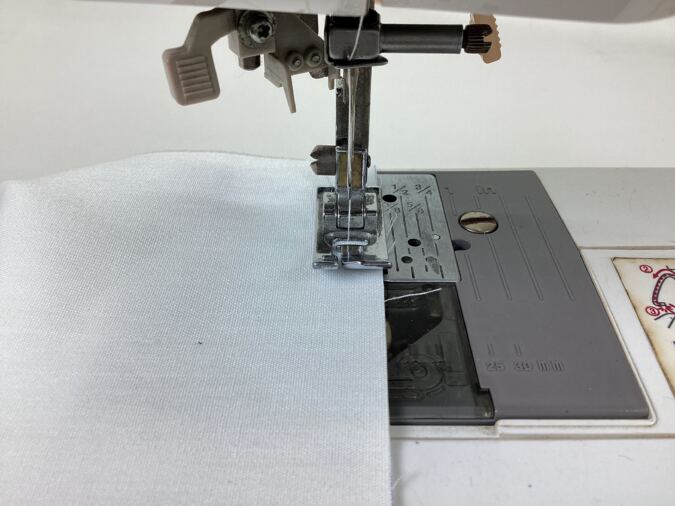
Take the skirt body, fold it in half width wise with the right sides together and aligning the edges. Sew it shut along the shorter edge, you will get a fabric tube.
Table-4
Distance Between The Ruffles
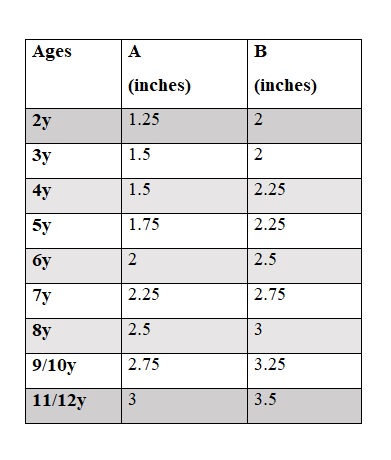
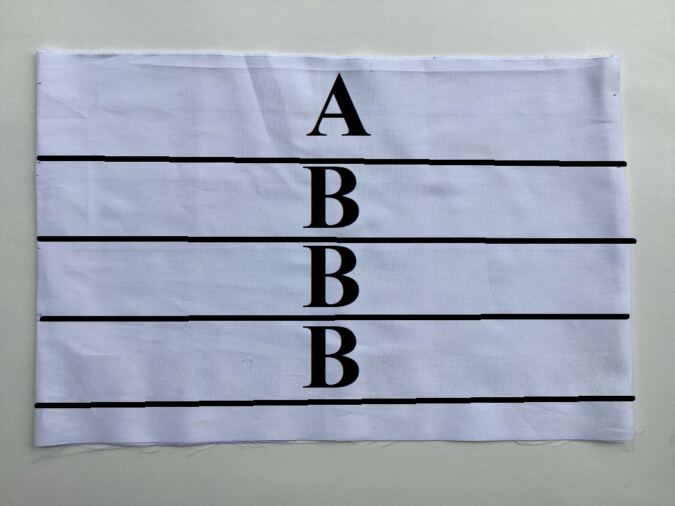
Turn the skirt body over to the right side and draw the lines for attaching the ruffles, referring to the table-4 above. The first line is drawn at a distance of A-inches from the top edge and the remaining three lines are drawn at a distance of B-inches from each other. Note that you have to draw the lines continuously all around the skirt.
Next we do the lower hem of the skirt.
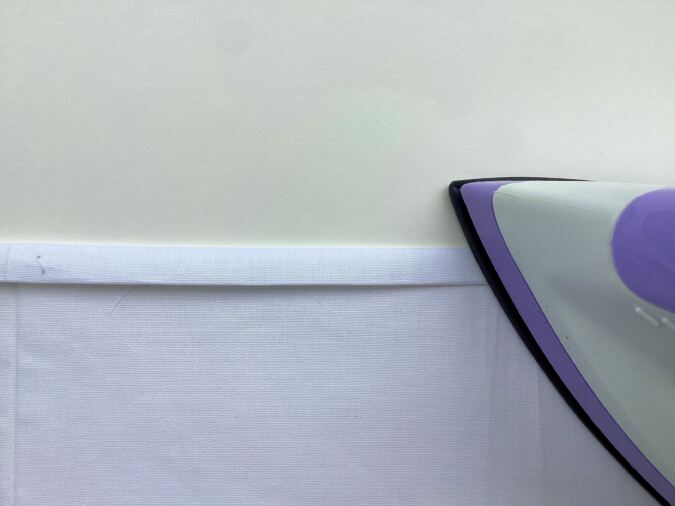
Fold the lower edge of the skirt body by 3/8-inch and press. Fold by another 3/8-inch and press again. Sew down the hem.
Let’s move on to the ruffles.
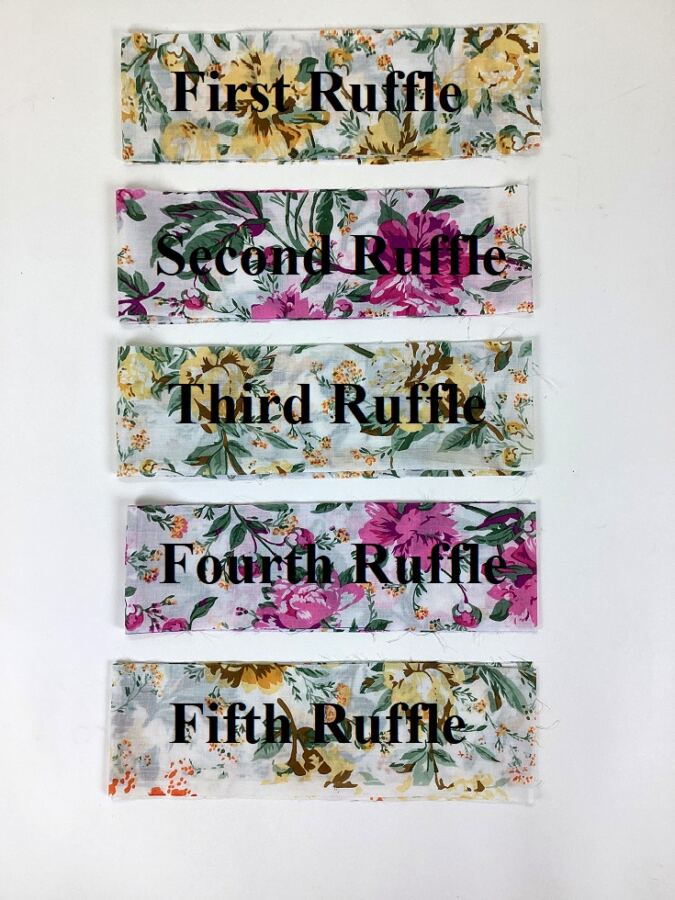
Arrange the ruffle strips in an alternating manner and mark them with an erasable marking pen.
We need to do the lower hem of the ruffle strips.
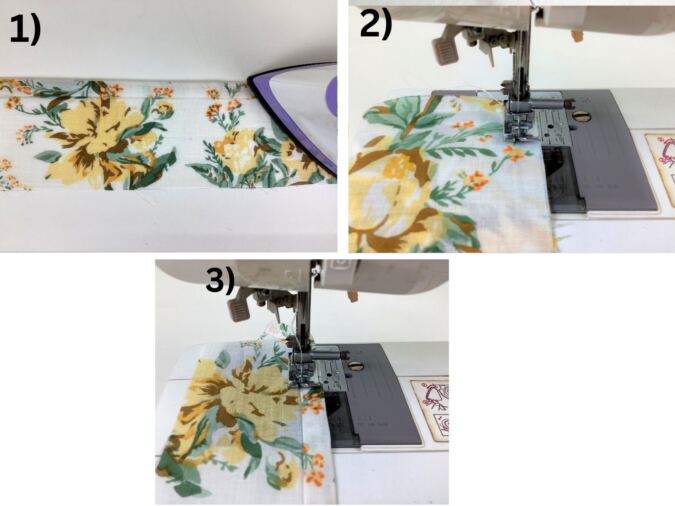
1) Take one ruffle piece, fold one of the long edges by 1/2- inch twice and press to set.Note that you will need to join two fabric strips each to get each row of the ruffle.
2) Open the pressed folds, fold the ruffle in half width wise with the right sides together and sew it shut along the shorter edge as shown above. We get a fabric ring.
3) Fold the hem back along the pressed crease and sew it down.
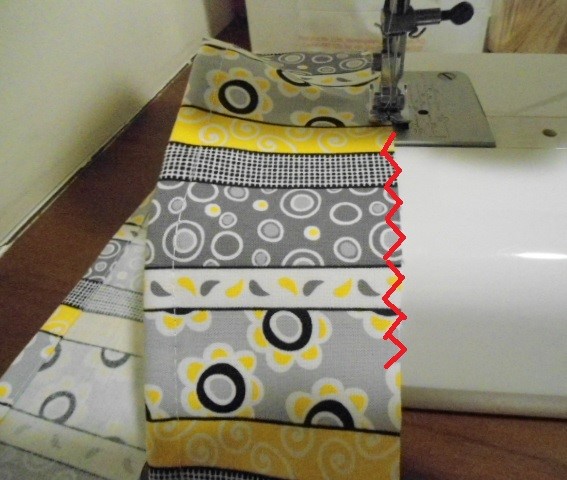
Zig zag the raw edge of the ruffle ring to prevent fraying (picture for illustration purposes).
Next we gather the ruffle. Turn the upper thread tension of your machine to zero and stitch length to the longest to create a basting stitch.
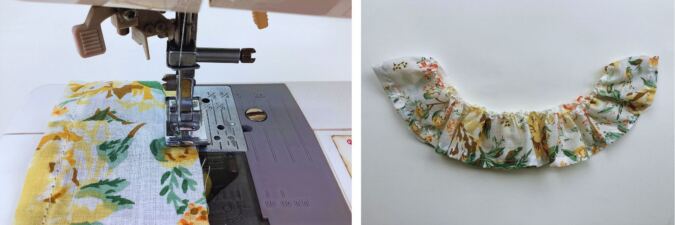
Sew a basting stitch ¼-inch away from the raw edge of the fabric ring, leaving a long tail of thread about 6 to 7 inches long.
Pull the thread from the bobbin gently and gather the ruffle. We get a ruffle ring. Adjust the gathering to match the width of the skirt body.
Repeat the steps with the remaining ruffle pieces to get four more of the same kind.
Let’s attach the ruffle to the skirt body
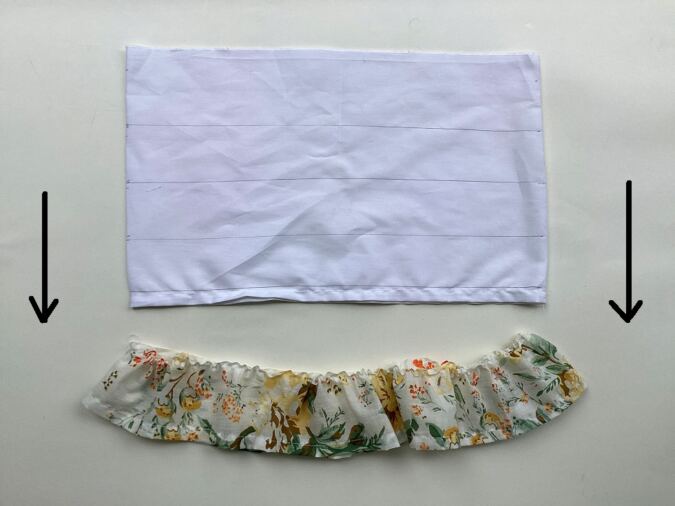
Keep the skirt body and the fifth ruffle on its right side, with the skirt body hem facing the upper edge of the ruffle and slide the skirt body into the ruffle.
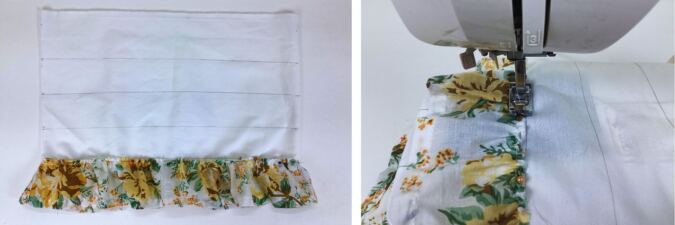
Line up the upper edge of the ruffle along the line drawn for the last ruffle and pin it around the skirt.
Turn the machine settings back to normal. Sew the ruffle to the skirt.
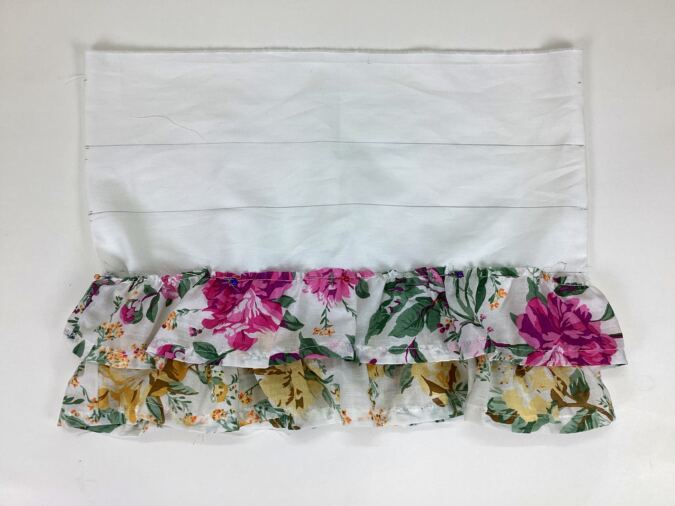
Take the next alternating (fourth) ruffle and pin it along the second line from the bottom.
Sew the ruffle in the same way as the earlier one.
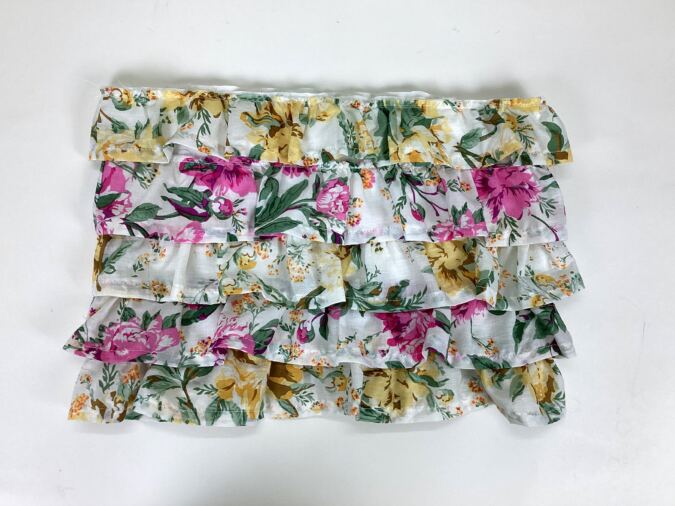
Repeat the steps with all the remaining ruffles. Note that the first ruffle is attached along the upper edge of the skirt.
Next we attach the waist band to the skirt. Let’s first prepare it.
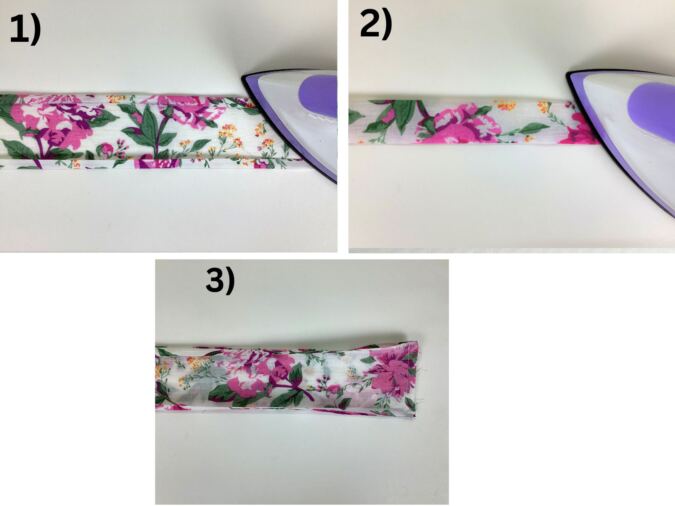
1) Take the fabric piece for the waist band, referring to the table-3 above and fold its two longer edges towards the wrong side by 3/8 inch and press. 2) Fold the waist band again in half lengthwise and repeat pressing. 3) Open the folds and sew it shut along the shorter sides to form a closed fabric ring,
Let’s attach the waist band to the skirt.
Keep the waistband on its wrong side, with the folds along the edge of the waistband open.
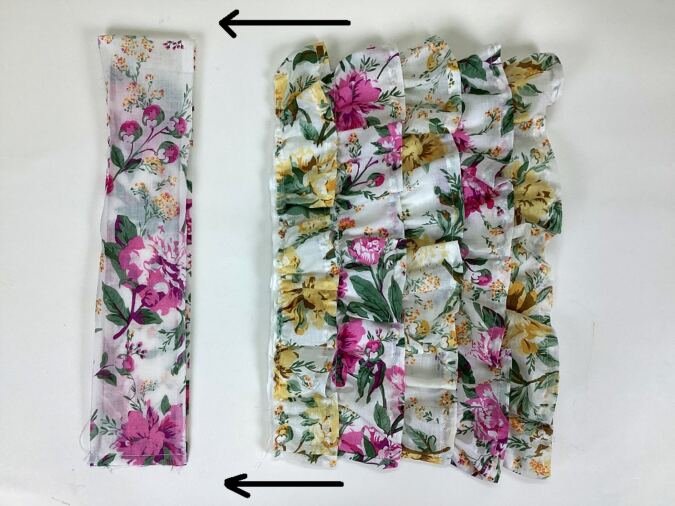
Next, place the waist band above the skirt, with the upper edge of the skirt facing the waistband and slide the skirt into the waist band.
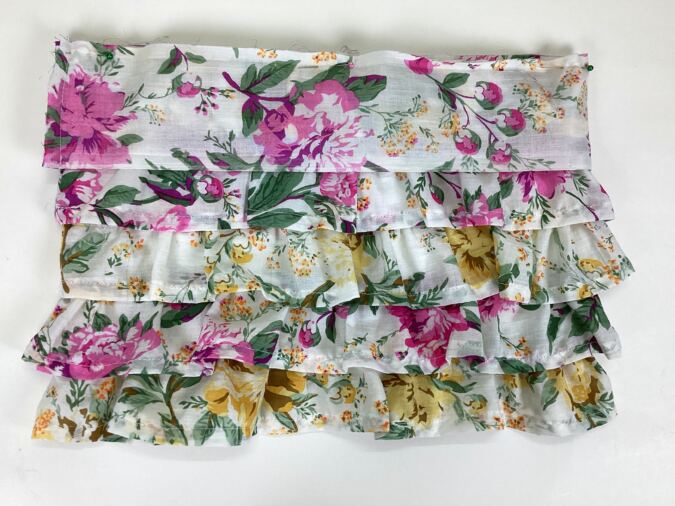
Align the edge of the waist band with the upper edge of the skirt and pin all around.
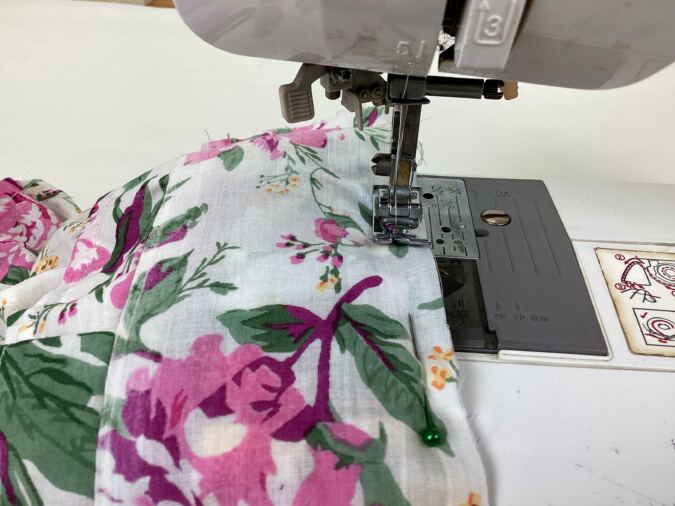
Sew the waist band to the skirt, along the crease at the edge.
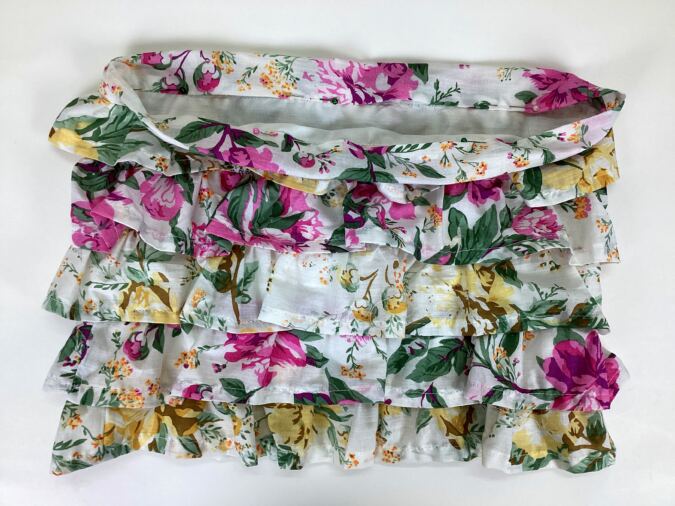
Fold the waistband over to the wrong side along the centre crease (keeping the fold along the other edge intact) and pin all around the edge of the fold.
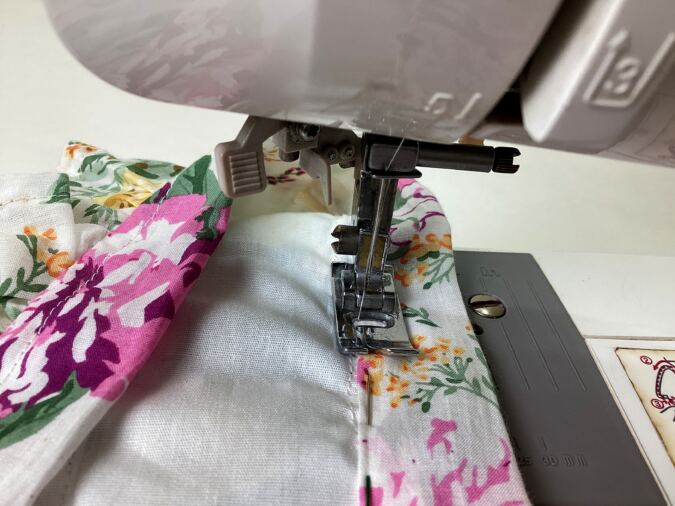
Sew the waist band shut along the edge, leaving a gap of about 1 to 2-inches to insert the elastic.
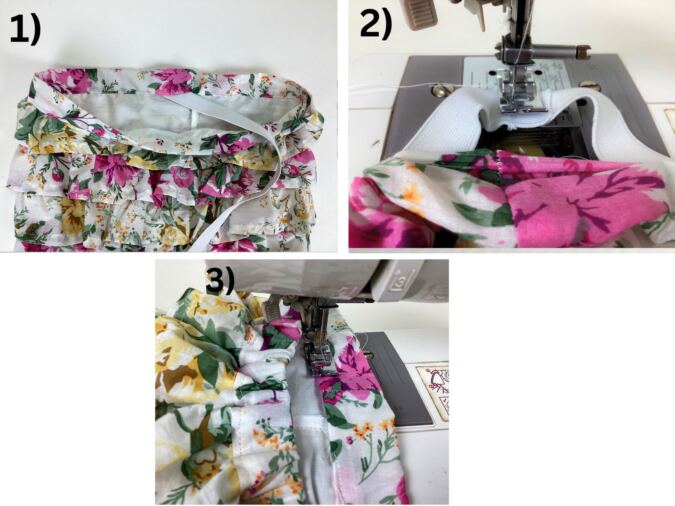
1) Take the required length of the 3/4 -inch elastic, referring to the table-2 above and insert it through the gap using a safety pin.
2) Keep the ends of the elastic overlapping by about ½-inch and sew a few times back and forth to join.
3) Next sew the opening in the waist band shut.
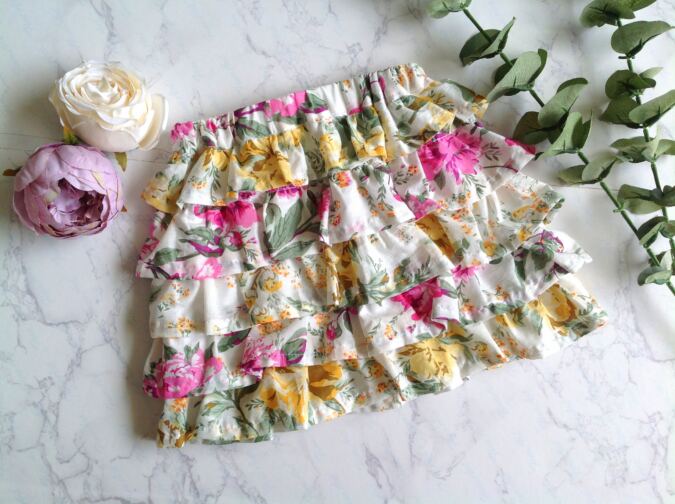
Our skirt is done!
Pin it for later here,