Doll Pillowcase Dress Pattern
Doll Pillowcase Dress Pattern.
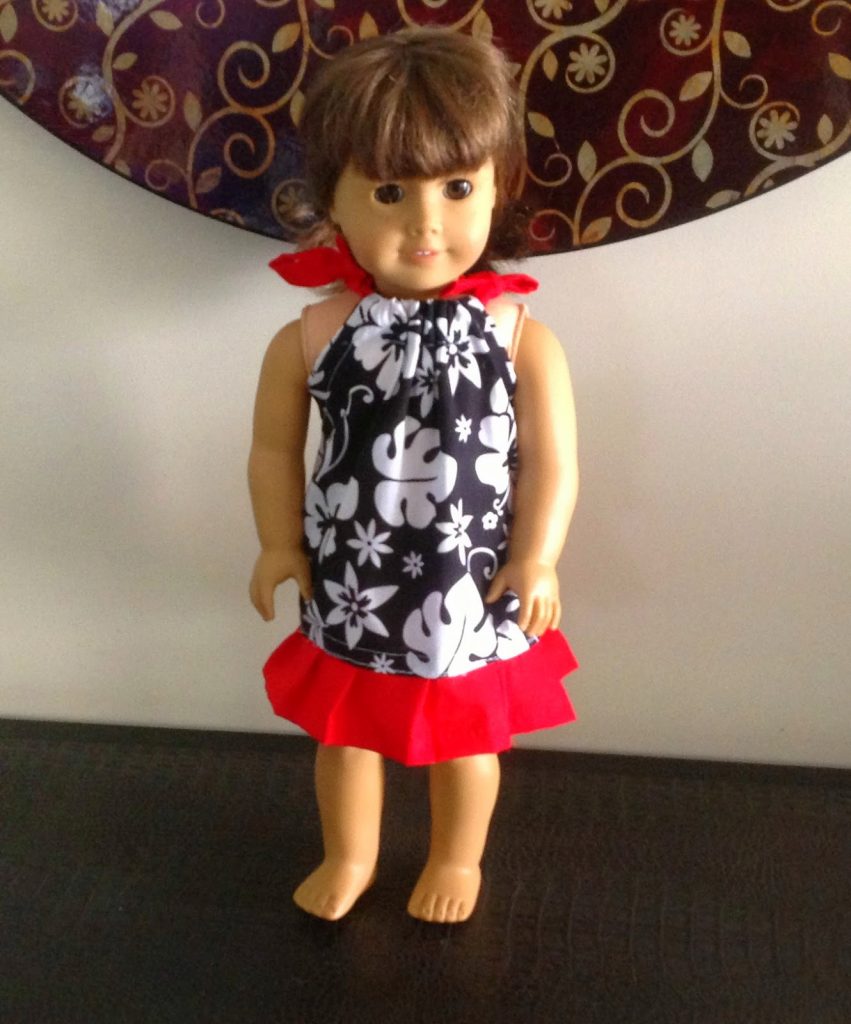
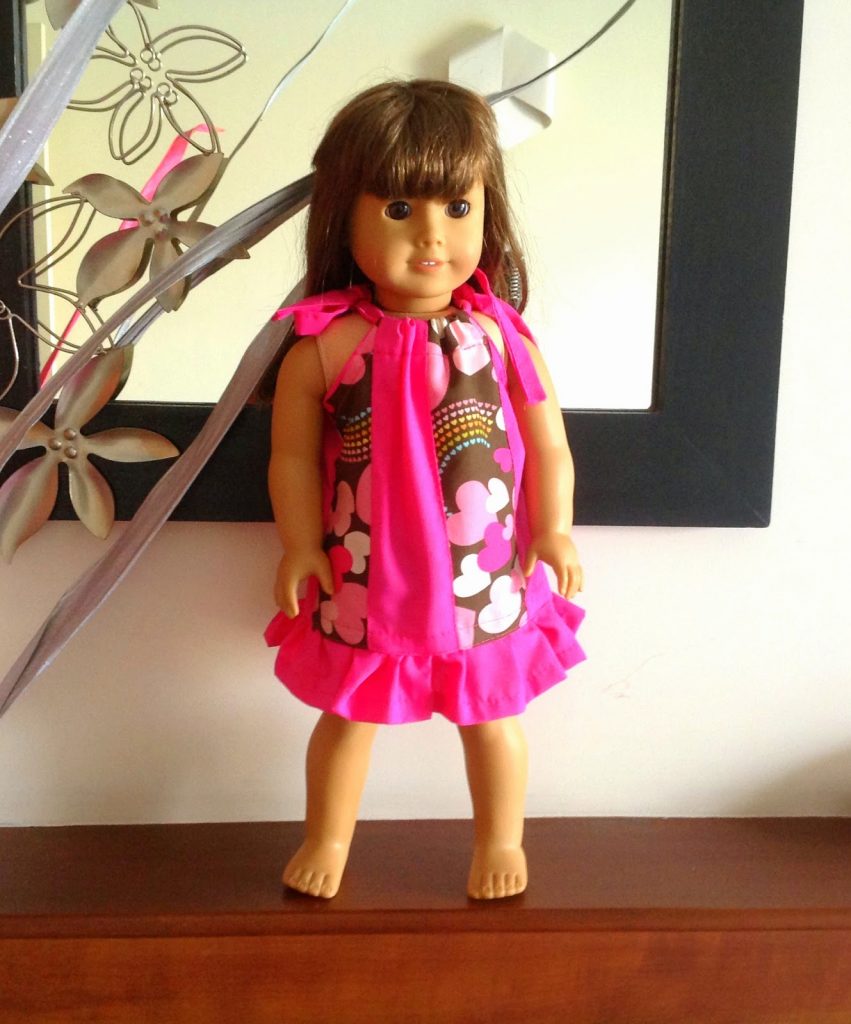
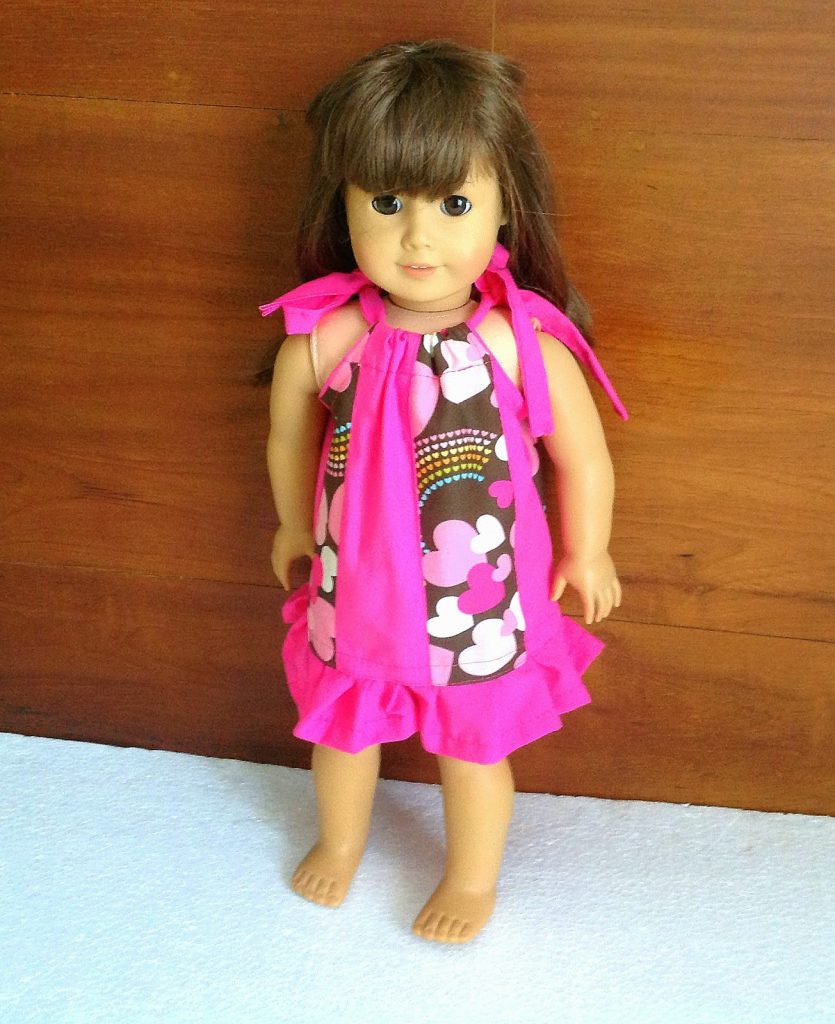
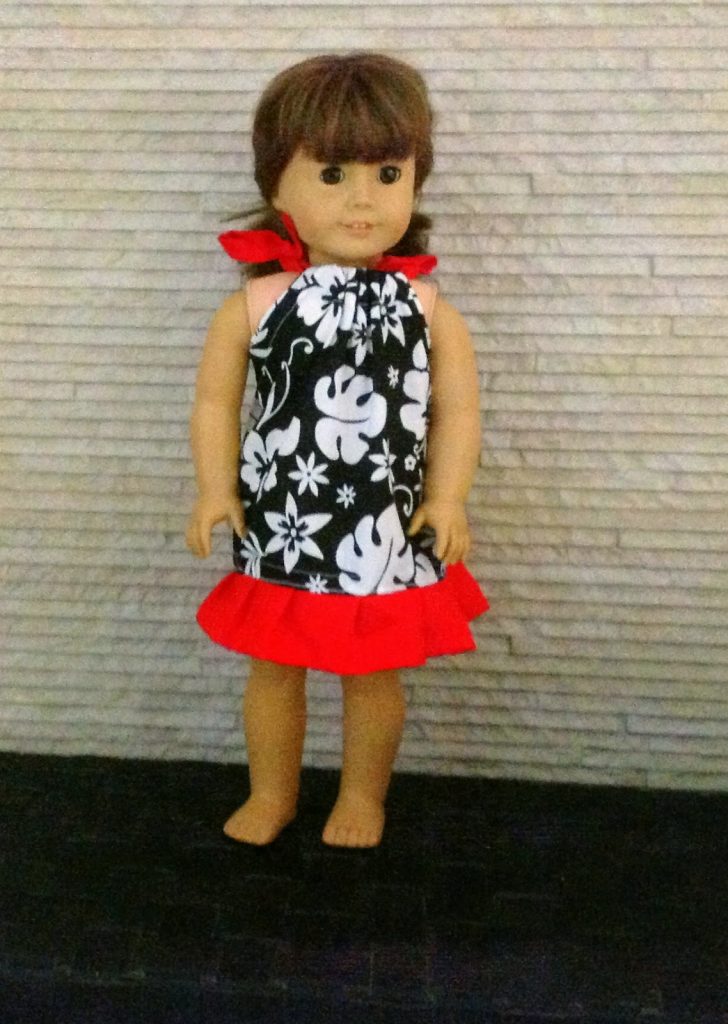
Pillowcase Dress for 18 Inch Doll
This is a doll dress sewing pattern, which can help you sew customized dresses for your 18 Inch American Doll. You can mix and match fabric scraps of various prints and colors to create beautiful dresses for your little girl’s dolly or as a gift for her friend.
Pillowcase Dress Sewing Pattern for American Doll
Pillowcase Dress Sewing Pattern for Dolls.
- Cotton fabric scraps in two contrasting colors for the dress body, ruffles, and shoulder ties.
- Single-folded bias tape 28- inches.
- ½-inch satin ribbon- 28-inches (optional).
- Sewing Notions.
- Pattern Template.
*The seam allowance is 3/8 -inch throughout unless otherwise specified.
Sewing:
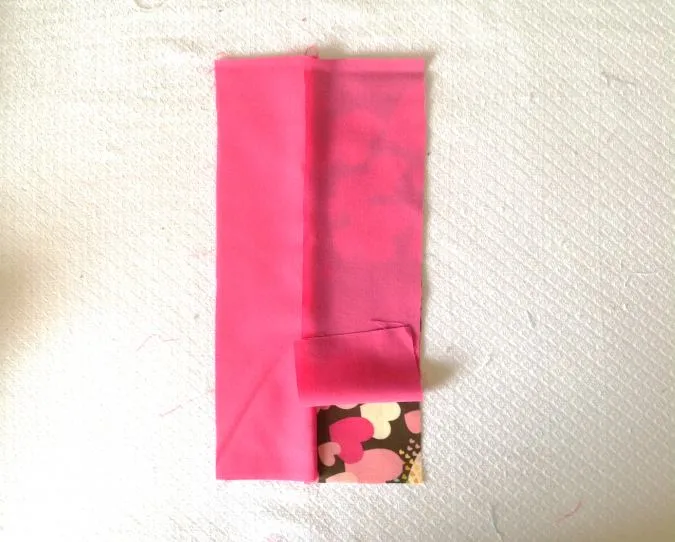
The dress is done in two contrasting panels. If you opt for a simple pillowcase dress without the panels, you just need 2 pieces of 8 & ¾-inch width and 10-inches length. If you opt for the paneled one, cut the two contrasting colors of fabric panels with 2 & ¾-inches width and10-inches length (you have to cut four panels of each color).


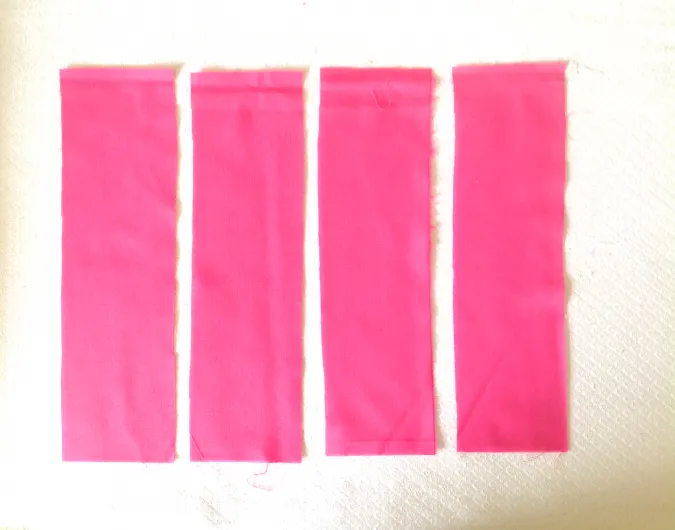
You will get your panels like the above.
Next, we cut the shoulder ties and the ruffle piece.

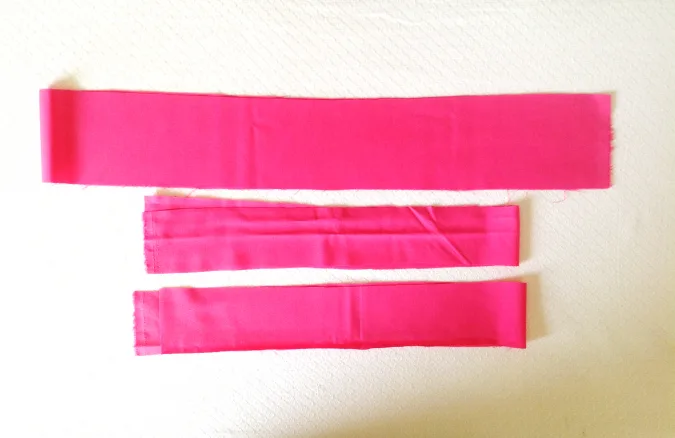
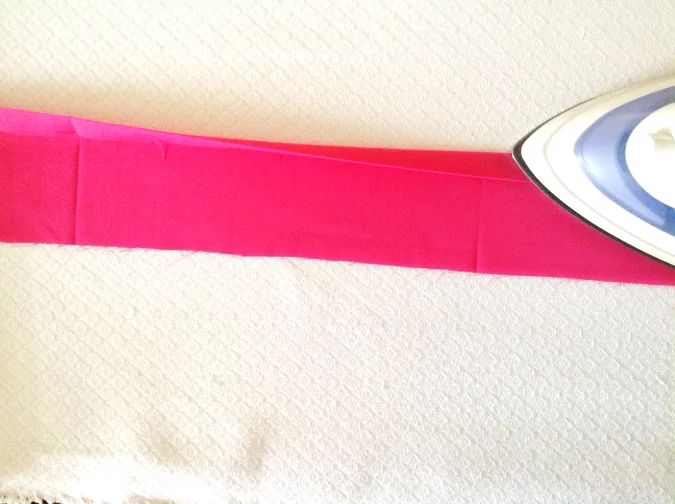
Cut a fabric strip, 32-inches long and 2 & 7/8-inches wide for the ruffle. Also cut 2 strips, 14-inches long and 2-inches wide for the shoulder ties (optionally you may use ½-inch satin ribbon for the ties).
Let’s start sewing the dress body.

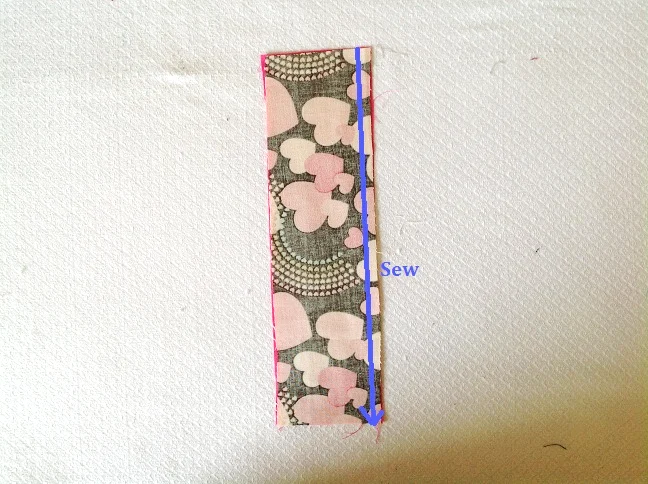
Take one panel of each color, keep them overlapping with the right sides together, lining up the edges and sew along the longer edge leaving a 3/8- inch seam.

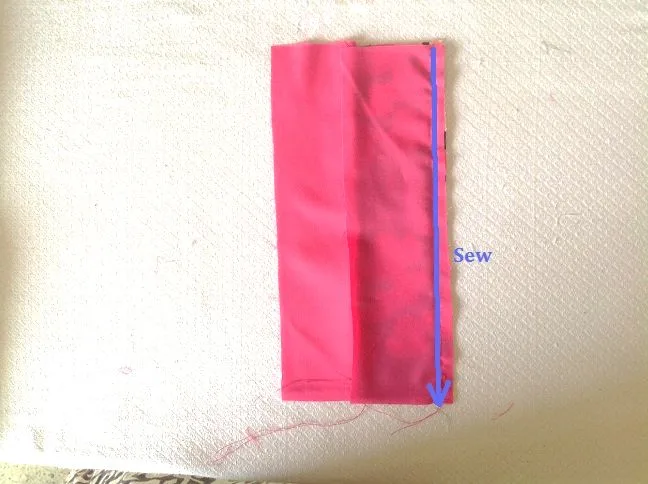
Now take the next contrasting panel, keep it over the already joint panels, aligning the edges and again sew along the longer edge by a 3/8-inch seam, keeping the right sides together.
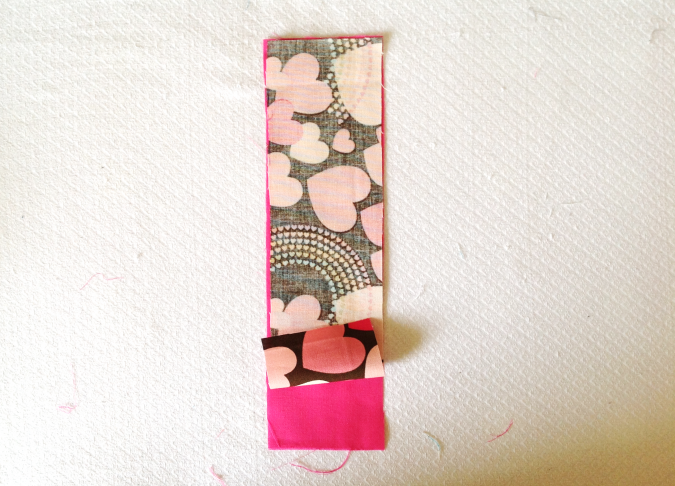
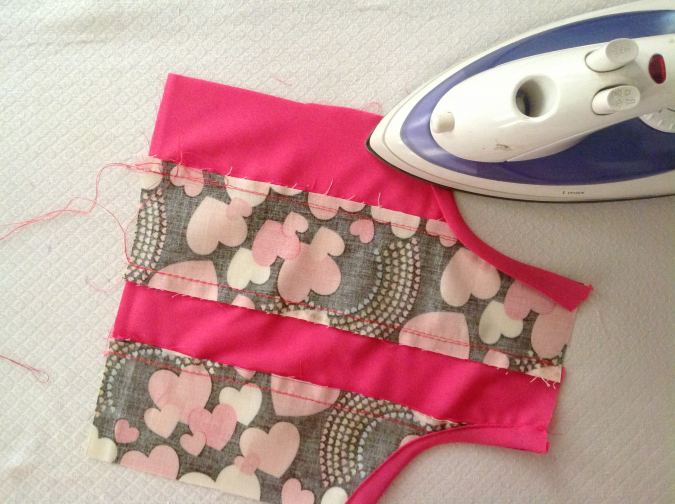
Repeat the steps with one more panel to get a strip of fabric with four panels in alternating colors as shown above.

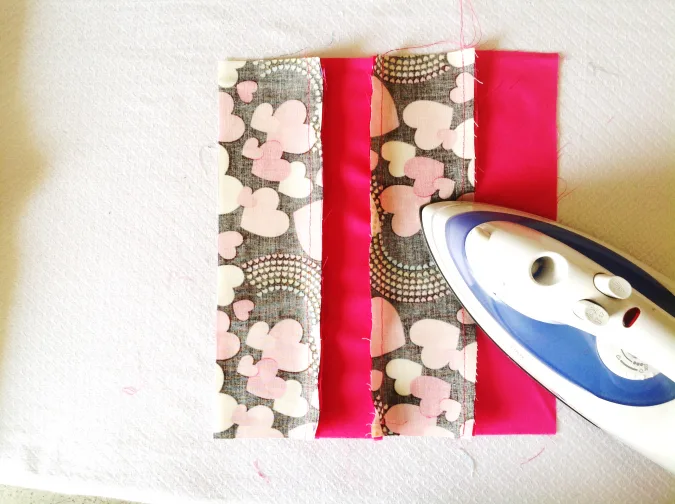
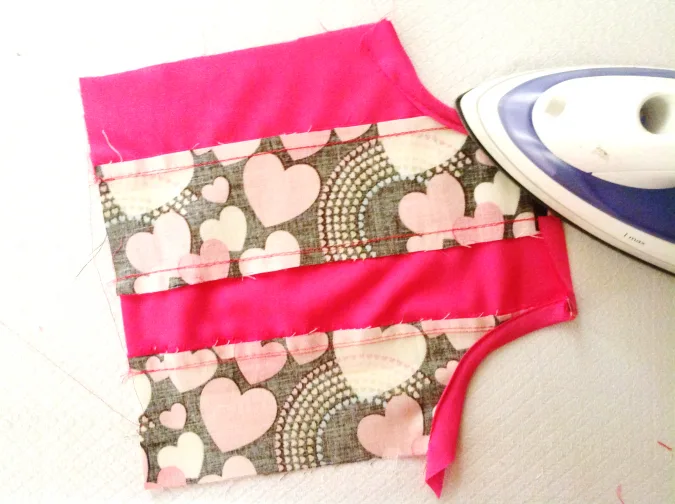
Turn over to the wrong side and press the seam of the panels towards either side. Next topstitch along the seam line to give the panels a better finish. Your front piece is done. Take the four remaining panels and join them in alternating colors to get the back piece.

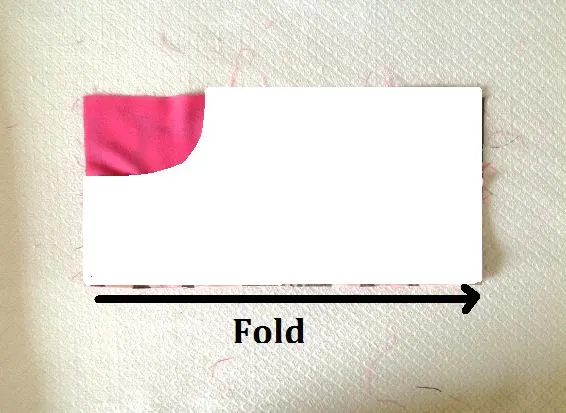
Take the front and back pieces and layer them with the right sides together, lining up the edges and fold it lengthwise, again aligning the edges. Now cut the pattern piece and keep it along the fold as shown above. Mark and cut to get the front and back pieces.
Your front and back pieces will look like the above.
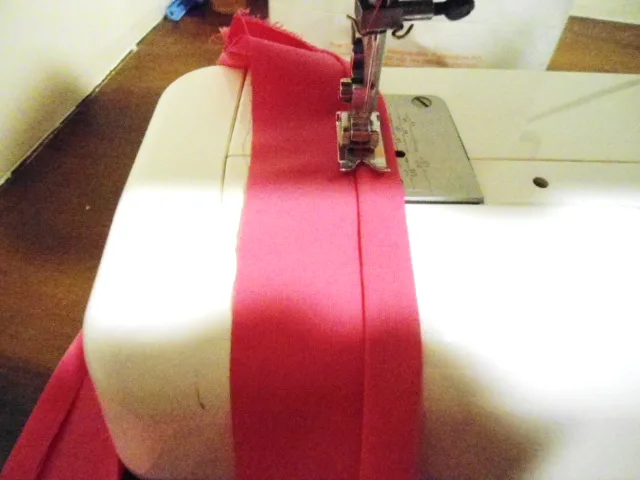
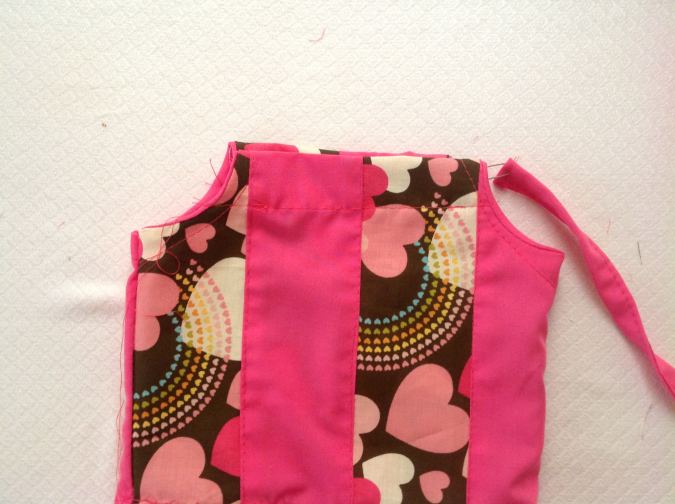
Next, we need 4 single-folded bias tapes pieces, 7-inches long.


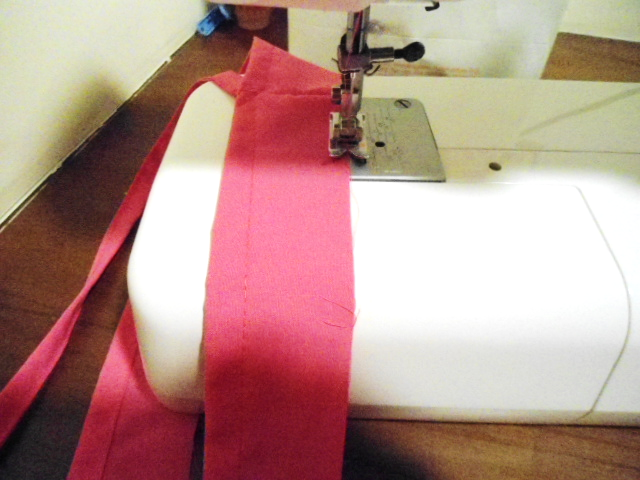
Align the raw edge of the bias tape along the edge of the armhole, on the right side of the fabric as shown above and pin. Sew the bias tape along the edge, removing the pins as you go.

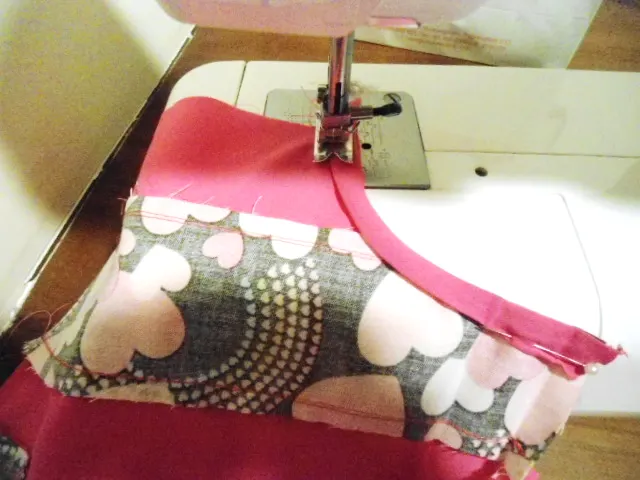
Fold the bias tape completely over to the wrong side of the fabric and press. Sew along the folded edge of the tape to secure.
Repeat the same with the other armholes.
Let’s do the casing for the shoulder ties.

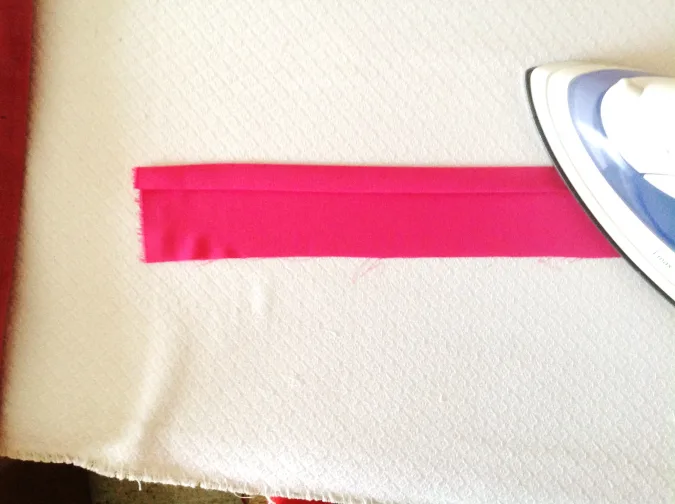
Fold the upper edge of the front piece by 3/8-inch towards the wrong side and press. Fold again by 1-inch and press again. Repeat the same with the back piece.
Sew along the edge of the fold to make the casing. Repeat the steps on the back piece.
Let’s join the front and back pieces together.
Keep the back piece over the front piece, with the right sides together, aligning the edges and sew both the side seam shut. Take care to reinforce at the beginning and end.
Now we need to do the lower hem.
Fold the lower edge of the dress by ½ -inch towards the wrong side and press. Fold by another ½-inch and press again. Sew down the hem.
Now we need to do the ruffle.
Take the fabric strip for the ruffle. We first need to do the lower hem of the ruffle.
Fold one longer edge by ½ -inch and press. Fold by another ½-inch and press again.

Open the folds of the ruffle and join the shorter sides together (as shown above) to form a closed fabric ring.
Fold back the pressed folds and sew down the hem at the edge of the fold.

Now sew a basting stitch, (turn the upper thread tension of the machine to zero and the stitch length to the longest for that) 3/8-inch away from the raw edge of the ruffle piece. Leave a long piece of thread, 8 to 10 inches long to pull and gather the ruffle.
Pull the loose thread gently to gather it and get a closed ruffle ring as shown above.
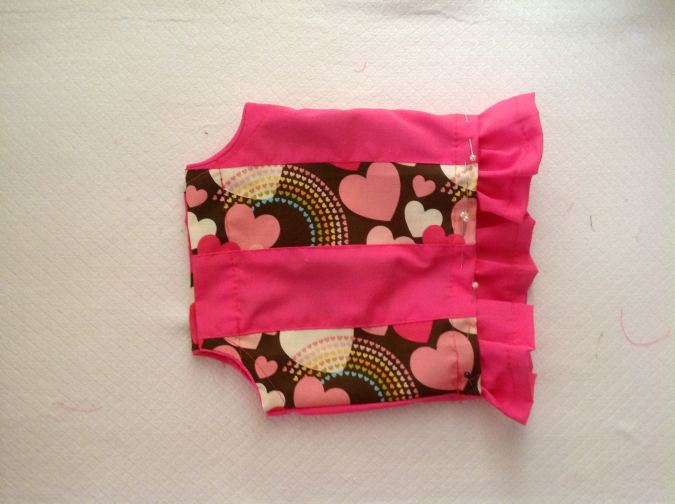
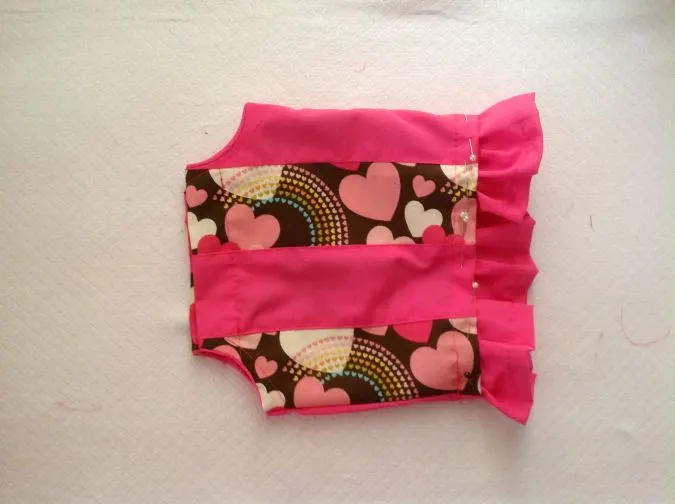
Adjust the gathering to match the length of the ruffle with the lower edge of the dress. Now turn the machine settings back to normal and keep the ruffle under the hemline of the dress, covering its seam and pin. Topstitch to secure the ruffle onto the dress.
Our dress is almost done! We need to do the shoulder ties. Take the fabric strips for the shoulder tie.
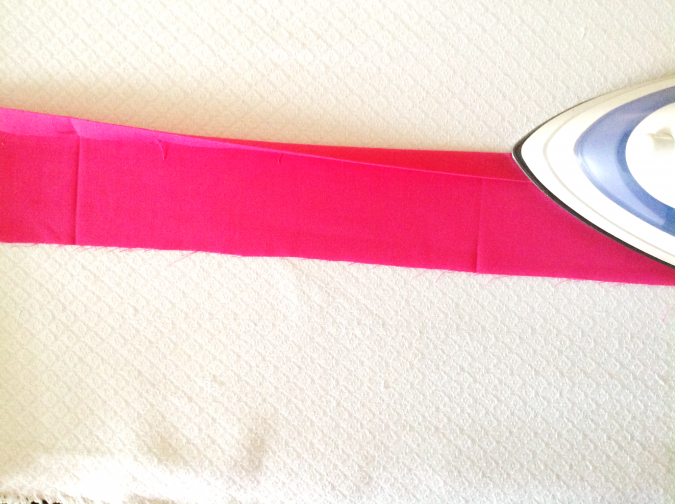
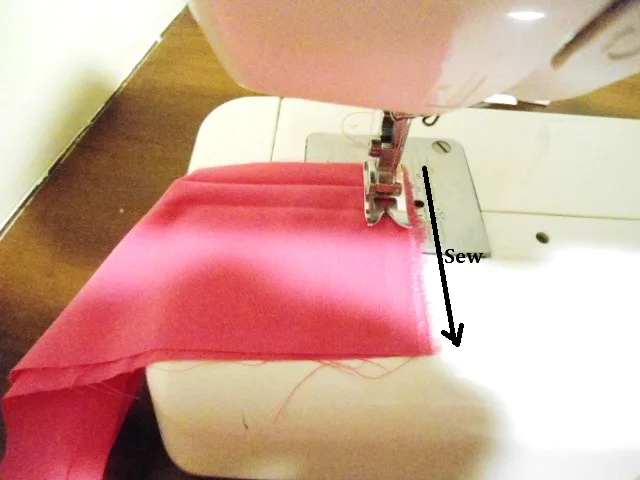
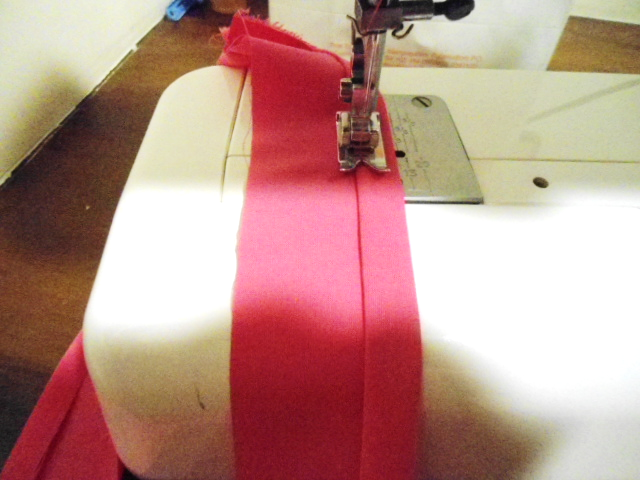
Fold the two longer edges and one shorter edge towards the wrong side by ½-inch and press. Fold in half and press again. Sew around the edges of the tie. Repeat the steps to make the other tie.

Insert the tie through the upper casing of the dress using a safety pin. Repeat the same with the other tie.
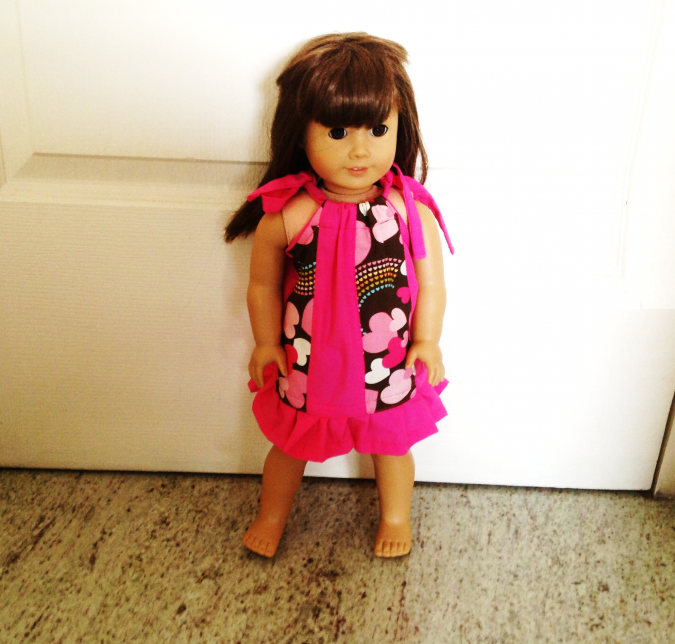

Voila, our dress is done!
To view more of my doll patterns, click here.
To get more free patterns, visit allfreesewing.com
Pin it for later here,

