
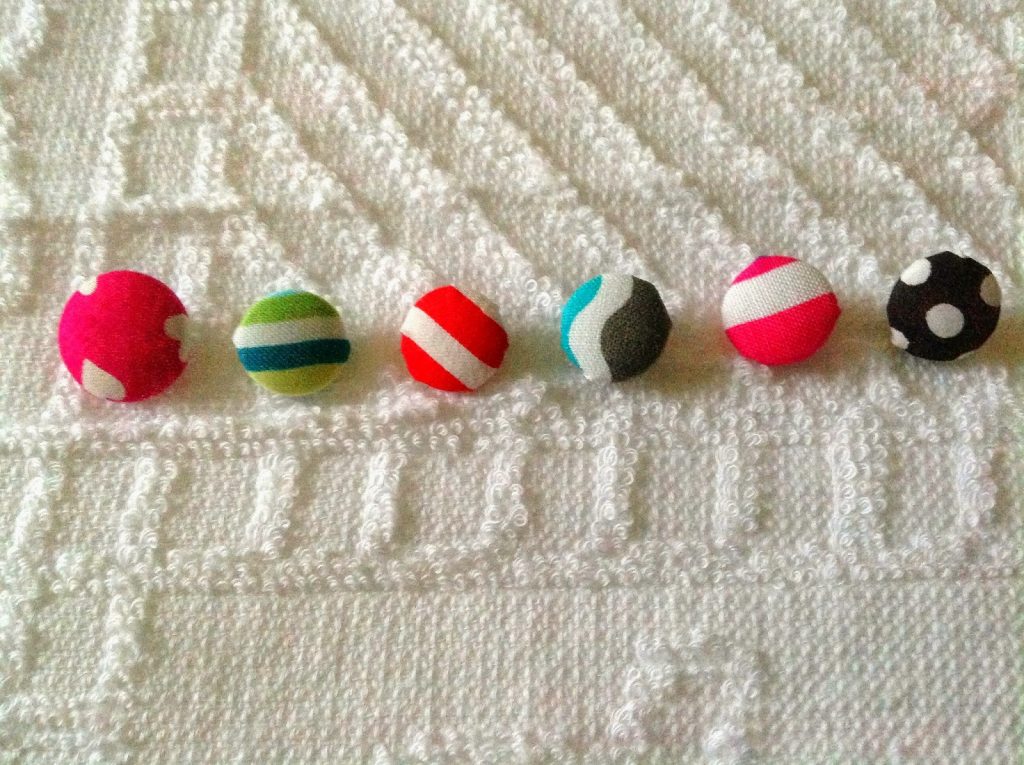
I love fabric covered buttons as they give the perfect uplift to any dress. They can also be used to embellish bags, fabric shoes, hairbands and a lot more. They are so quick and easy to work up to that you can make a number of them in one go. They can be made with any left over a scrap of fabric and old leftover buttons. Here I show you how to make them using the button making kit and also the classic way of sewing them without the kit. First, let’s see how to make the buttons with the kit.
You will need:
1) Scraps of leftover fabric and
2) Button making kit.

Dig your stash and grab your fabric scraps.
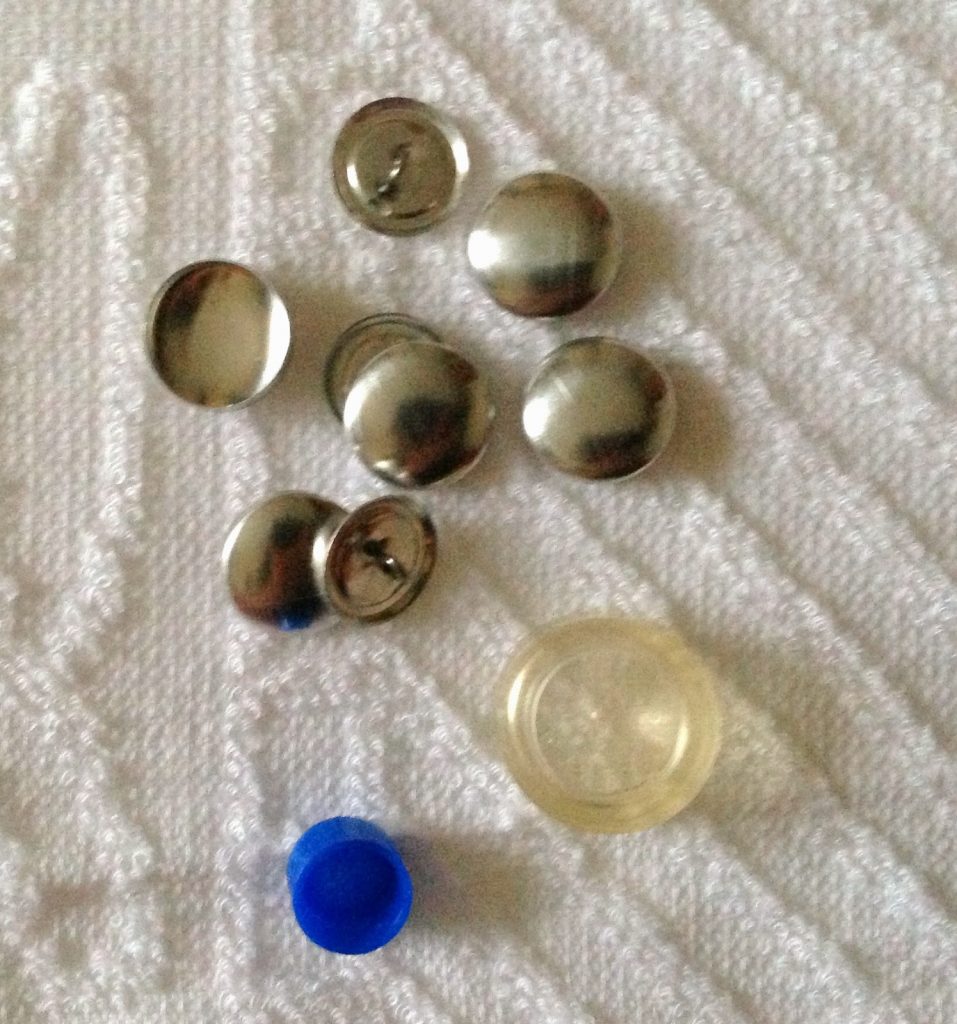
Take your button covering kit which will have a few button tops, shanks (button back), a white button making tool in which we make the button and a blue tool which is used to press the button.
Lets cut the fabric for the button.
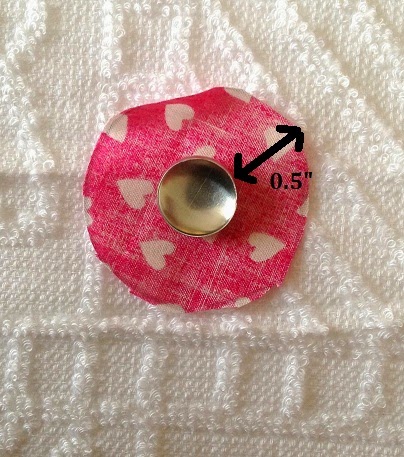
Cut a circle about 0.5-inch wider than the button top, all around and place the button top at the center of the fabric circle on its wrong side.
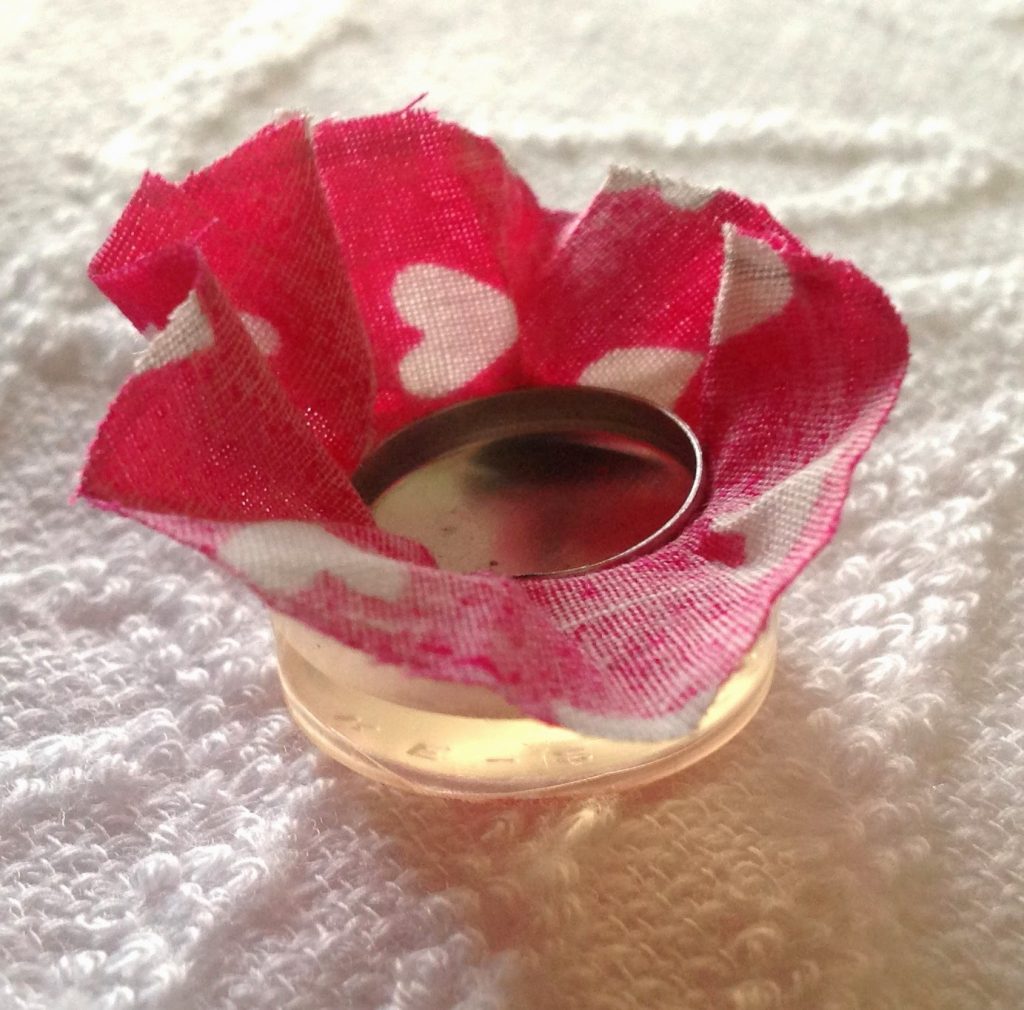
Insert the button into the button making tool along with the fabric and press.
Fold the extra fabric inward and press it neatly into the button maker.
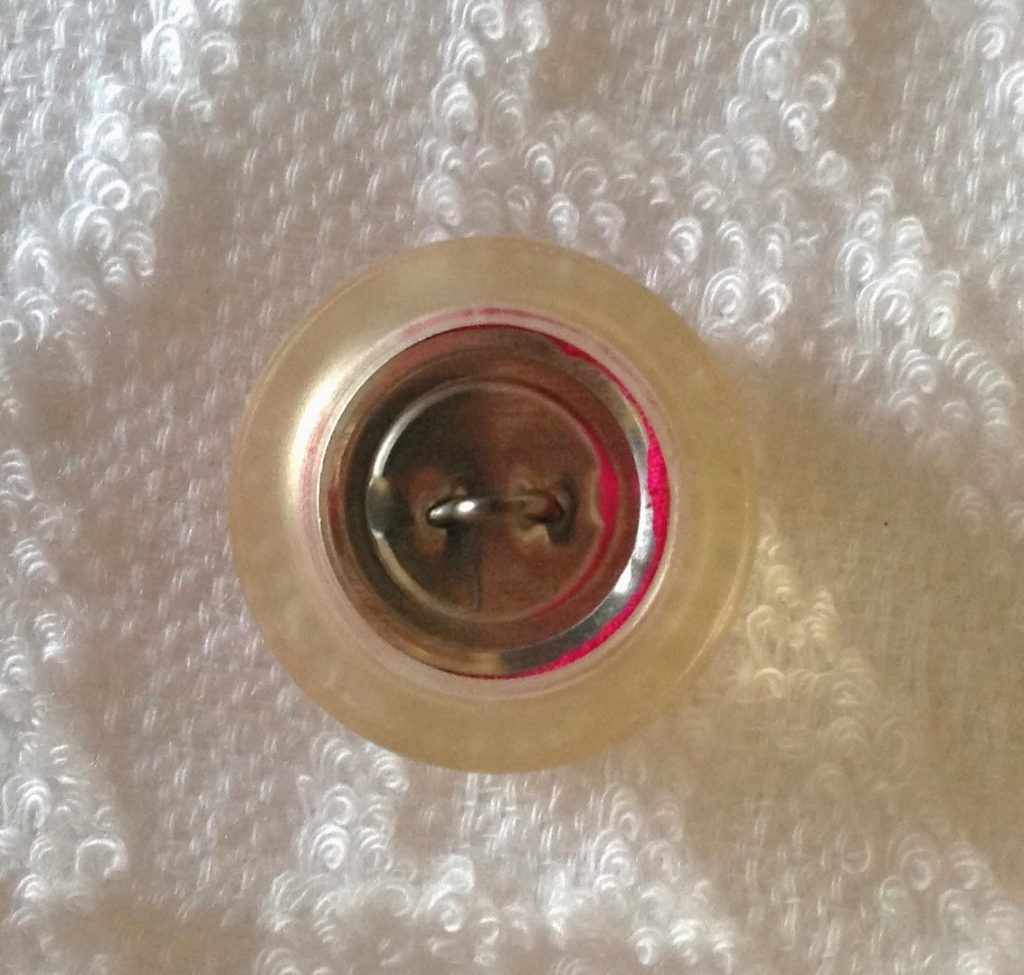
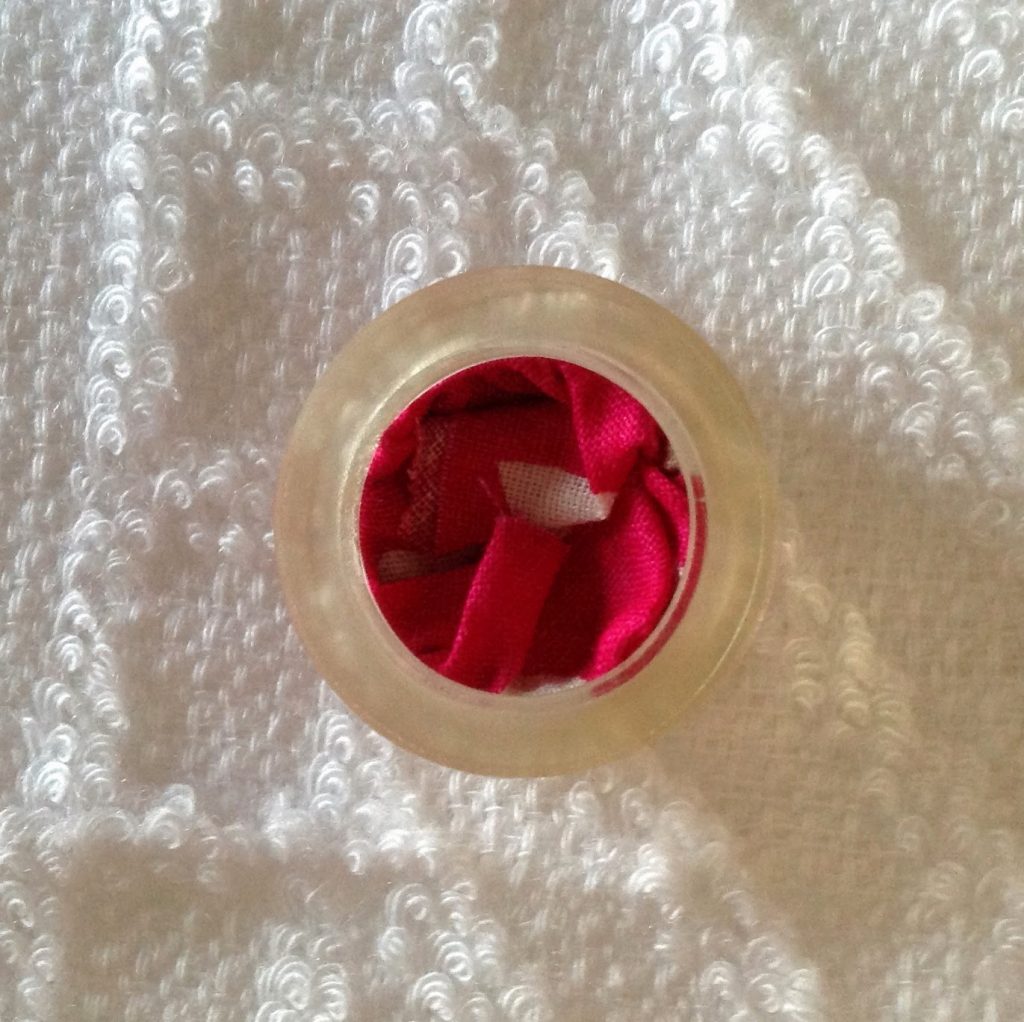
Place the shank over it.
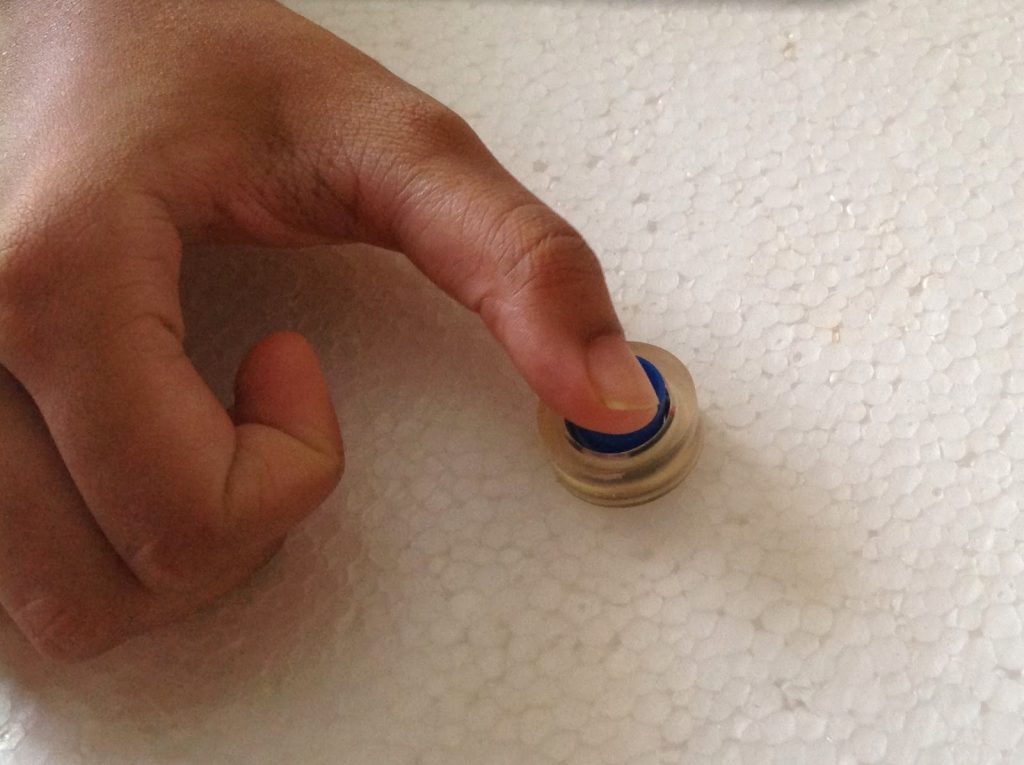
Place the blue tool available in the kit over the shank and press firmly.
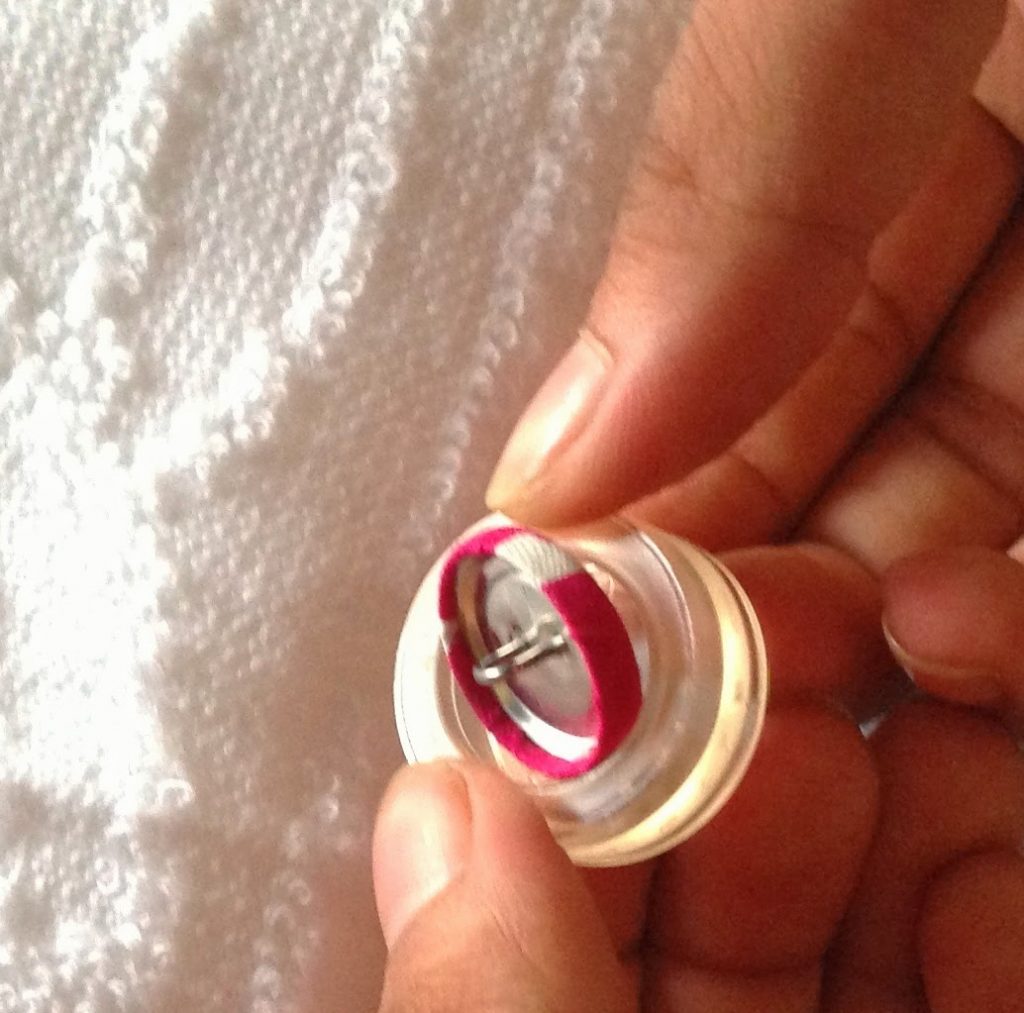
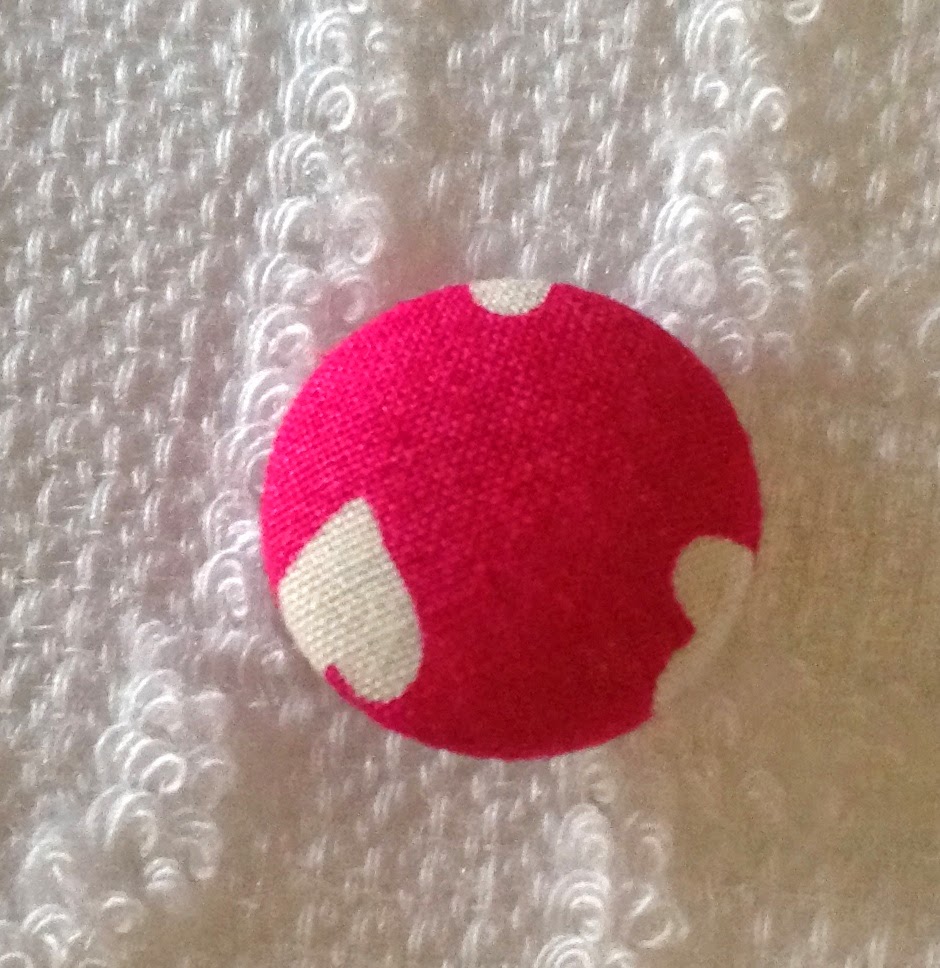
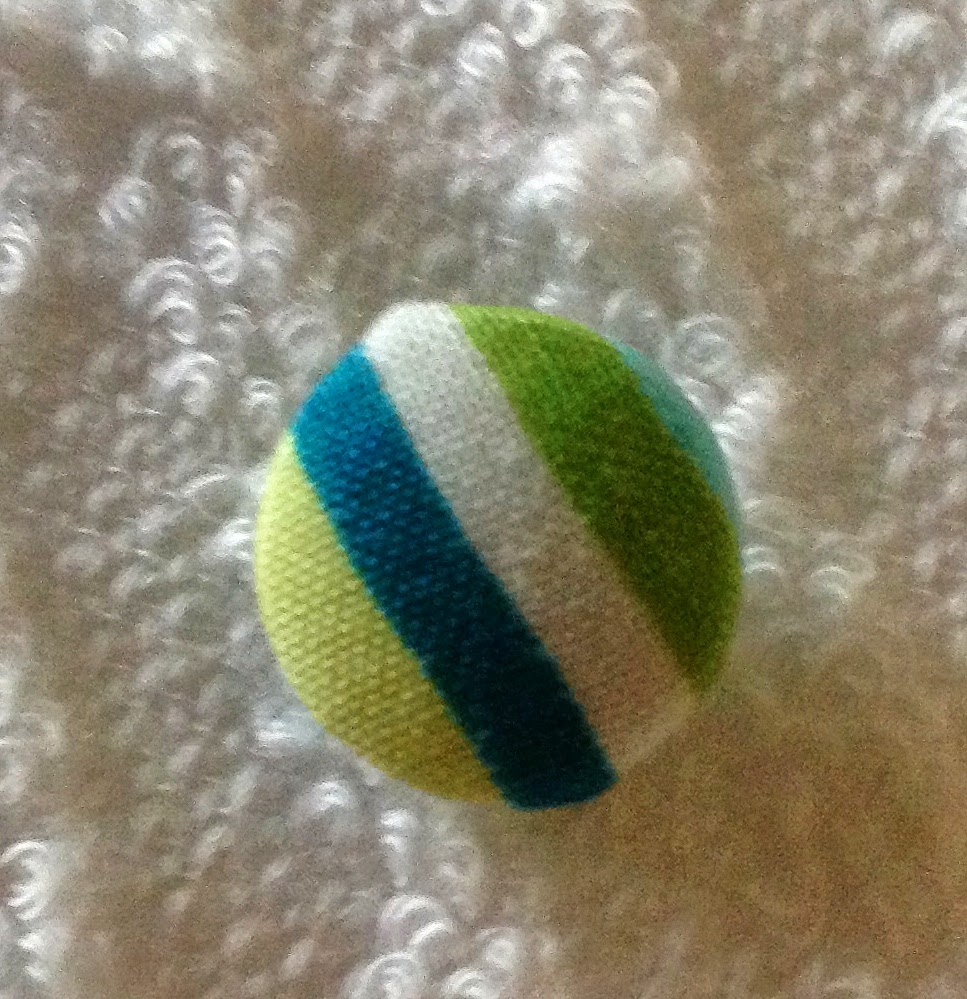
Take the button out from the tool.

Lo, we have a cute fabric covered button!
Next, we see how the button can be made without the kit. Note that here I have shown a button without the shank for covering. These can be hot-glued on to bags, shoes or other accessories. For dresses, you may cover a button with a shank which can be hand-sewn on to the dress.
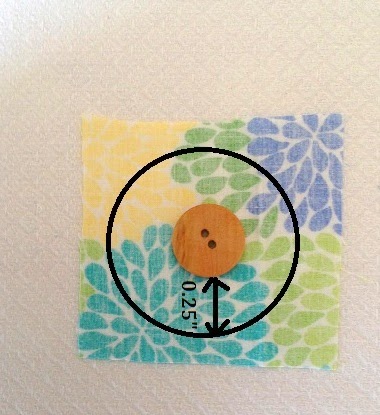
Cut the fabric circle just like we did earlier but this time the circle is just 0.25-inch wider all around.
l
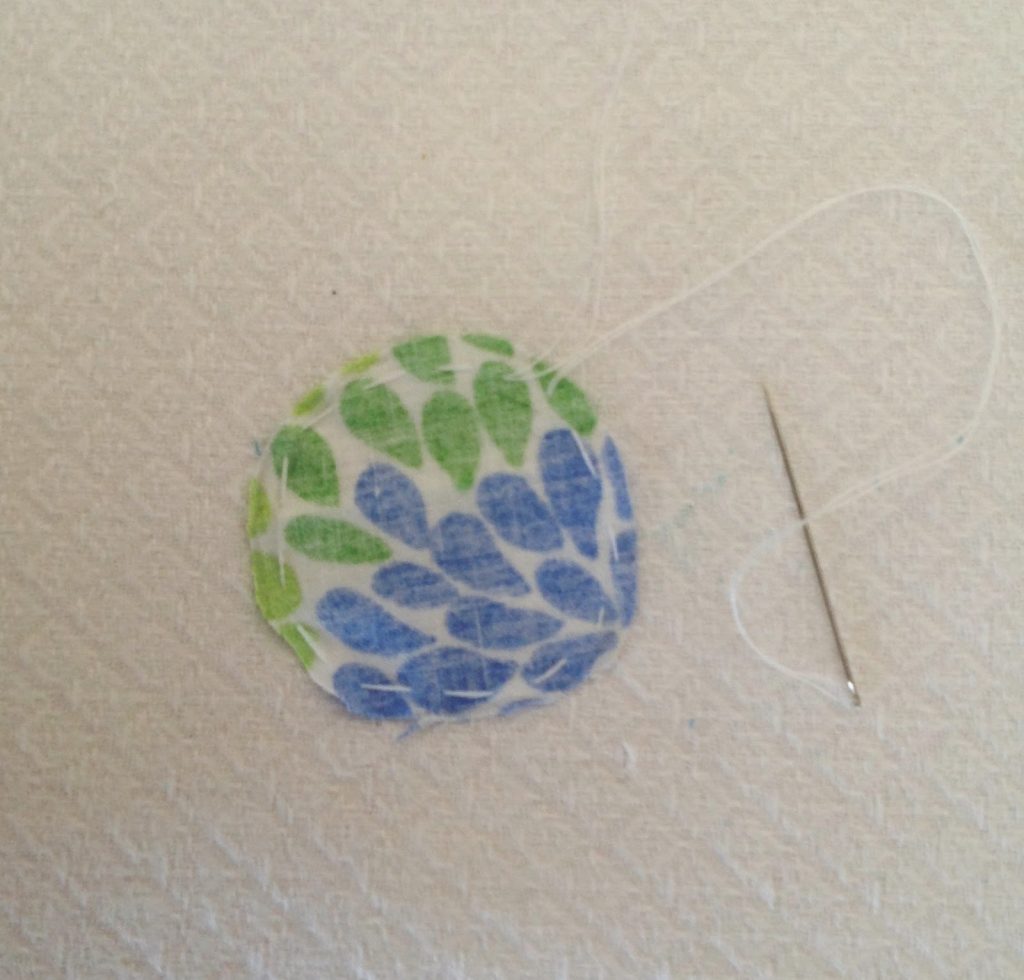
Take a needle and thread and sew a running stitch along the circular edge of the fabric, leaving about 1/8-inch from the edge as shown above. Make sure to keep your stitches small and uniform to get a neat button with little wrinkles.

Now place the button at the center of the fabric and gently pull the two ends of the thread. The fabric would gather up and form a cup shaped structure.
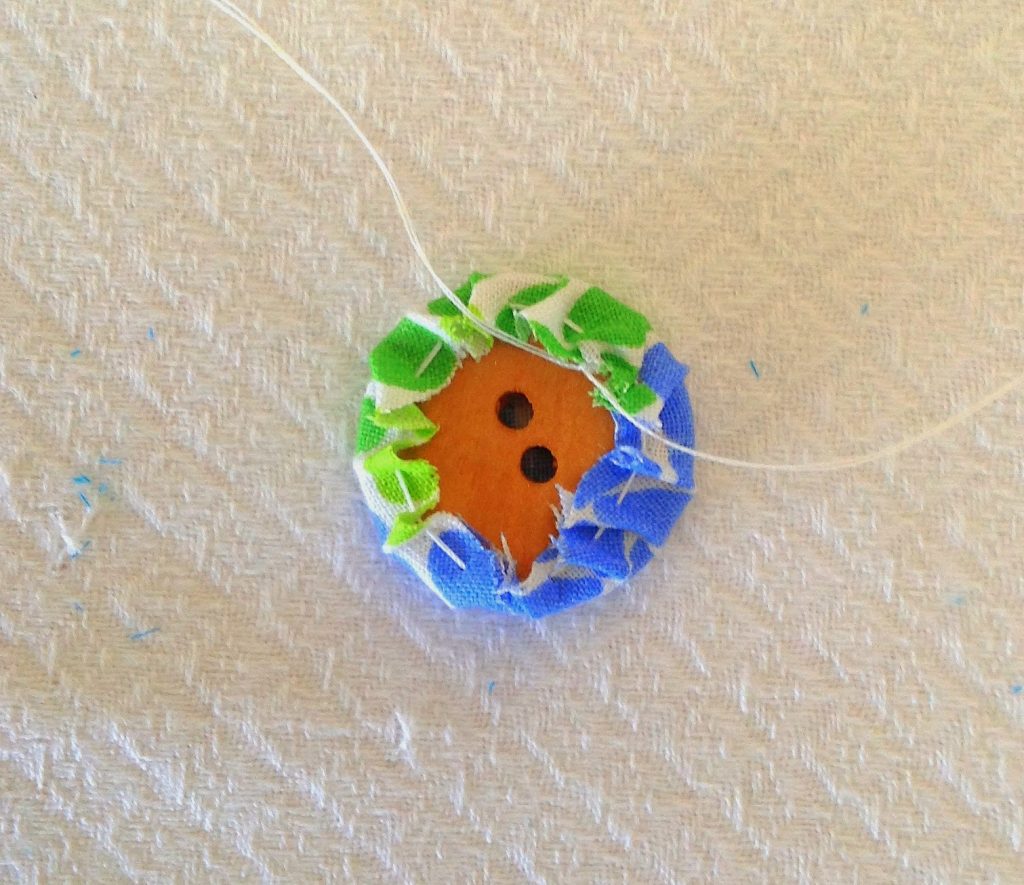
Keep pulling till the fabric closes with the button inside.
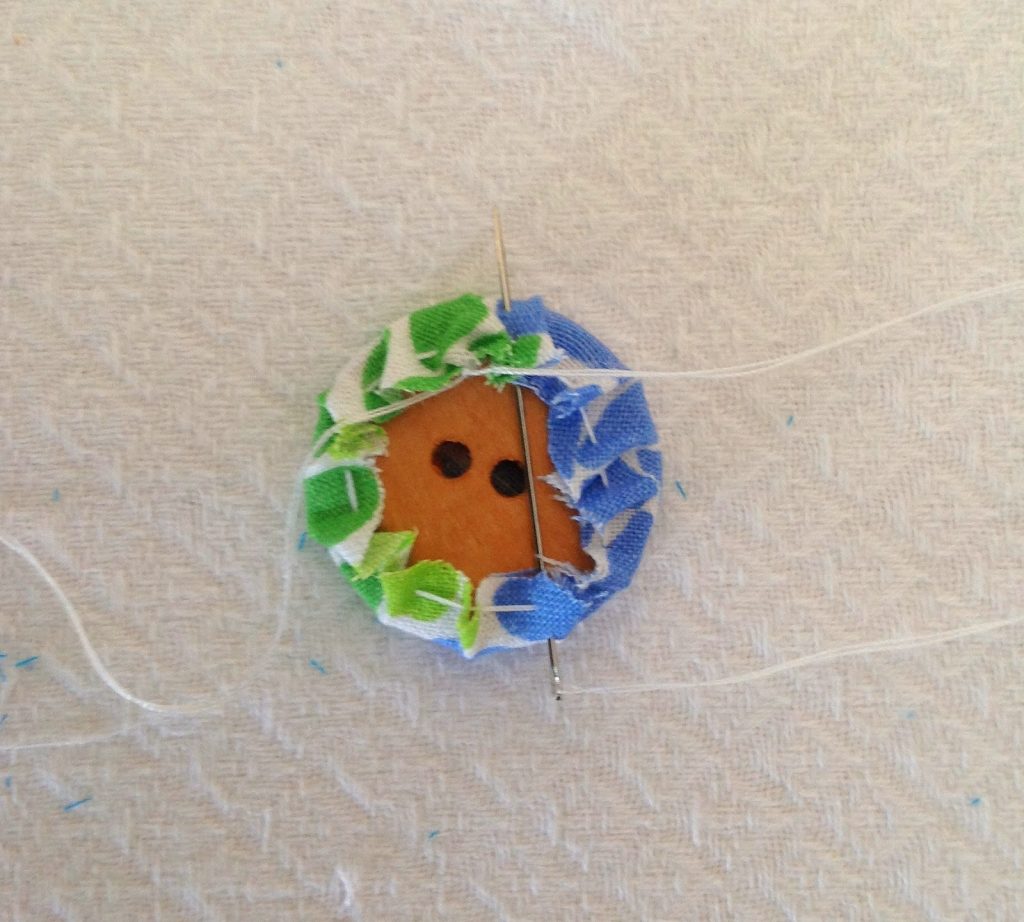
Now tie the two ends of the thread tightly and secure the edges of the fabric by sewing.

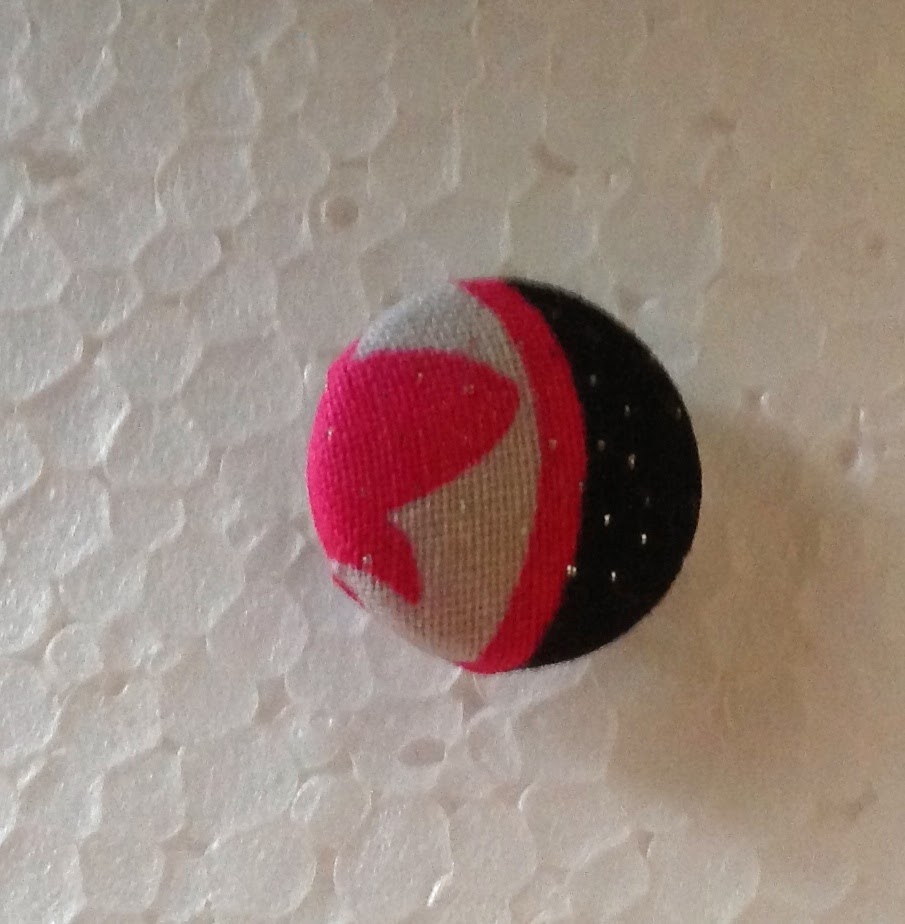
Turn over and your button is done!
Sewing Bee Fabrics
Monday 26th of May 2014
What a lovely simple to follow tutorial. A good fabric button brightens up any project!
Natalie Buehler
Tuesday 29th of April 2014
Thank you so much for sharing this great tutorial on Tutorial Thursdays this month. I look forward to having you join me again on Thursday for a new party :)Pinned for future reference ;)xNatalieMarigolds' Loft
Mindie Hilton
Thursday 10th of April 2014
Very cool! I will have to try this. I have bought some button kits recently that were not great. Thanks for sharing at the Anything Goes linky at Bacon Time. Hope to see you again tomorrow.
Kathi Riemer
Thursday 10th of April 2014
Thank you for the tutorial. It makes covering buttons look less daunting!
Ren
Thursday 10th of April 2014
Great tutorial. I love that you shared two options. I'd love to see you link up with us at the Inspire Us Thursdays! link party at www.theinspiredwren.com.