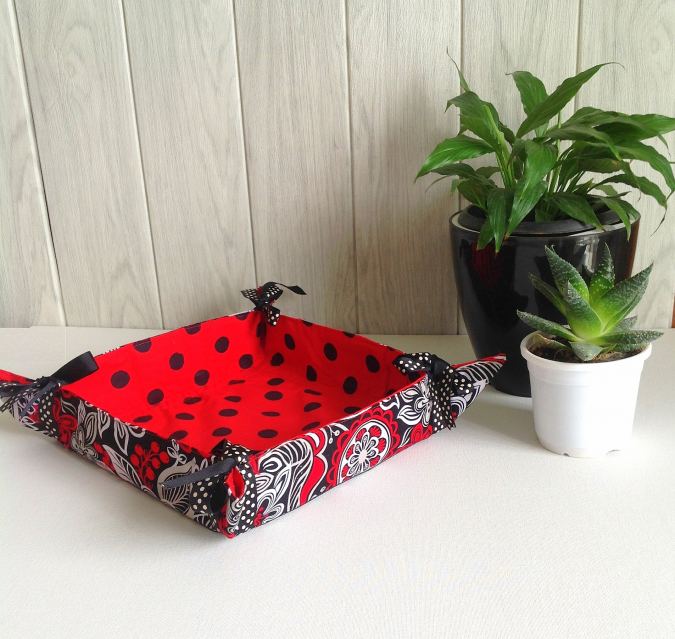


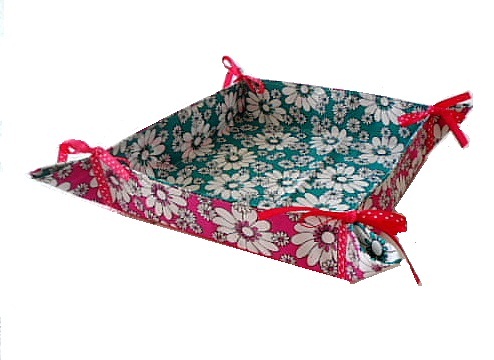

Make this simple bread basket in minutes for a perfect display of your bread, candies, chocolates or even fruits. This bread basket offers an elegant way to serve your bread. It can also serve as a perfect handmade gift idea! It requires so little sewing that any beginner seamstress can do it as her starter project! It has the added advantage of being washable and what more, you can remove the ribbon ties at the four corners and flatten it up to make it easy for storage.
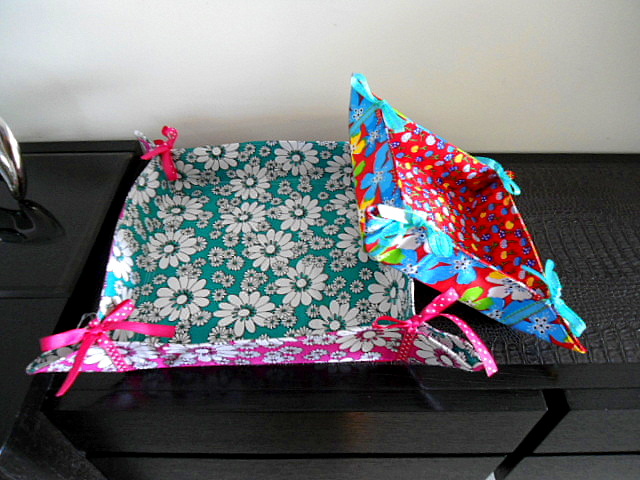
I have made these baskets in two sizes, a larger one with a 10″ x 10″ base and 2.5″ height and a smaller one with 7″ x 7″ base and 2″ height. You can make them in any dimension as you wish.
The measurements given below are for the larger basket.
Materials Required
Cotton Fabric of two contrasting colors- You will need 1/2 yard of each (You can use leftover scraps if you have the required dimensions).
Heavyweight fusible interfacing- 1/2 yard.
Satin Ribbon- 4 yards.
Sewing Notions.
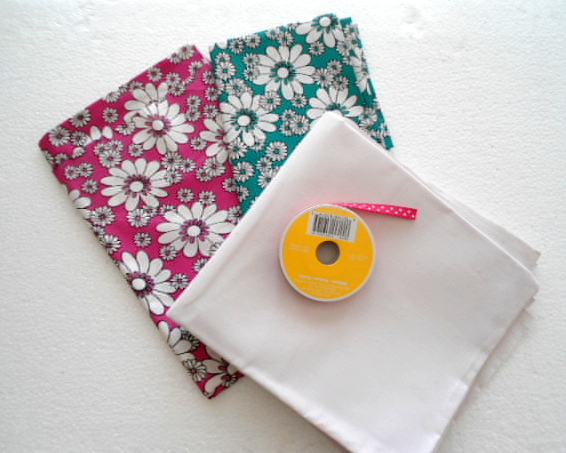
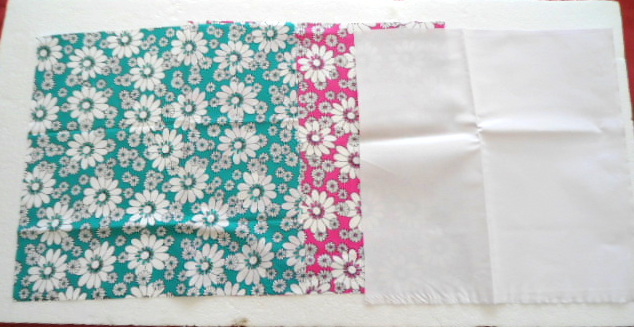
Take the required materials as shown above.
You have to cut 3 squares; two from the contrasting cotton fabric and one from the interfacing.
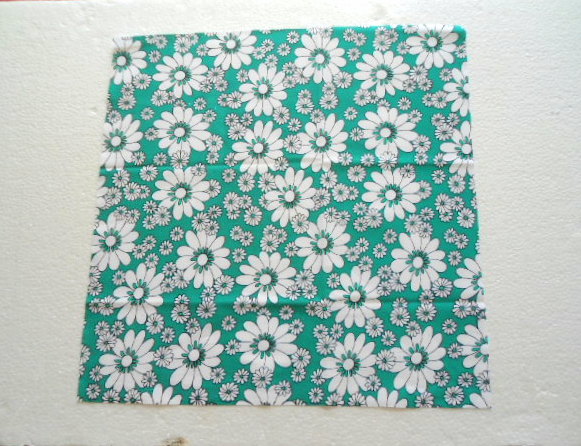
The fabric squares should be of the dimension, 15.5″ x 15.5″.
To reduce the bulk at the seam, we reduce the size of the interfacing by 0.5′. So, the dimension of the interfacing would be 15″ x 15″.
Cut the fabric and interfacing squares with the required dimensions as calculated above.
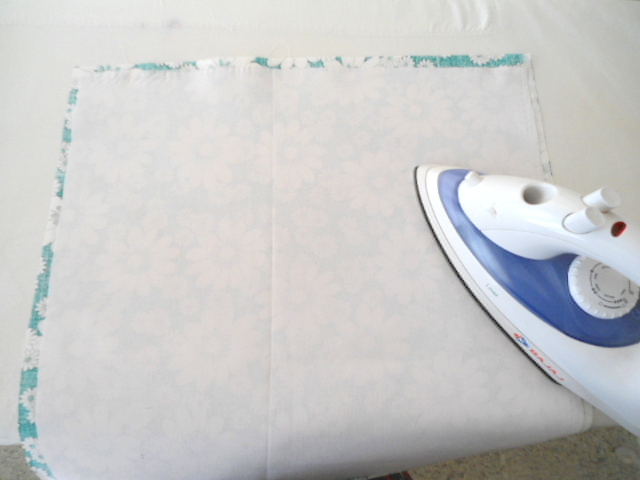
Fuse the interfacing onto the wrong side of one of the fabric squares following the manufacturers instructions.
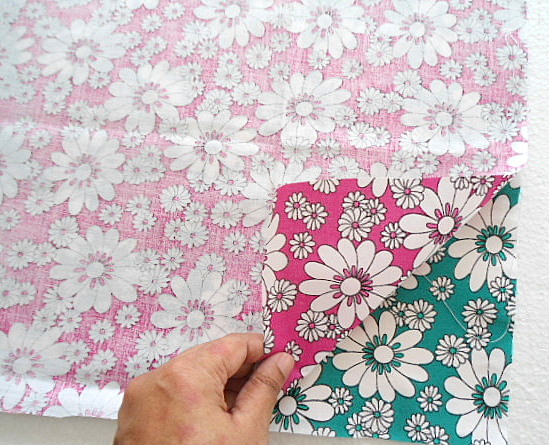
Take the other fabric square and keep it over the fused fabric square, with the right sides together and sides aligning as shown above.
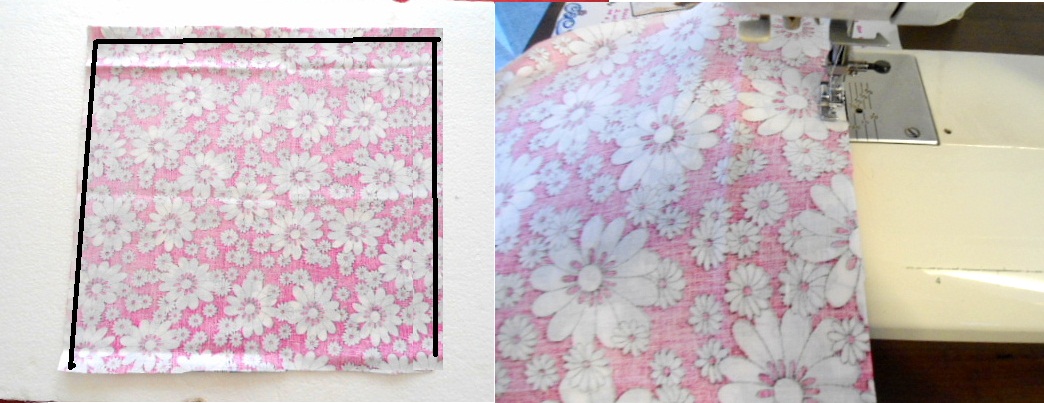
Sew along the three sides of the square with a 0.25″ seam, leaving one side open to turn the basket inside-out.
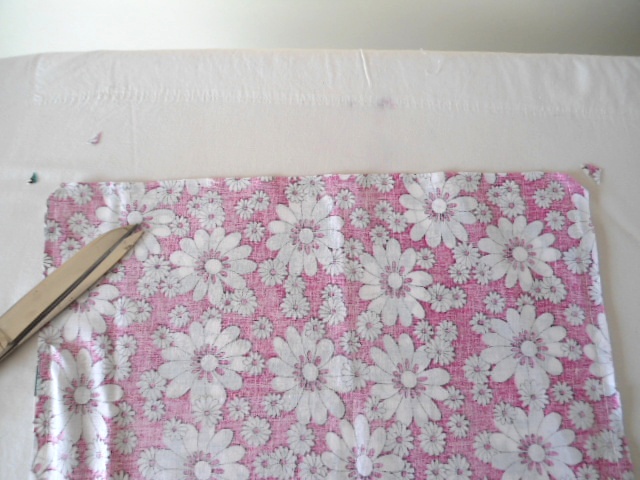
Clip the corners with your scissors.
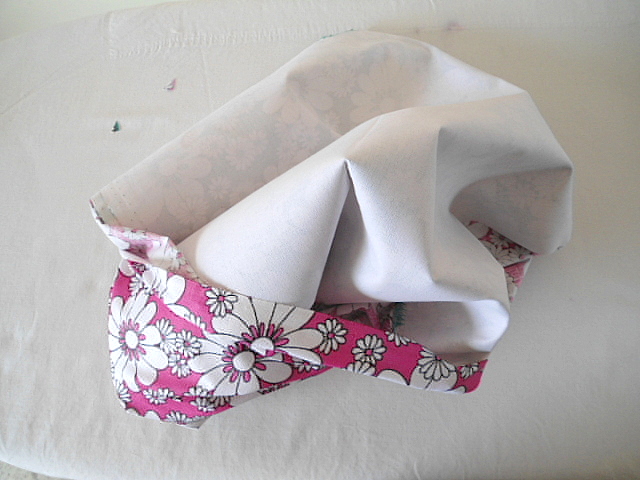
Turn it inside out. Now the interfacing would be sandwiched between the two fabric squares.

Poke out the corners of the square with your scissors. Press the basket down, tucking in the raw edges.
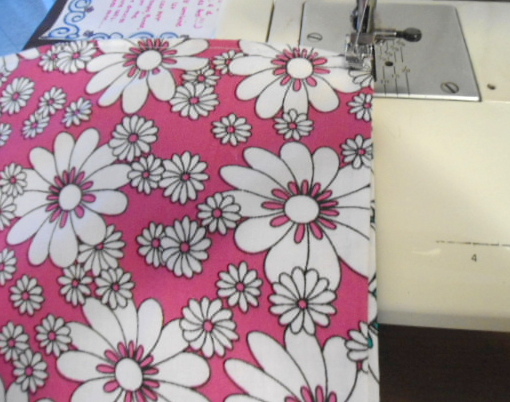
Topstitch along the four edges to close the open side and to make the sides look neater.
Now we need to mark the base of the basket.
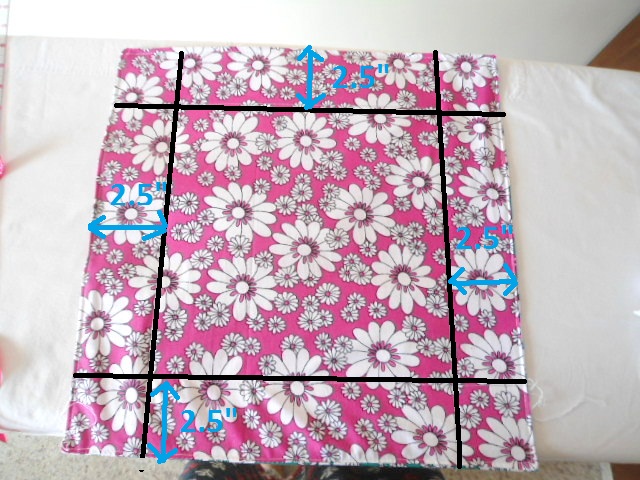
Mark 2.5″ inside from the four sides and draw lines using water soluble marker. You will get a square in the middle, which will form the base of the basket.
Each side requires 31-inches of satin ribbon. You need four such pieces for the four sides.

Cut the four pieces of satin ribbon with the required length.

Take one of the ribbons and align it along the drawn line, leaving 8-inches on both sides and pin.

Sew the ribbon onto the basket, along both its longer edges.
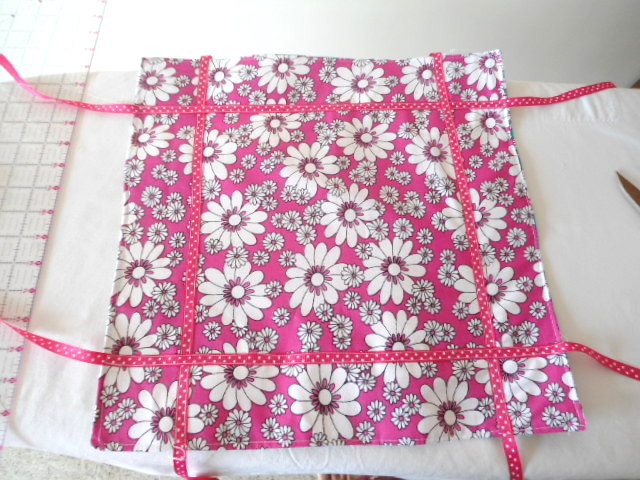
Secure the other 3 ribbons onto the basket by repeating the above steps.


Once the ribbon ties are sewn, fold the sides up along the line where the satin ribbon is attached. Pinch the corners together and tie the satin ribbon neatly in a bow.

Repeat the same steps on the four corners and lo your basket is done!
Pin it for later here,

Linda Badurek
Wednesday 22nd of September 2021
Daring basket! I’d like to note something from experience. That is grosgrain ribbon used on the basket. Satin ribbons will not stay tied!
Sherry Bartlett
Tuesday 22nd of June 2021
Thanks for the pattern! I made the large one and it turned out great. I would like to make a smaller one, but need the cutting dimensions and size of interior of basket and sides. Is there a formula I can use to determine this depending on the interior size I want to make?
Thanks for your response!
Barbara Taylor
Sunday 11th of April 2021
How heavy is “heavyweight” interfacing? Not sure if you can name specific products as examples. Thanks!
I may add borders to some orphan blocks and use those for the inside.
Peggy Melfi
Sunday 11th of April 2021
Good idea for using orphan blocks! I've got several that are just aching to get used, and what could be easier & more useful than this?? :)
Surayya
Sunday 11th of April 2021
I have used the brand "Thermoweb" heavy-weight fusible interfacing.
Linda
Saturday 10th of April 2021
I bought one of these at a craft fair, years ago. Mine is Thanksgiving prints and the perfect size for napkins. I can’t wait ‘till Thanksgiving to get it out, guess I should make some in everyday prints! Thanks for the pattern!
Surayya
Sunday 11th of April 2021
You are welcome!
Pen Sunshinepen
Saturday 28th of January 2017
Thank you for the link to this great idea. Xx