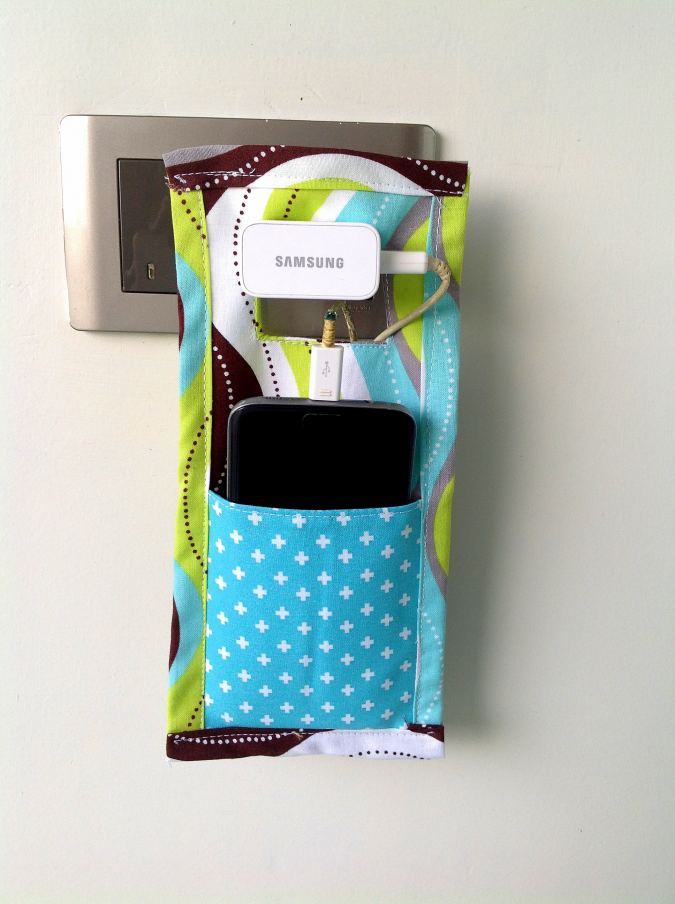
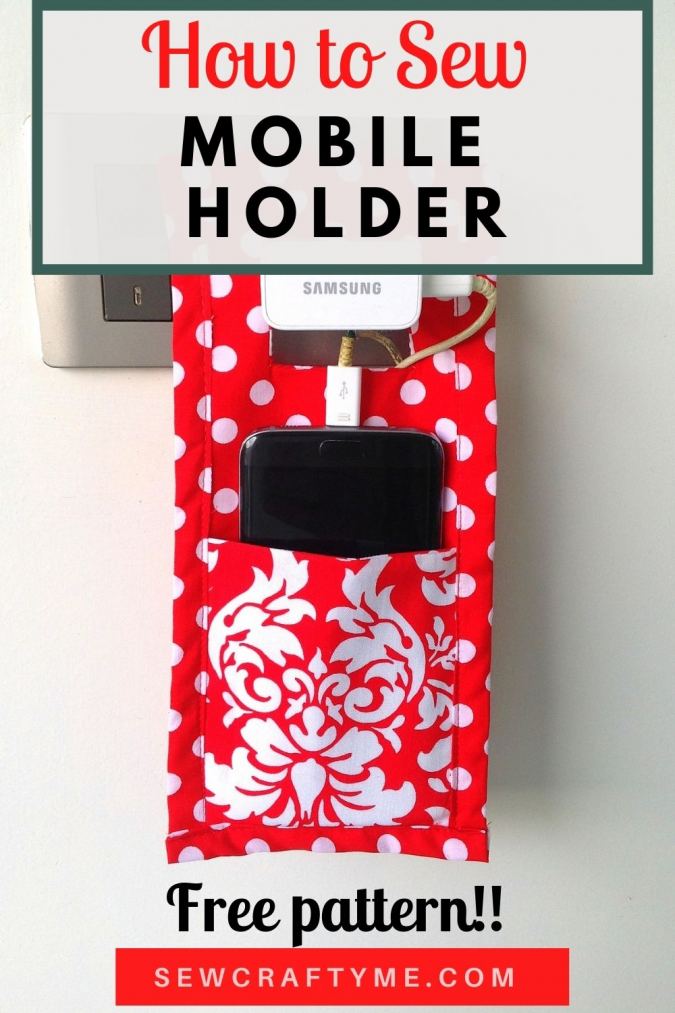
Phone charger wires are messy. They make your home look untidy. I like my charger wires neat and tucked away somewhere. Usually, I tie it down with a rubber band. That’s again not a neat enough solution and my phone is almost always charging!! That’s when the idea of the DIY phone charger holder struck my head.

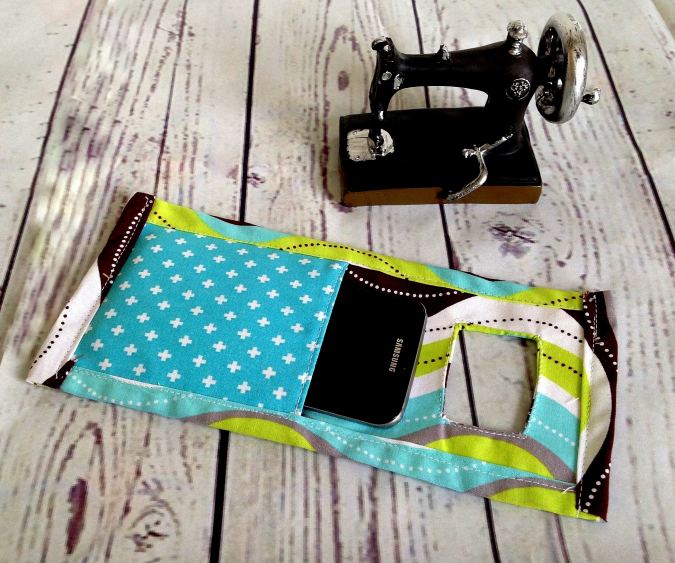
These fabric phone charger holders are very easy to sew. All you need are small pieces of your leftover fabrics and a small length of fusible interfacing. No extra fittings are necessary. Given the template, these DIY phone charger holders can be done even by a beginner seamstress.
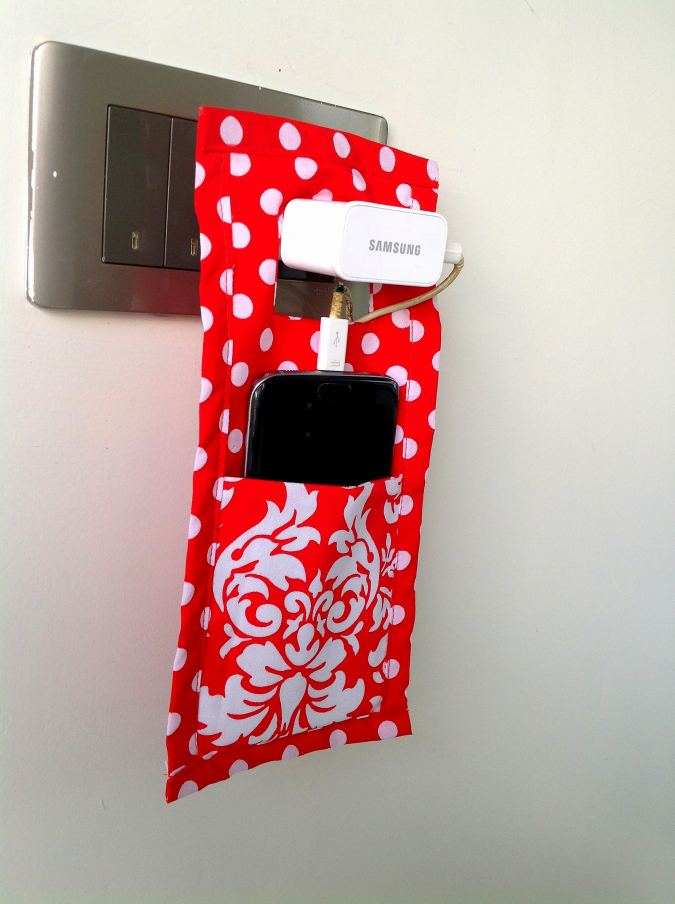
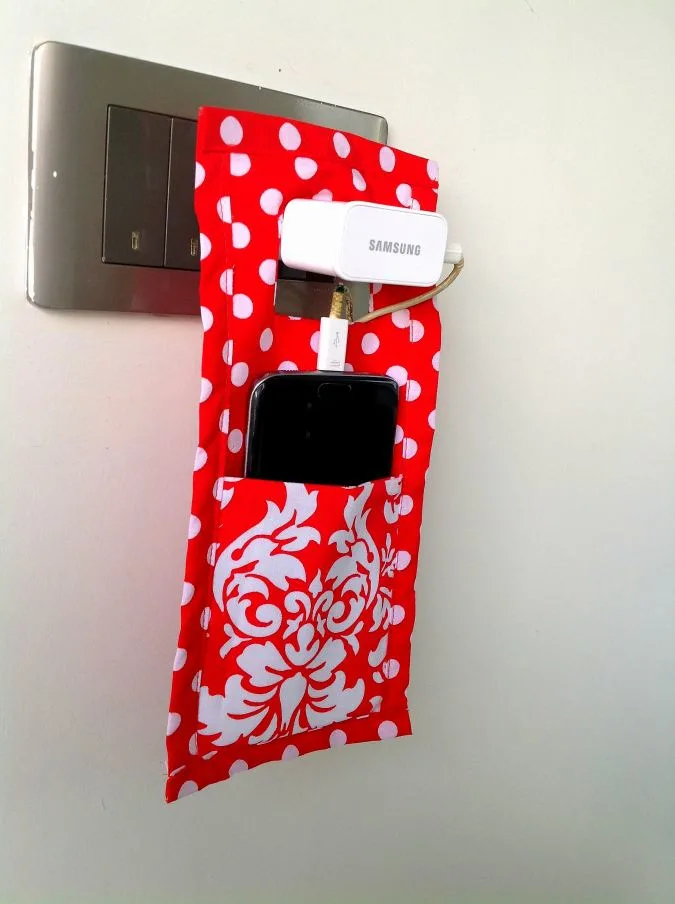


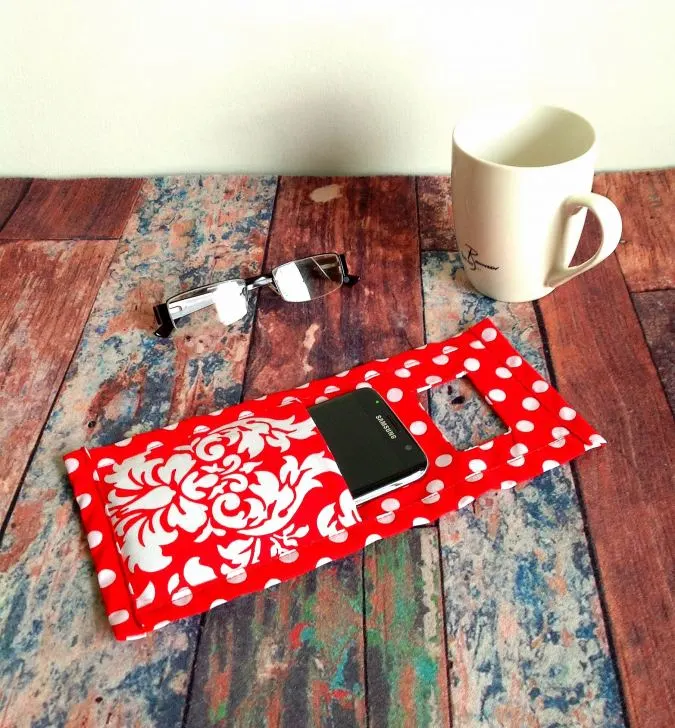
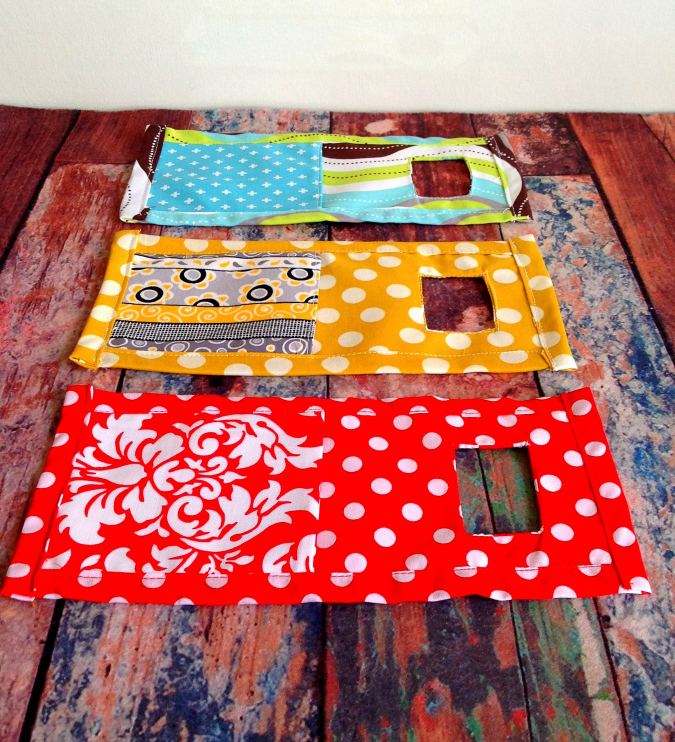
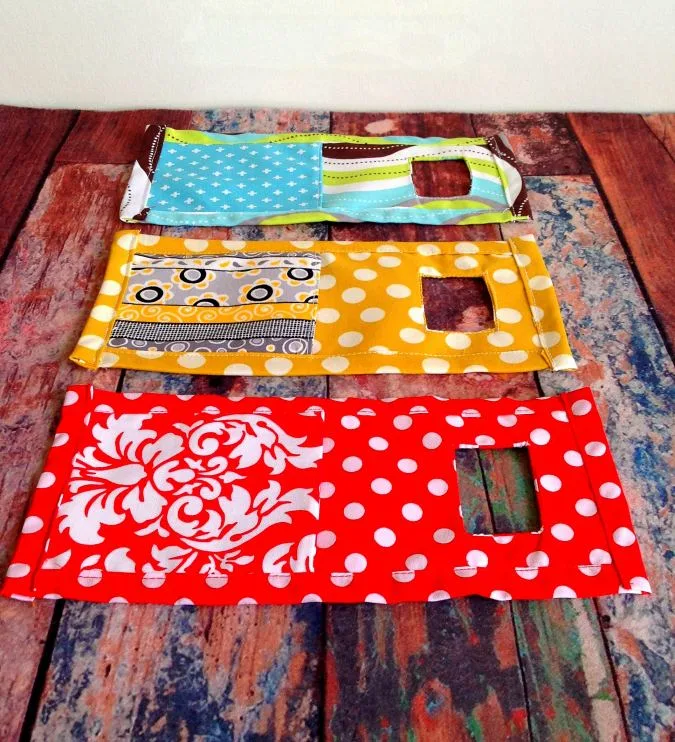
These mobile charger holders are light and handy, you can carry them anywhere you go. They are perfect as handmade gifts too. You can use different fabric designs for the main piece, pockets and binding to sew a variety of holders to suit your taste.
*Please note that for safety reasons, you cannot hang the holder on the outlet for longer hours. You may hang the holder on a command hook placed near the outlet.
*Please note that for safety reasons, you cannot hang the holder on the outlet for longer hours. You may hang the holder on a command hook placed near the outlet.
DIY Phone Charger Holder
- Find the video tutorial at the end of this page.
Supplies Required:
Medium weight cotton fabric scraps for the main piece, pockets and bias binding of the mobile holder.
Heavyweight fusible interfacing.
Sewing Notions.
- Note that seam allowance is 3/8- inch unless otherwise specified.
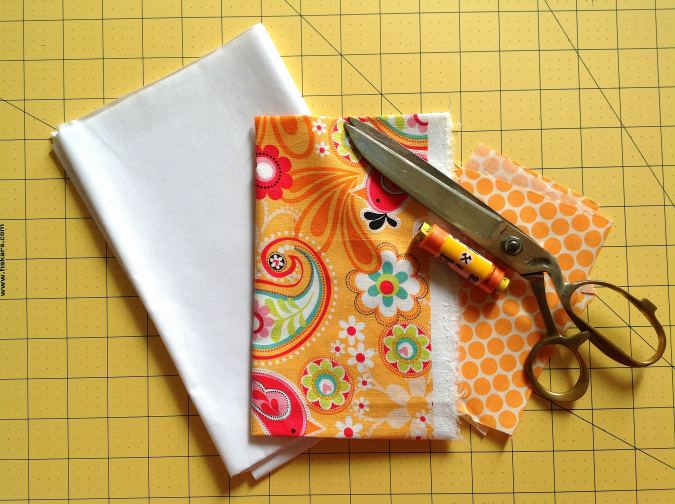

Gather your supplies
For the bias binding, you will need,
Two fabric pieces, 2- inches wide and 10- inches long.
Two fabric pieces, 2- inches wide and 5.5- inches long.
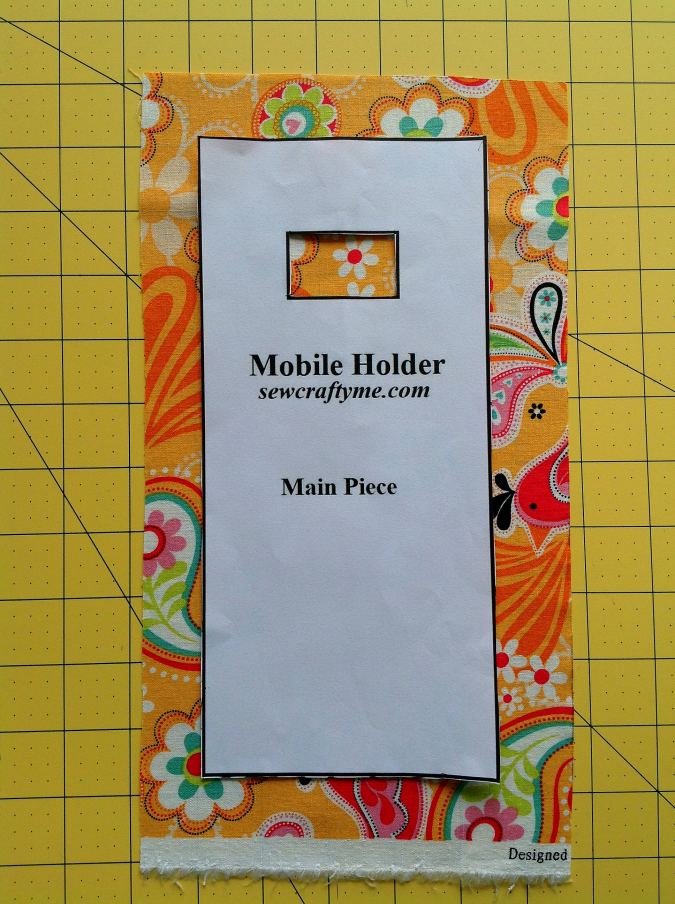
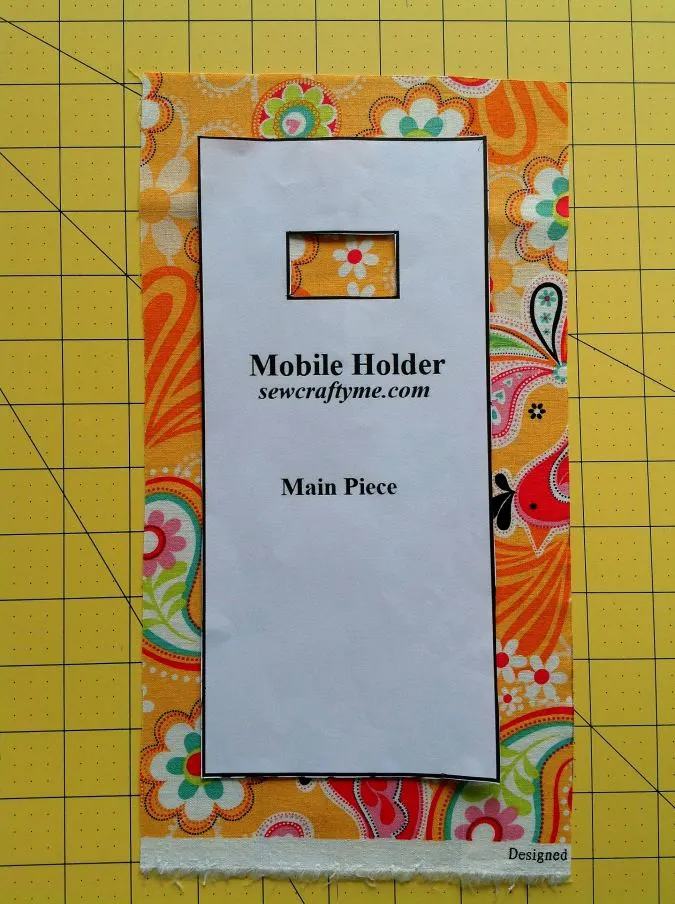
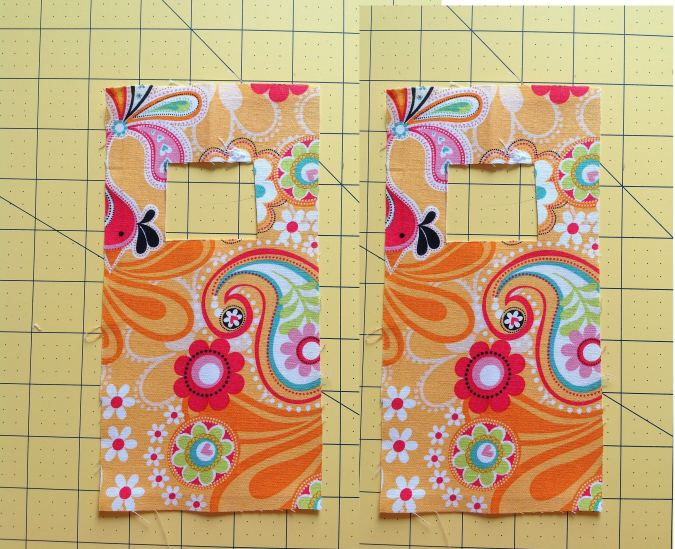
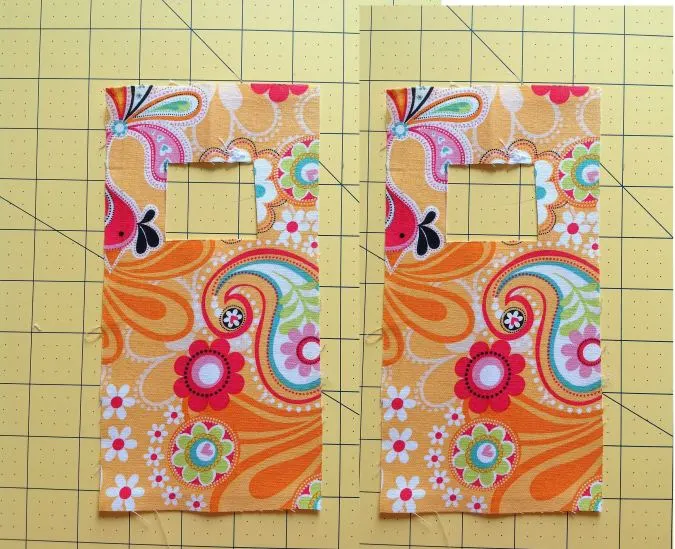
Take the template and the fabric for the main piece of the holder. Place the template on the fabric, mark and cut around it to get the main piece. Repeat to get one more for the lining.
Note that the small rectangle at the center is cut out later after the interfacing is attached.

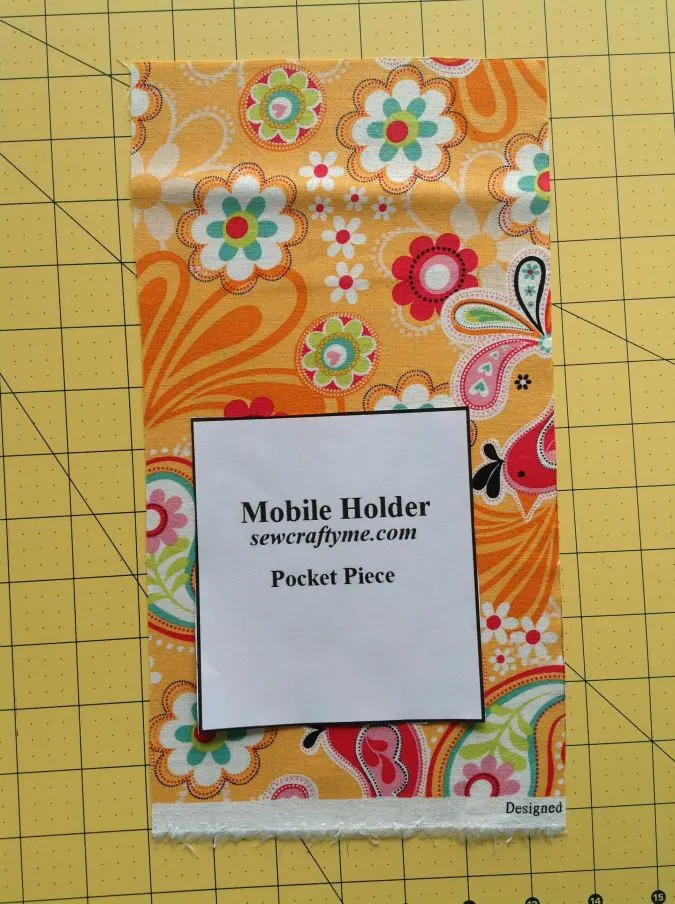
Next, take the template and the fabric for the pocket of the folder. Place the template on the fabric, mark and cut around it to get the pocket piece. Repeat to get one more for the pocket lining.
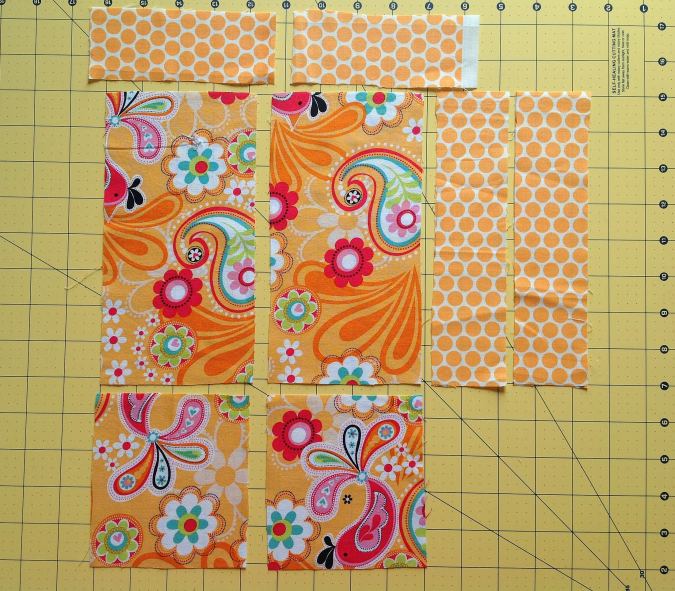
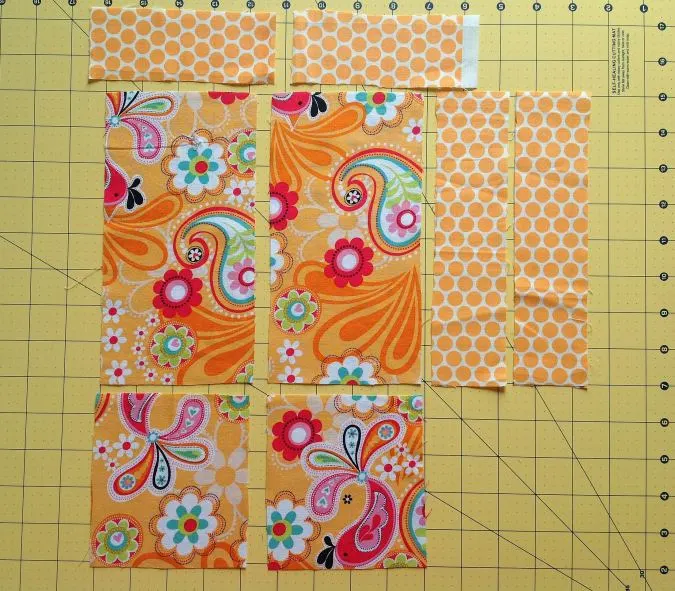
You will have a pile similar to this.
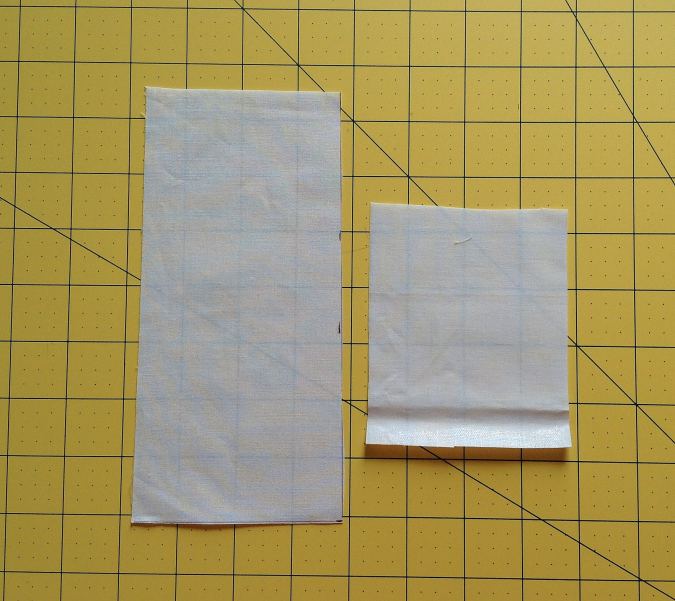

Cut one main piece and one pocket piece, from the interfacing, using the same templates.
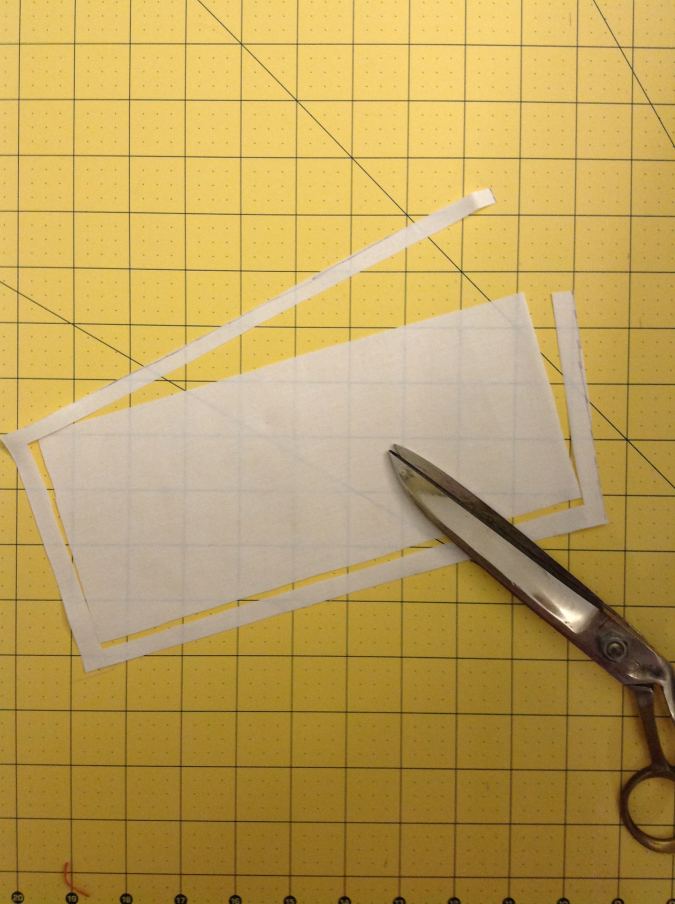
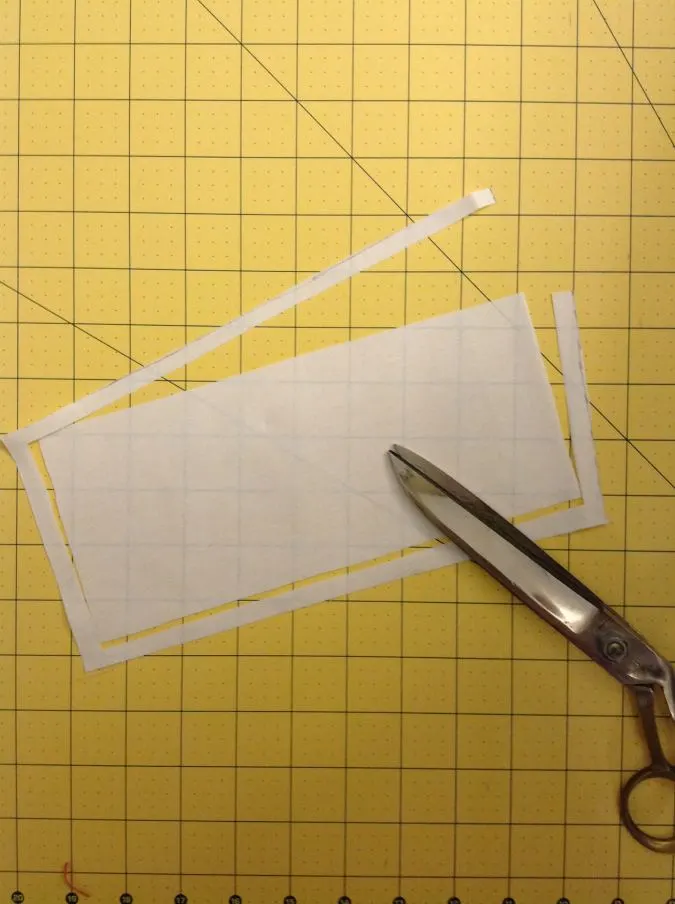
Cut off 3/8- inch from the main and pocket interfacing, all around.
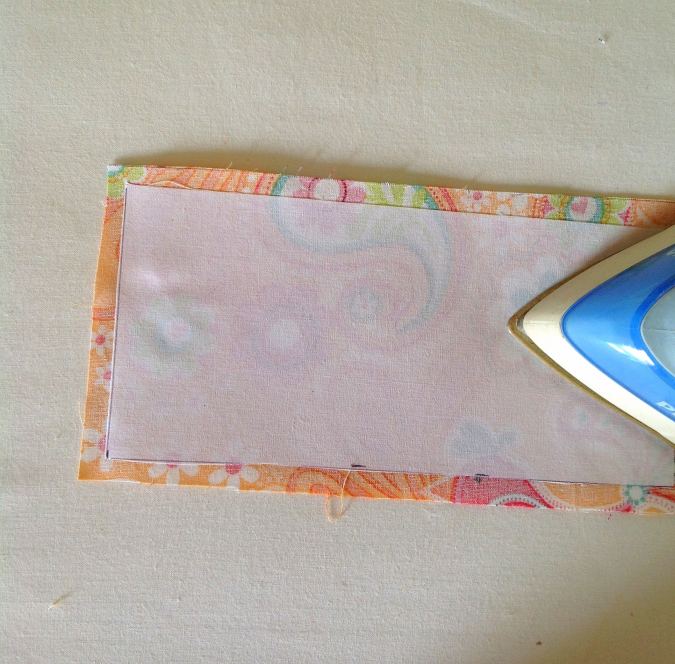
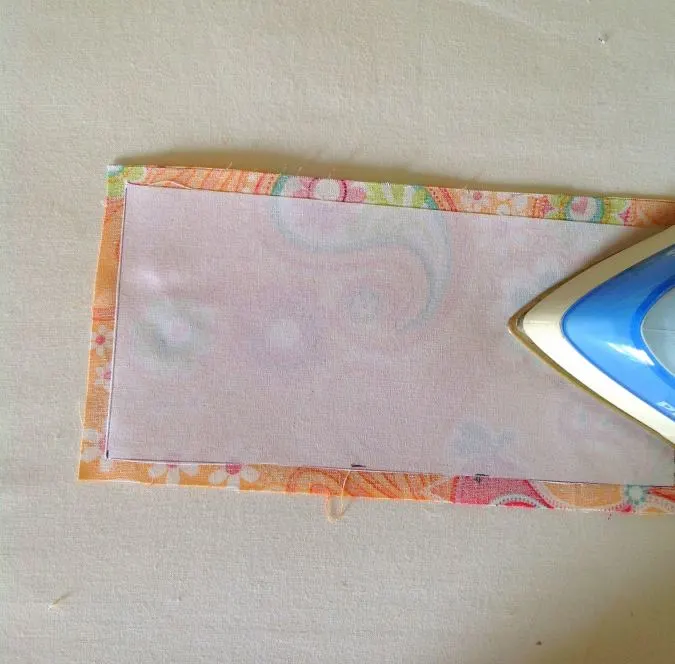
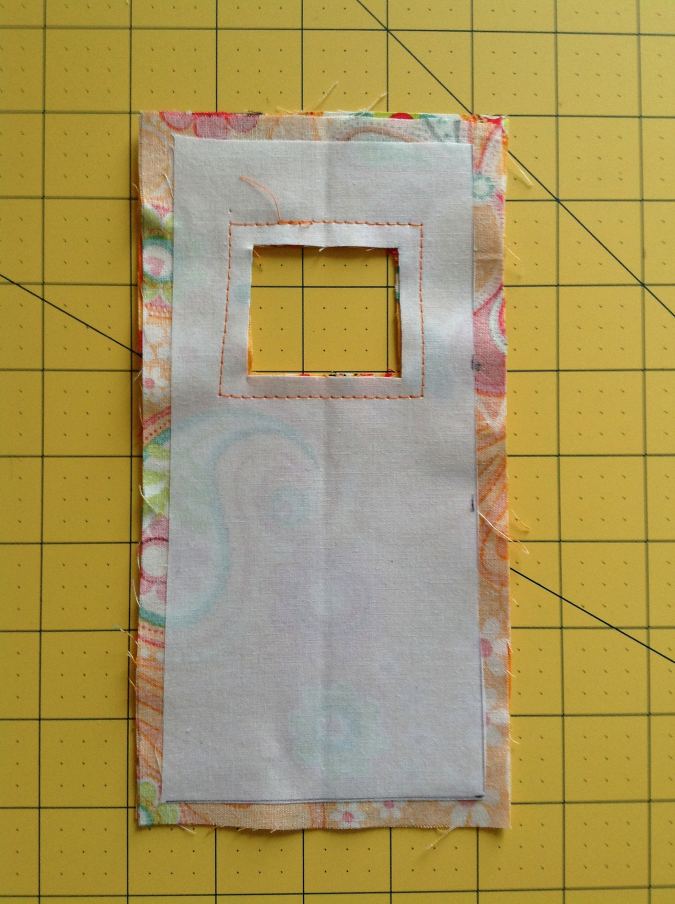
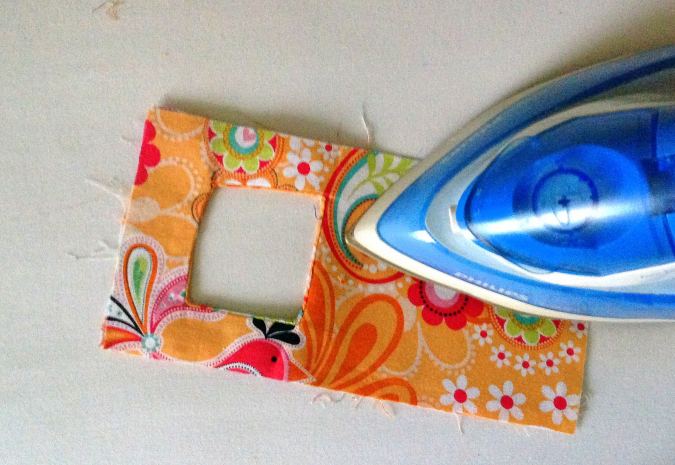
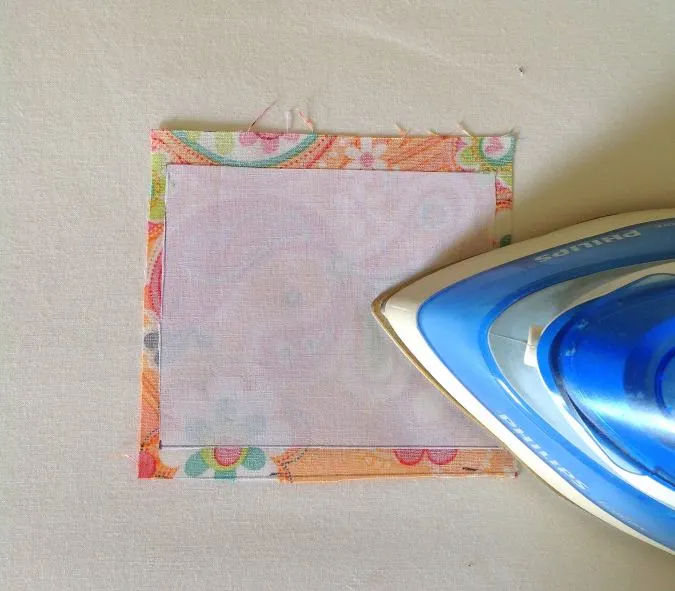
Take the main piece and the main interfacing and fuse the interfacing on the wrong side of the fabric, following the manufacturer’s instructions. Leave 3/8- inch all around while pressing.
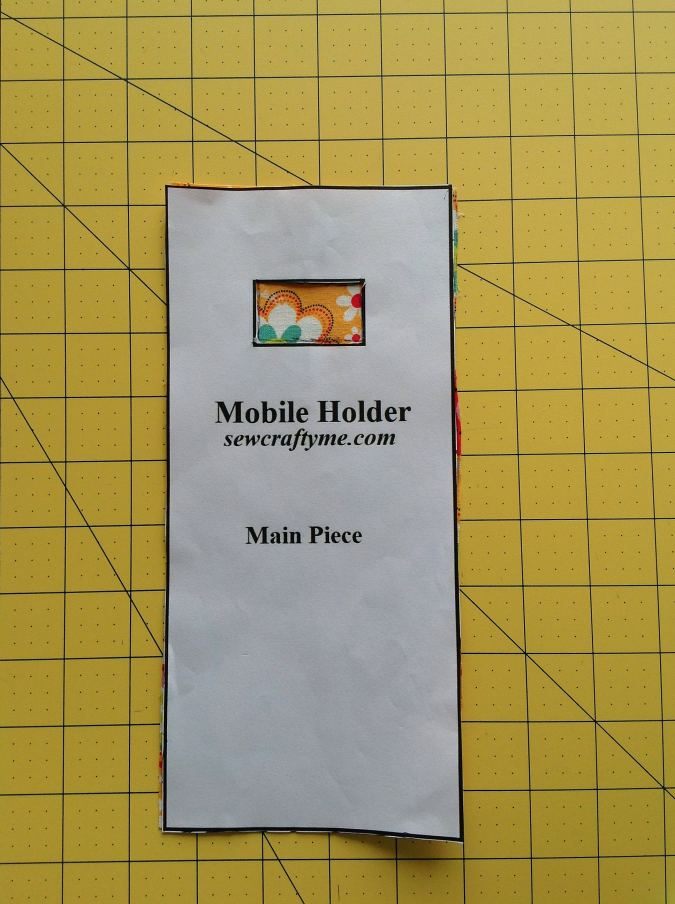
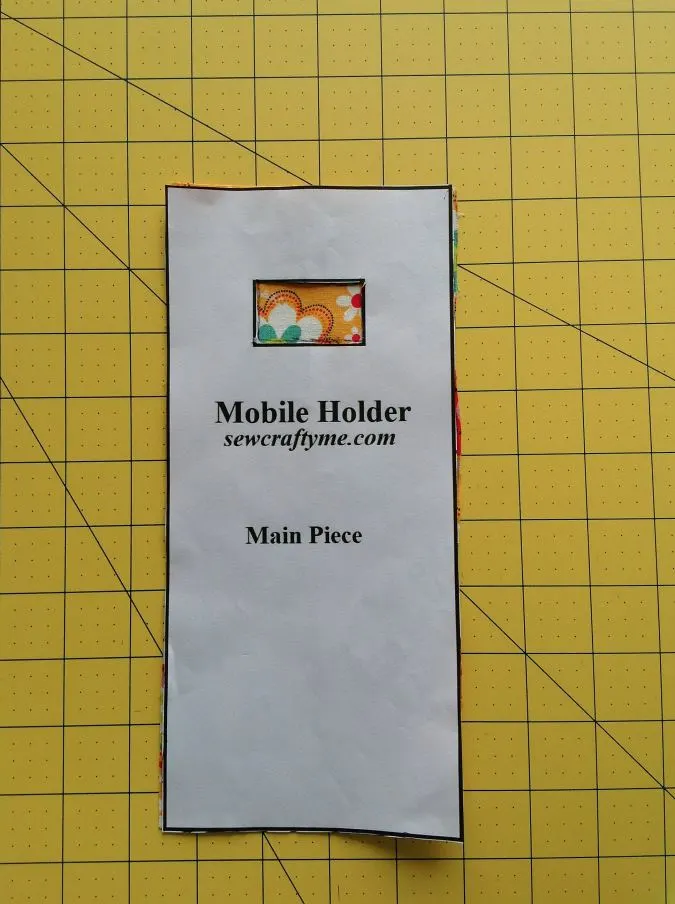

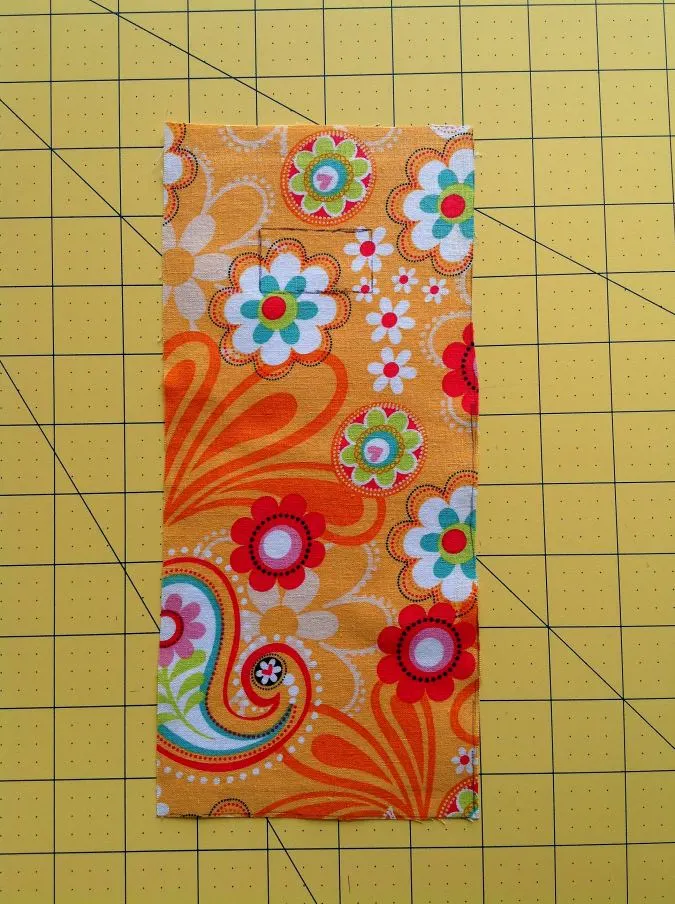
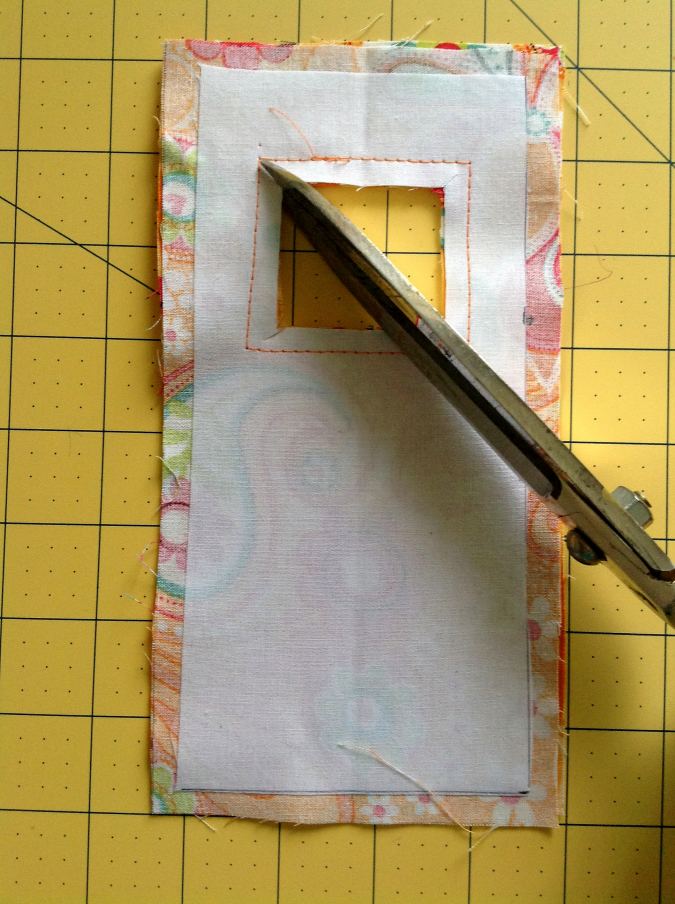
Turn the piece over to the right side and place the template over it. Mark the small rectangle at the center.
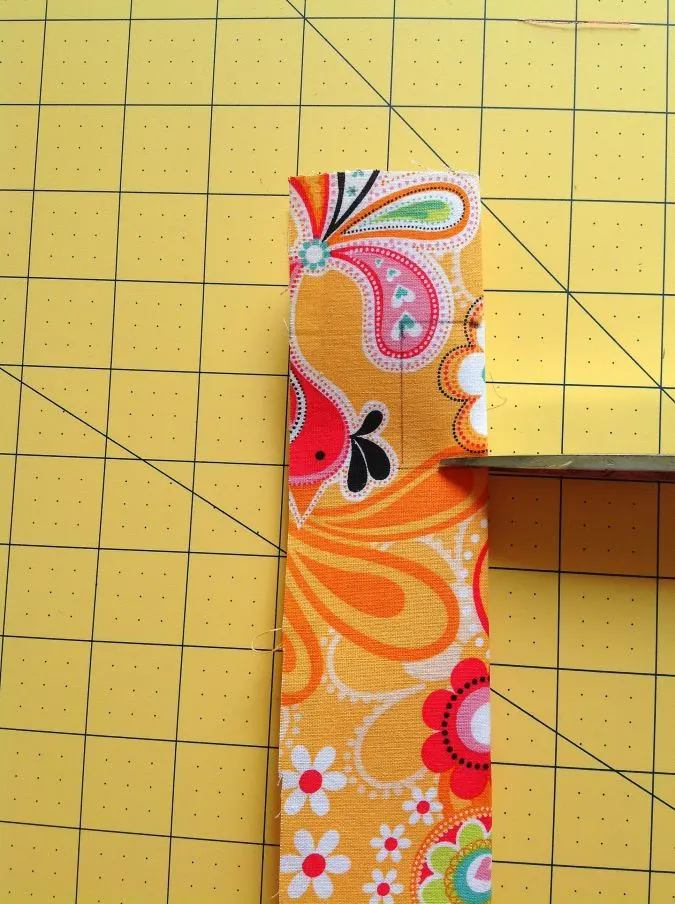
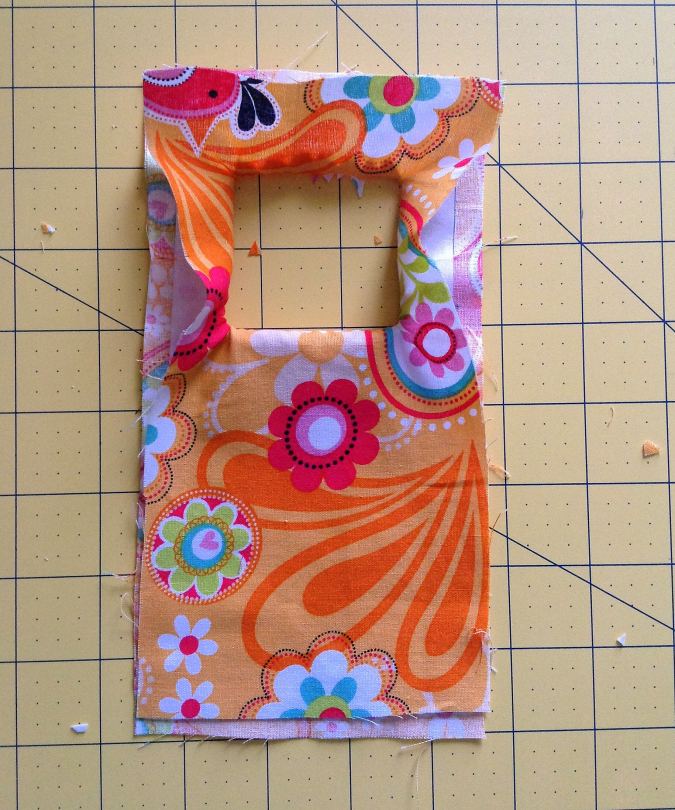
Layer the lining piece and the main piece, aligning the edges and fold it in half lengthwise.


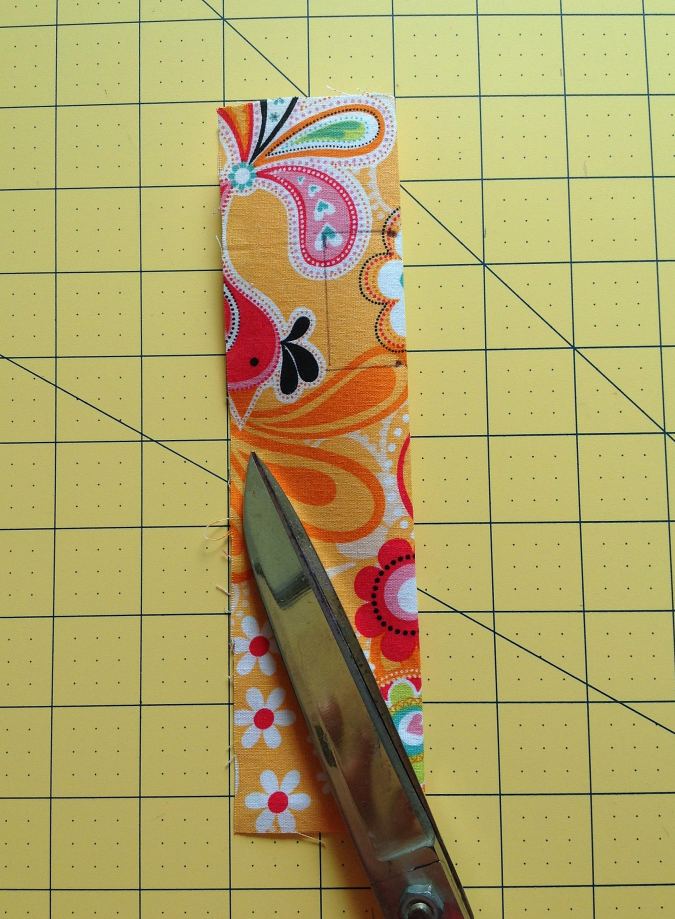
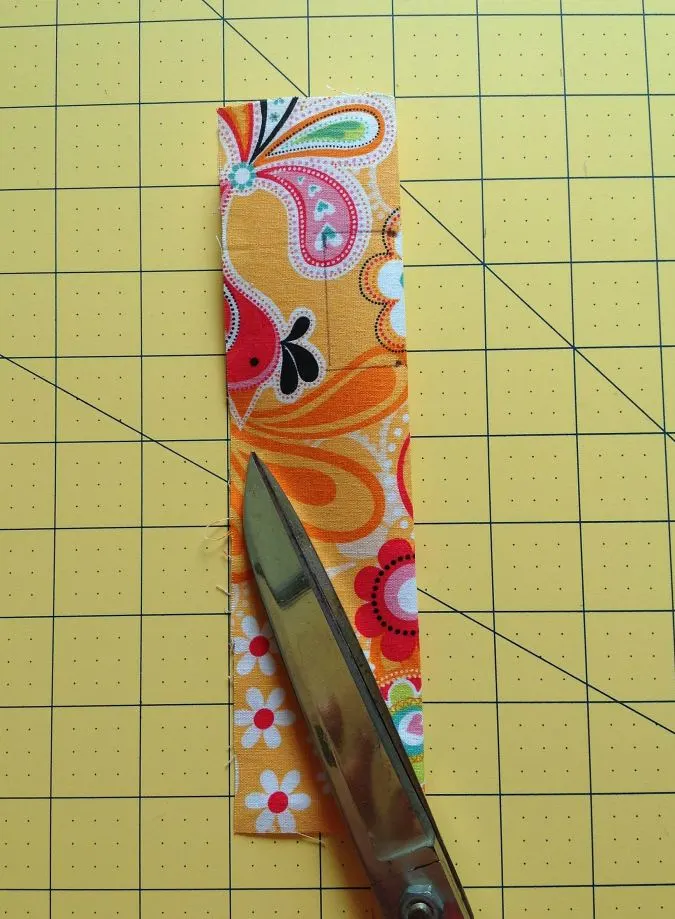
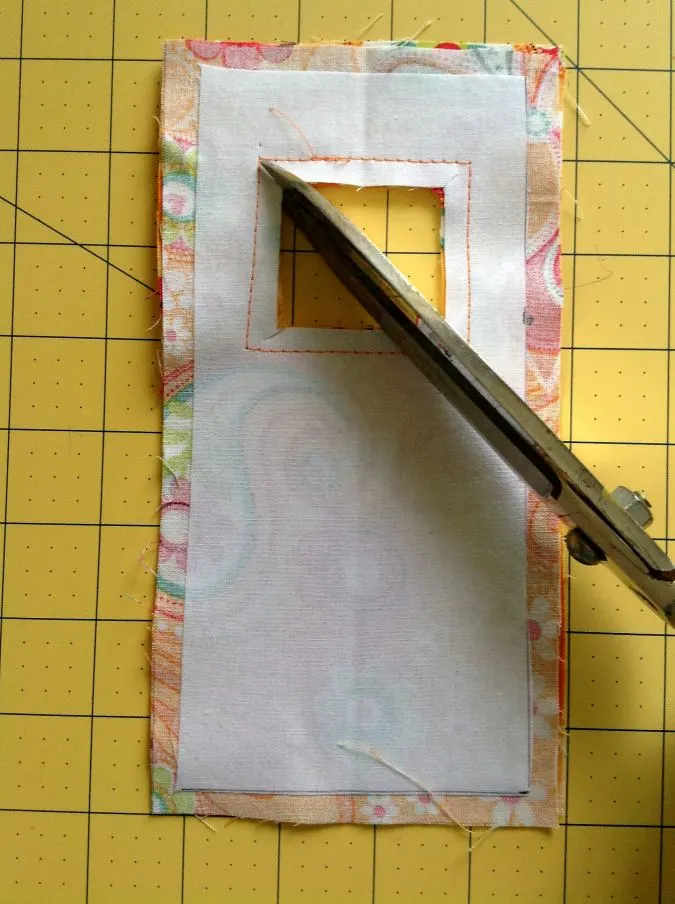
Cut the marked rectangle out, with your scissors.
Your main piece and the lining will look like this once opened.
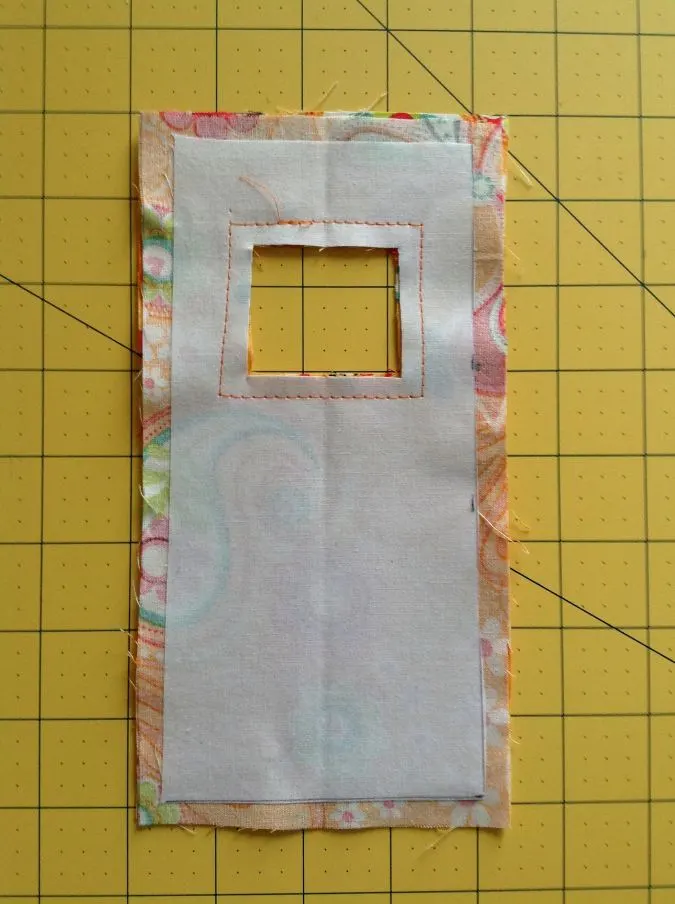
Next, keep the main piece and the lining layered aligning the edges and sew around the small rectangle.
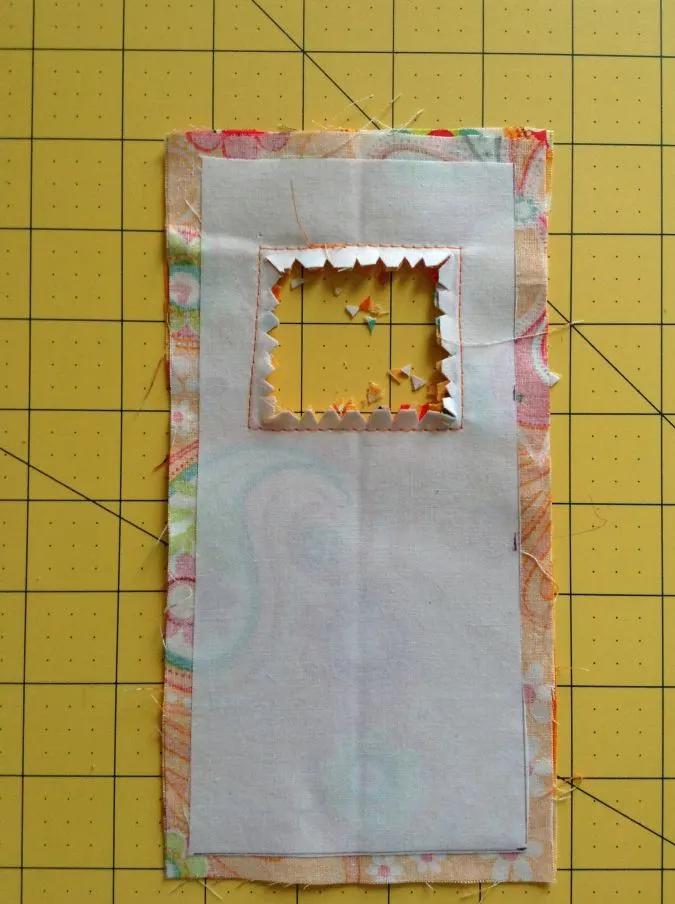
Make slits on the corners and clip the edges to reduce the bulk in the seam.

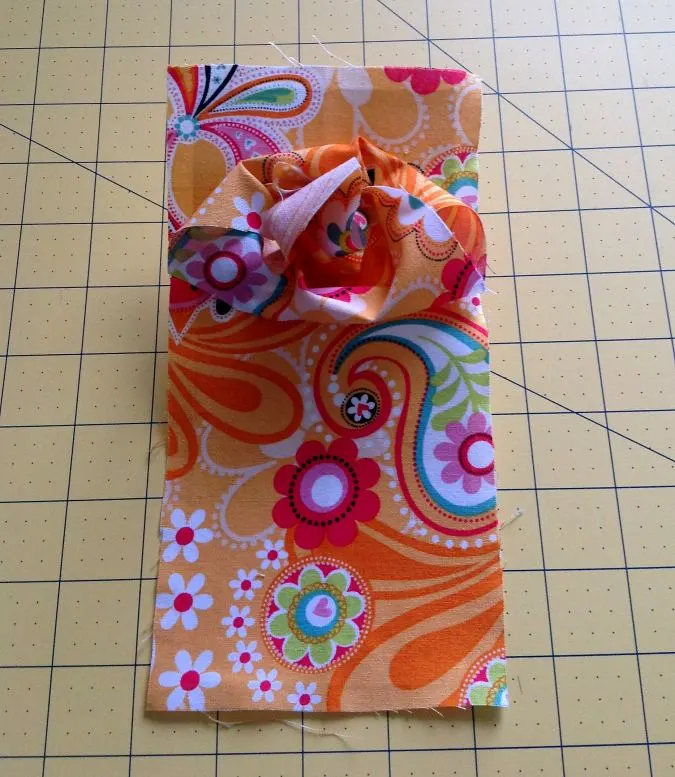
Push the lining piece through the rectangle to the other side and turn the right side out.

Pull out the lining taut.

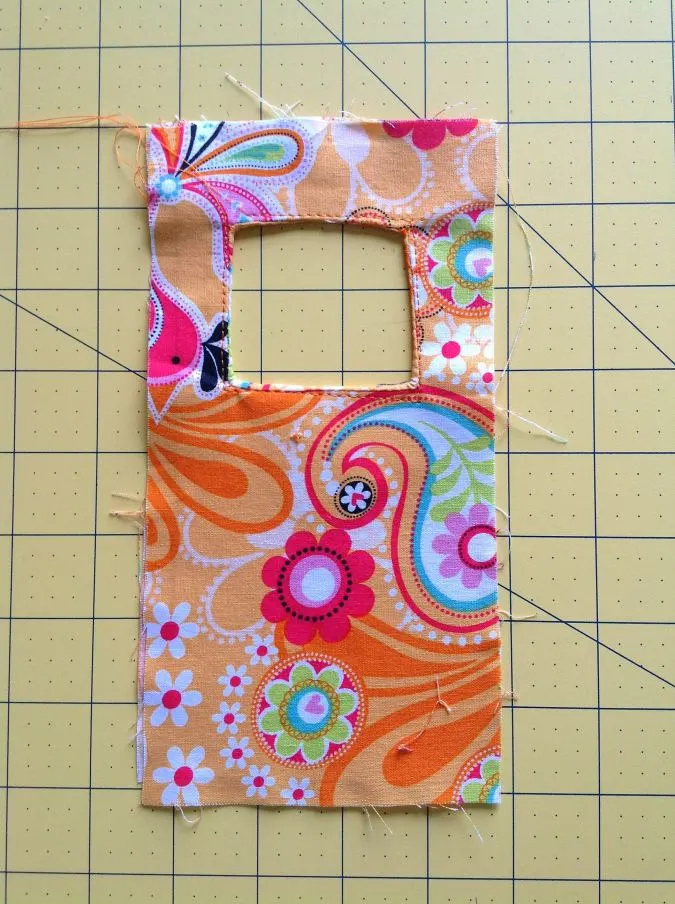
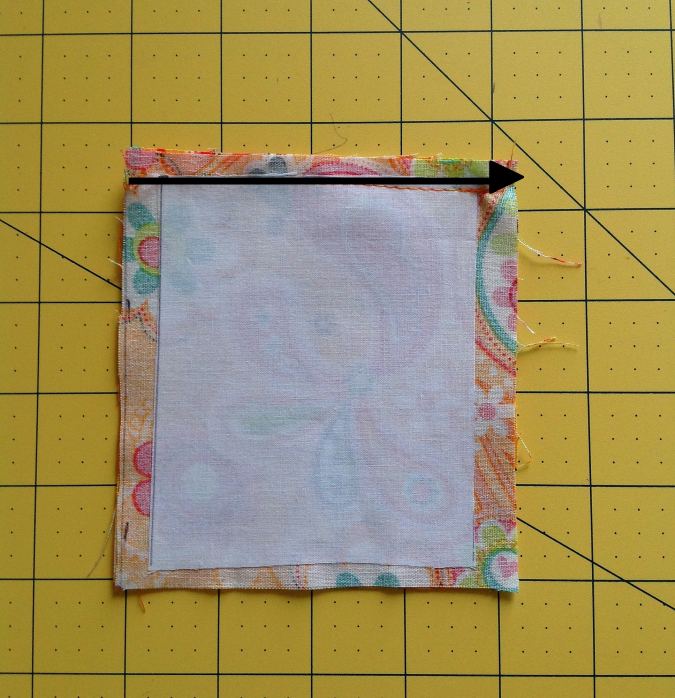
Press the edges of the small rectangle and topstitch along the edges to make it neat and crisp.
Next, we move on to the pocket piece.
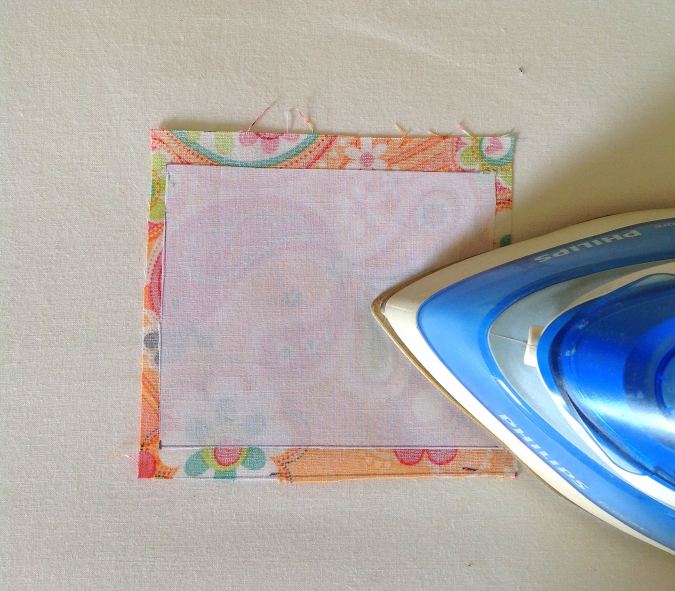
Take the pocket piece and the interfacing. Fuse the interfacing on the wrong side of the fabric, following the manufacturer’s instructions. Leave 3/8- inch all around while fusing.

Place the pocket piece and the lining layered, with the right sides together and aligning the edges. Sew along the shorter side, to join.


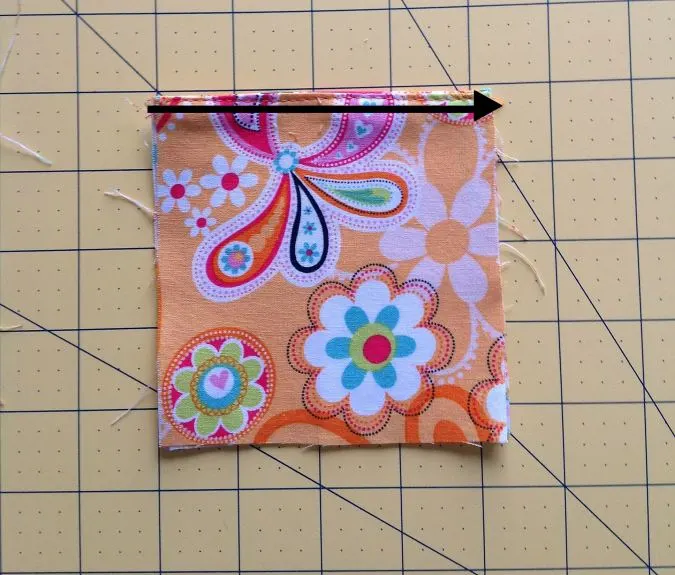
Turn over to the right side and press the edges. Topstitch along the joined edge to make it neat and crisp.
We need to attach the pocket to the main piece of the holder.
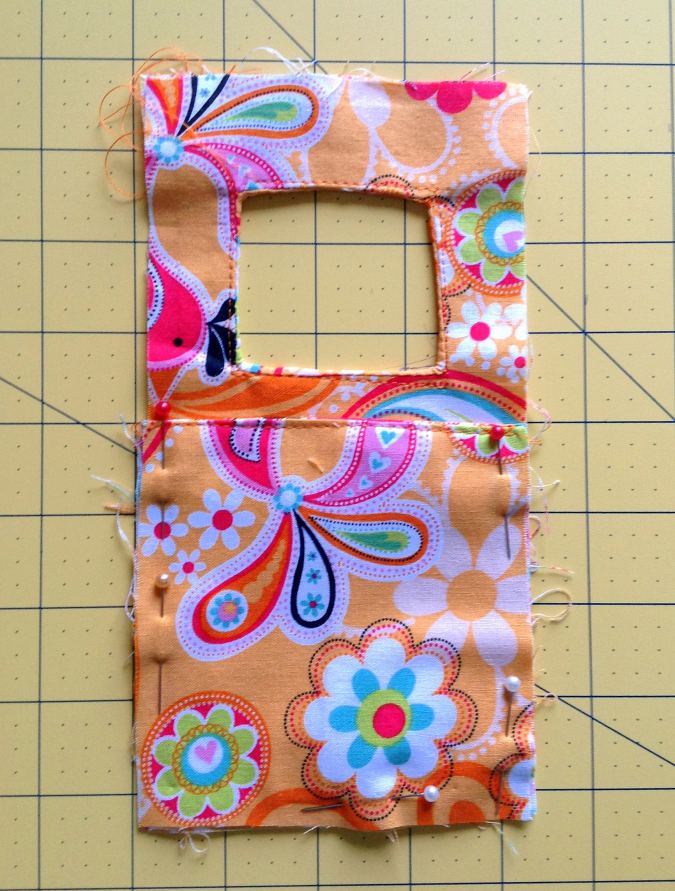
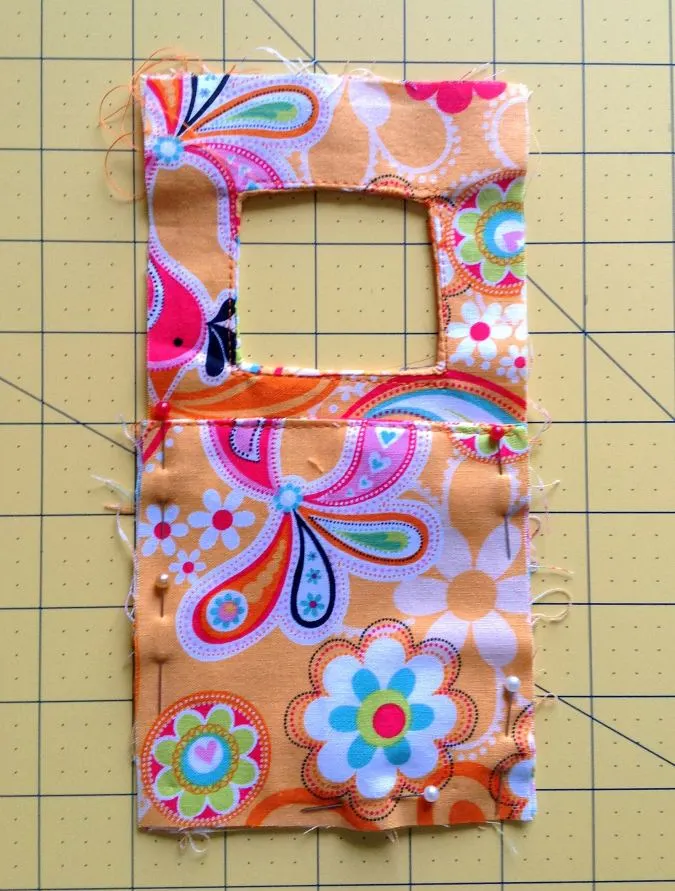
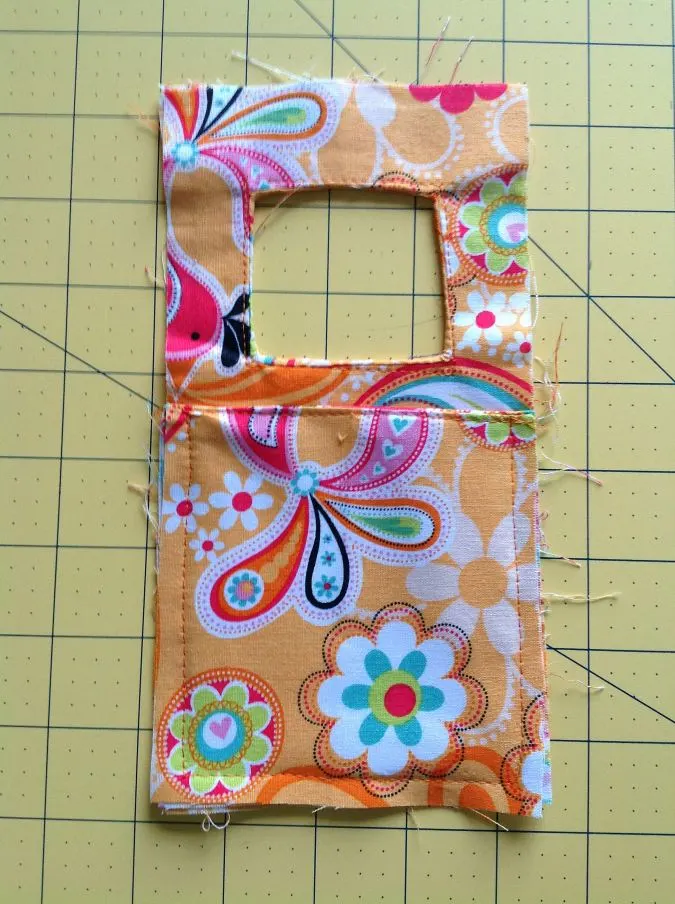
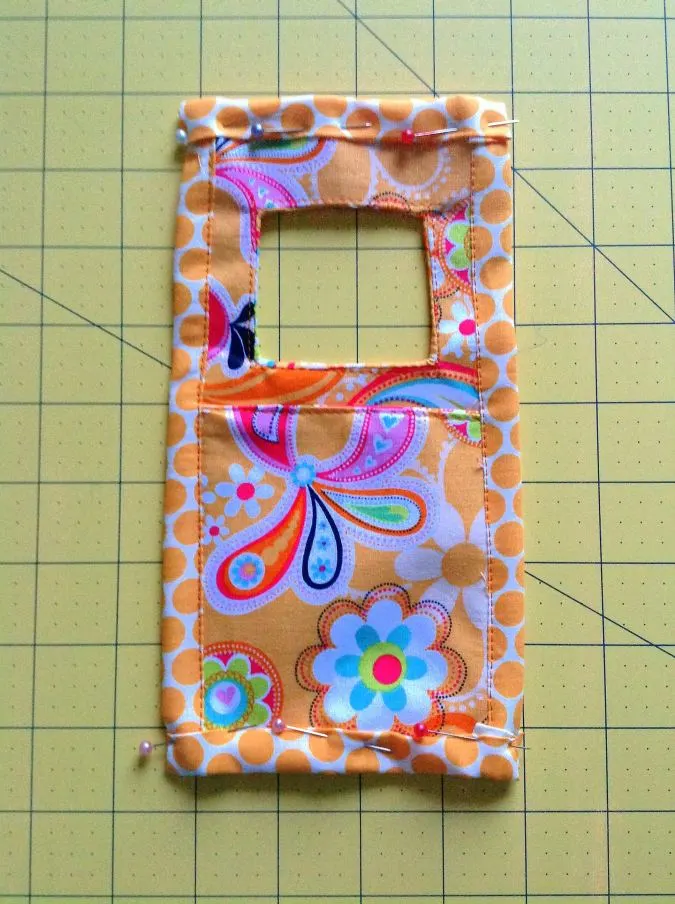
Take the main and the pocket pieces. Place the pocket along the lower part of the main piece, aligning the raw edges and pin. Sew along the pinned edges to join.
Let’s attach the binding.
We first need to make the binding.
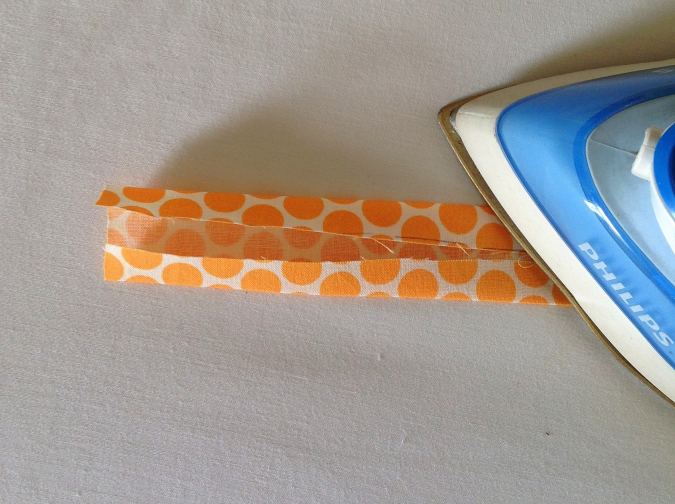

Take one of the binding strips. Fold both the two longer edges towards the wrong side by ½- inch and press to set.


Fold it again in half and press once more. Our double folded binding is ready. Repeat on all the other binding strips.
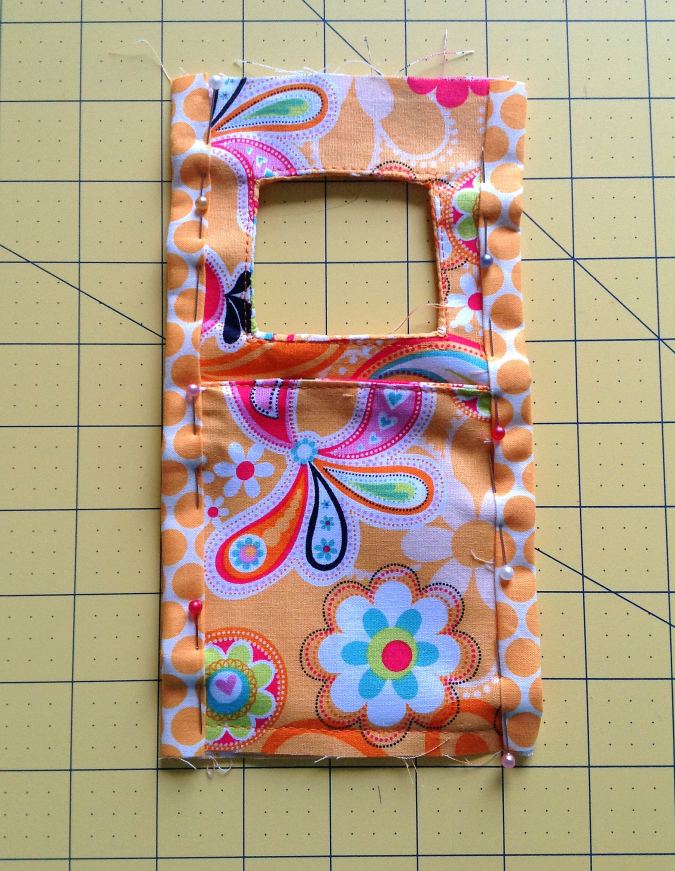

Take the longer binding pieces, sandwich the two longer edges of the main piece in between the folds of the binding and pin all along.

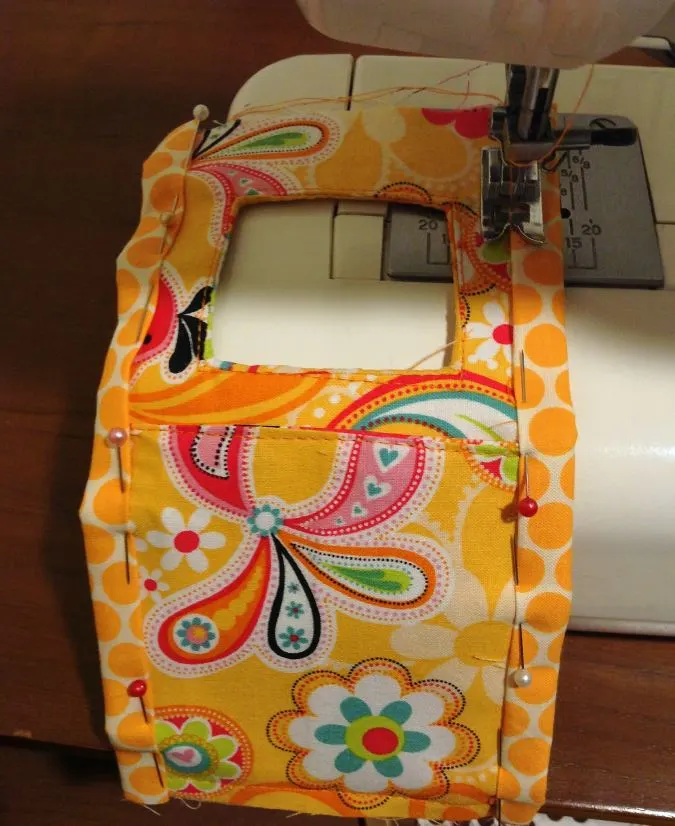
Sew the binding shut, on both sides, removing the pins as you sew.
We need to attach the binding to the shorter sides.

Take the shorter binding strips and sandwich the shorter edges in between the folds of the binding. This time, you will have to fold the raw edges at the ends of the binding by ½- inch inwards while pinning. Sew the binding to the holder.

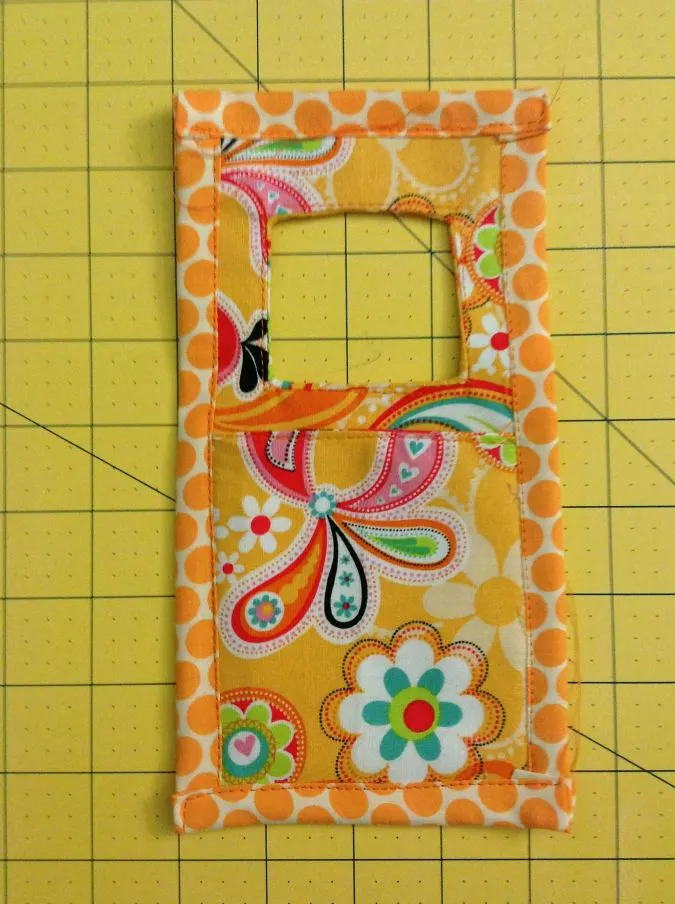
Cut off the hanging threads and our DIY phone charger holder is ready!
You can find the video tutorial here,
For more of my free patterns, click here.
For hundreds of free patterns and DIYs, visit allfreesewing.com.
Pin it for later:

Joey
Monday 14th of August 2023
Just tried making that fabric phone charging station – and I'm lowkey impressed with the results! I love that you showed us many designs. And since the sewing patterns is not that hard to make, I've convinced myself to do it right away but I'll prefer to use a much safer material for safety and maybe a hook that is not heat conducive. Alas no more hunting for chargers all over my place! :D